FOCUS ON: GALLERY WALLS

Your ultimate guide to gallery walls, find all the styles and tips for creating your own gallery wall… We start with an overview of some of the shapes, styles and basic properties of some of the most popular gallery walls – each one will be covered in more detail in their own blog post – then a quick list of some of the best places to buy frames and other accessories…

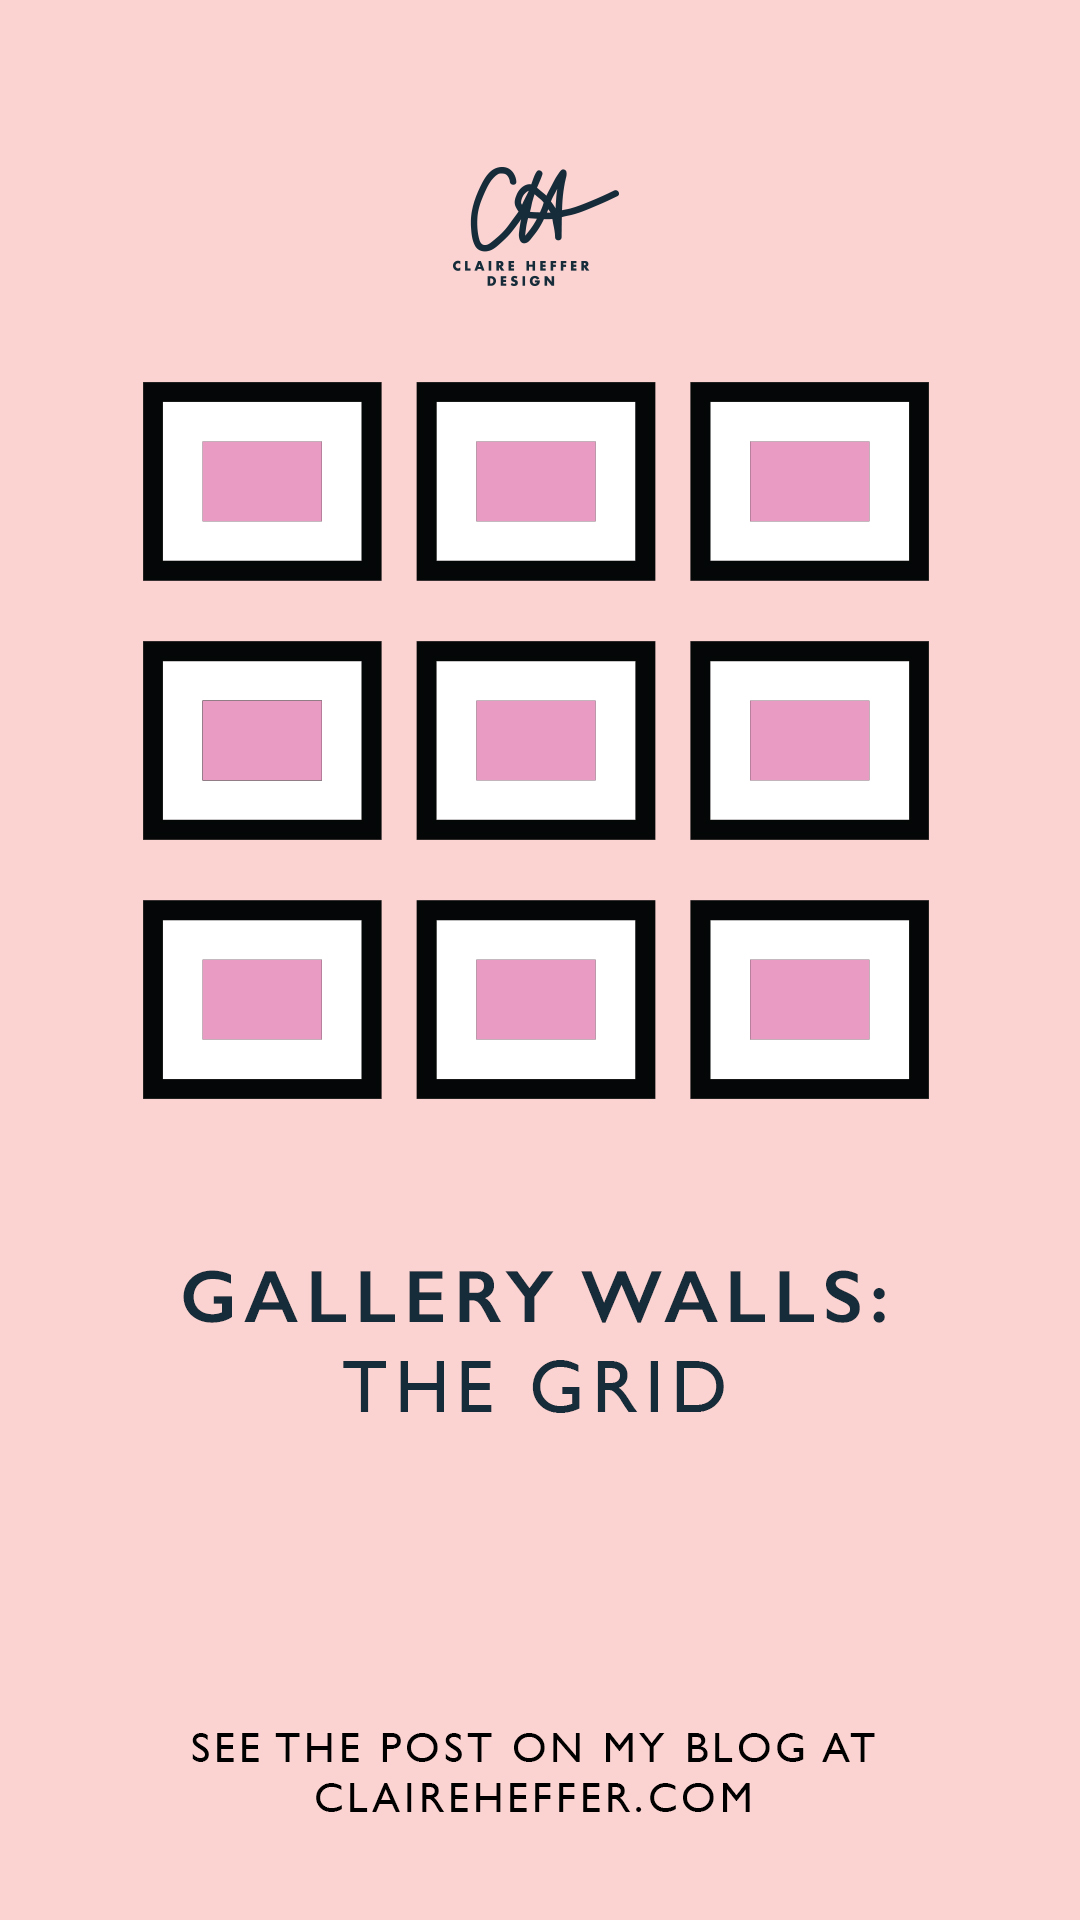
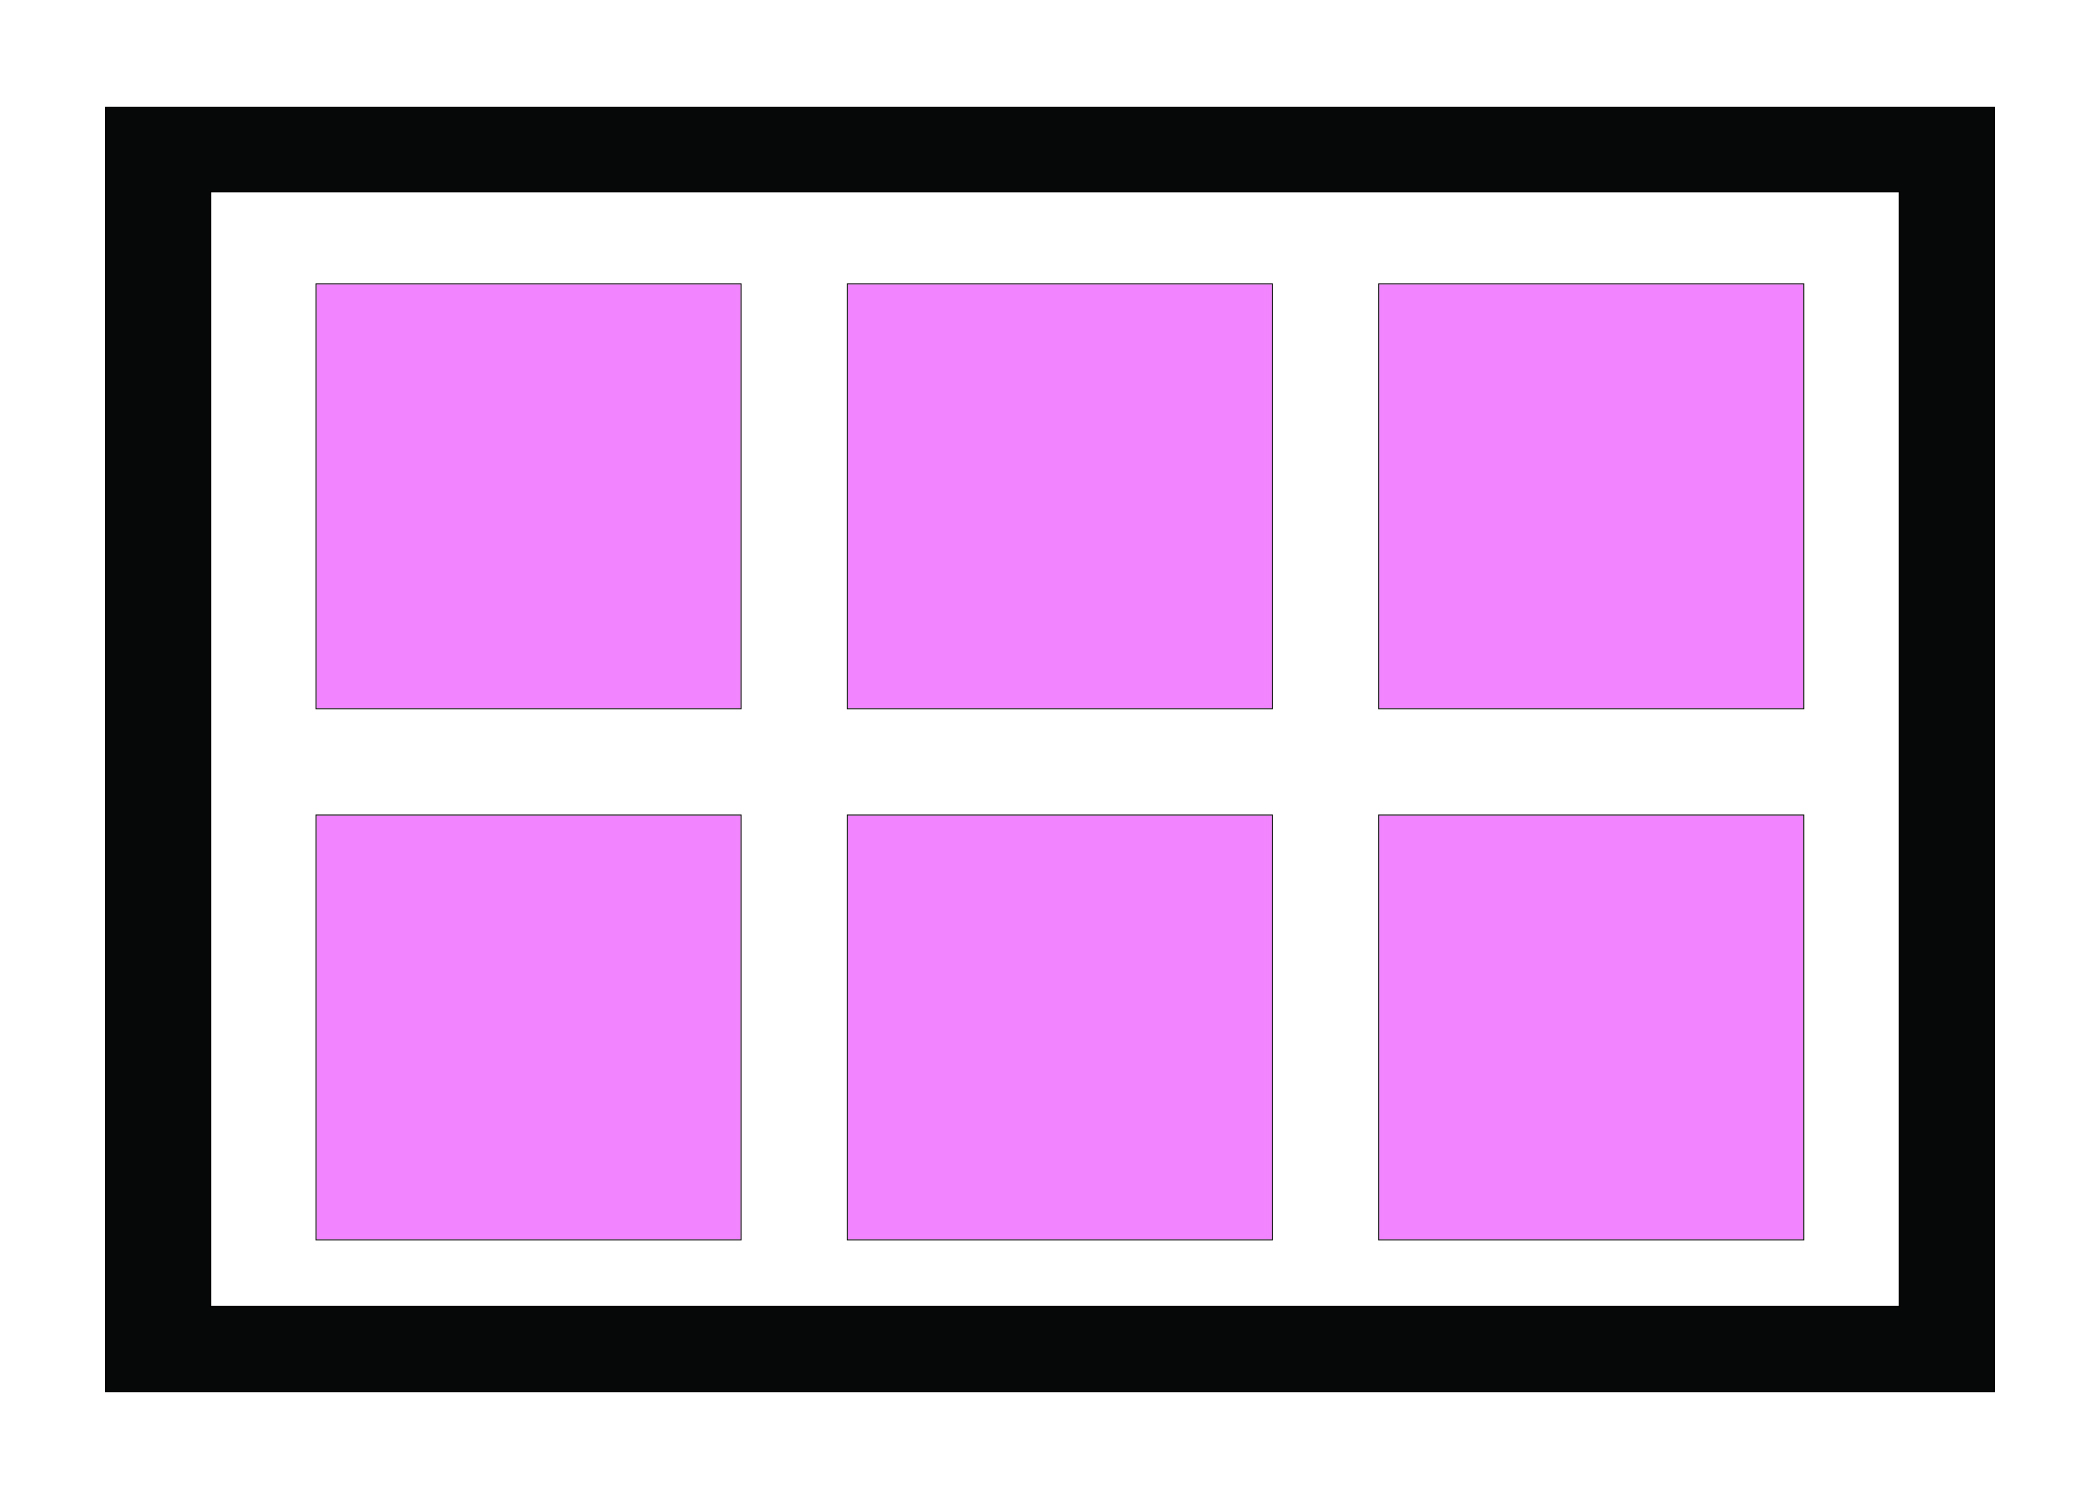
GRID
A very simple gallery wall but very effective. All the same size – all lined up – all in the same frame.

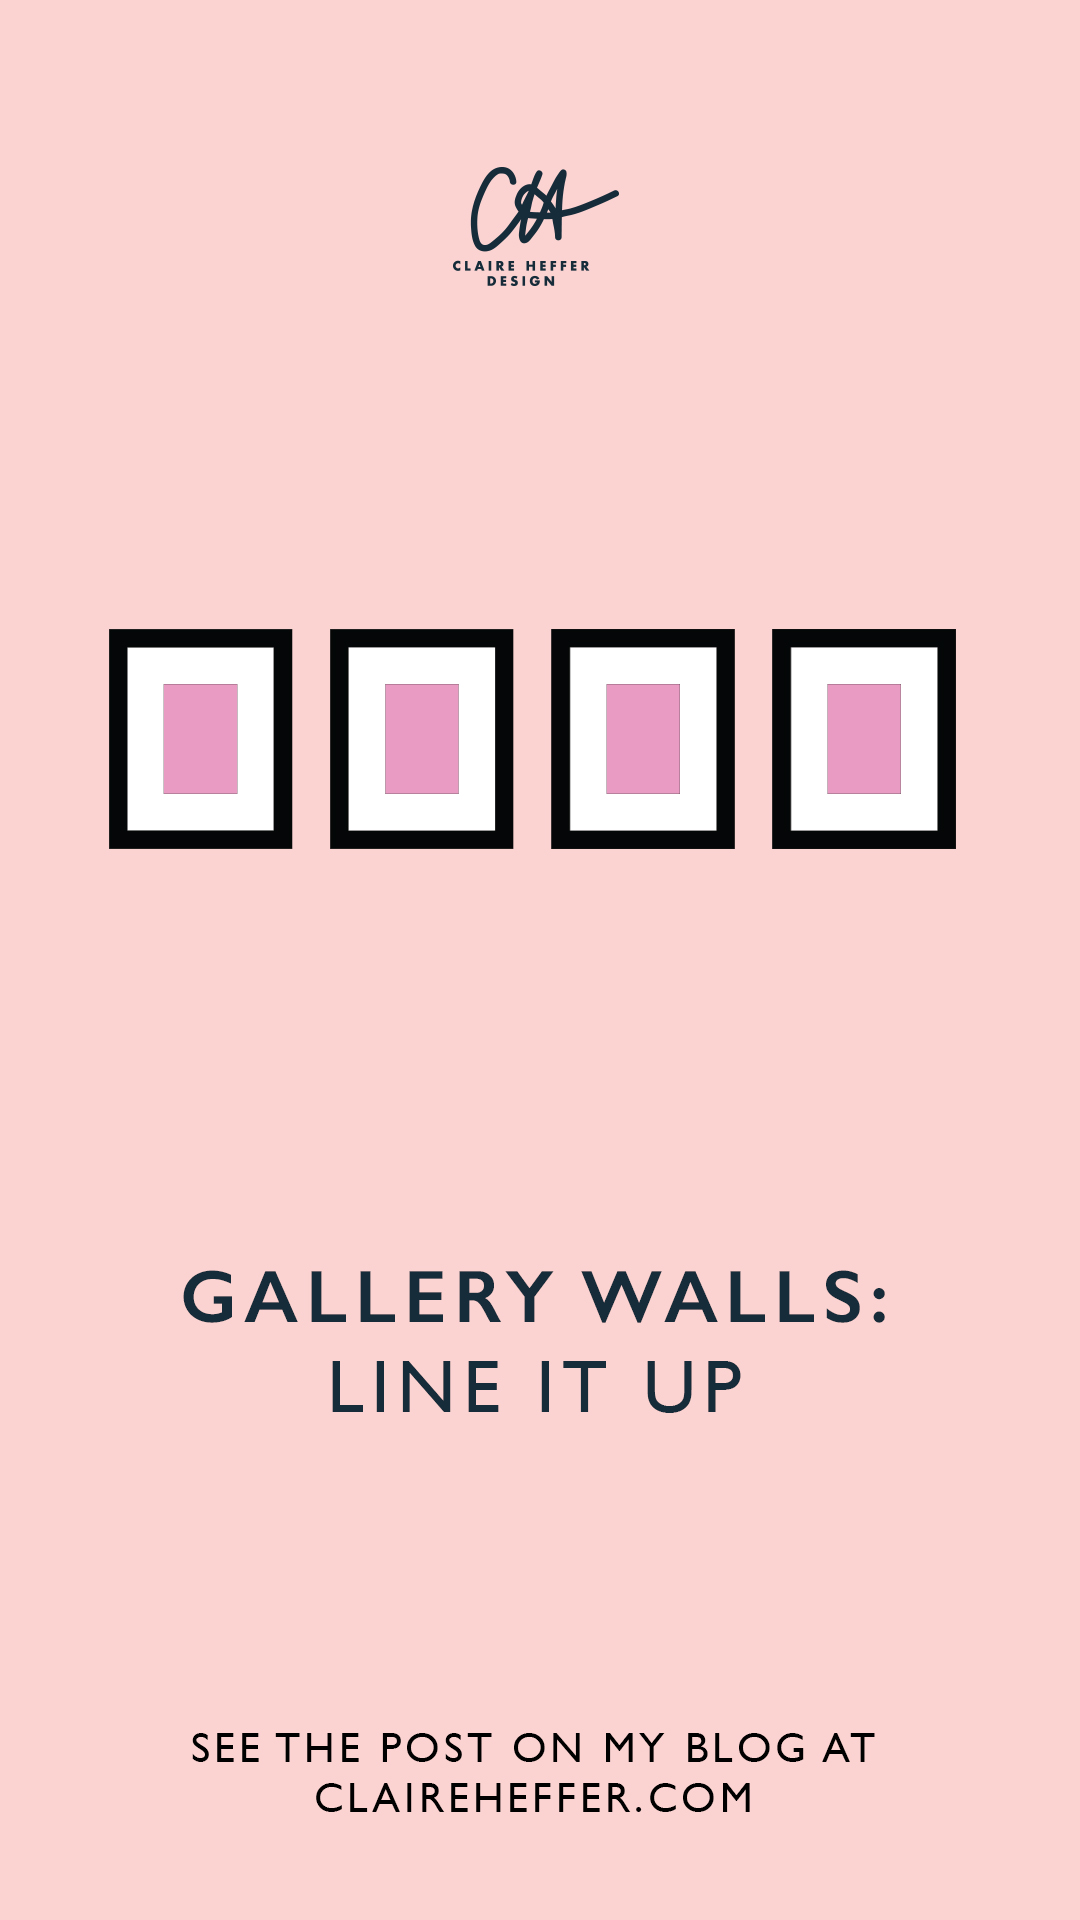
LINE IT UP
Same frame – same size – all in a row.
You can use similar pictures in each frame of split the same picture across all the frames – this is great for a panoramic scale and this idea works on a big scale on a big wall.

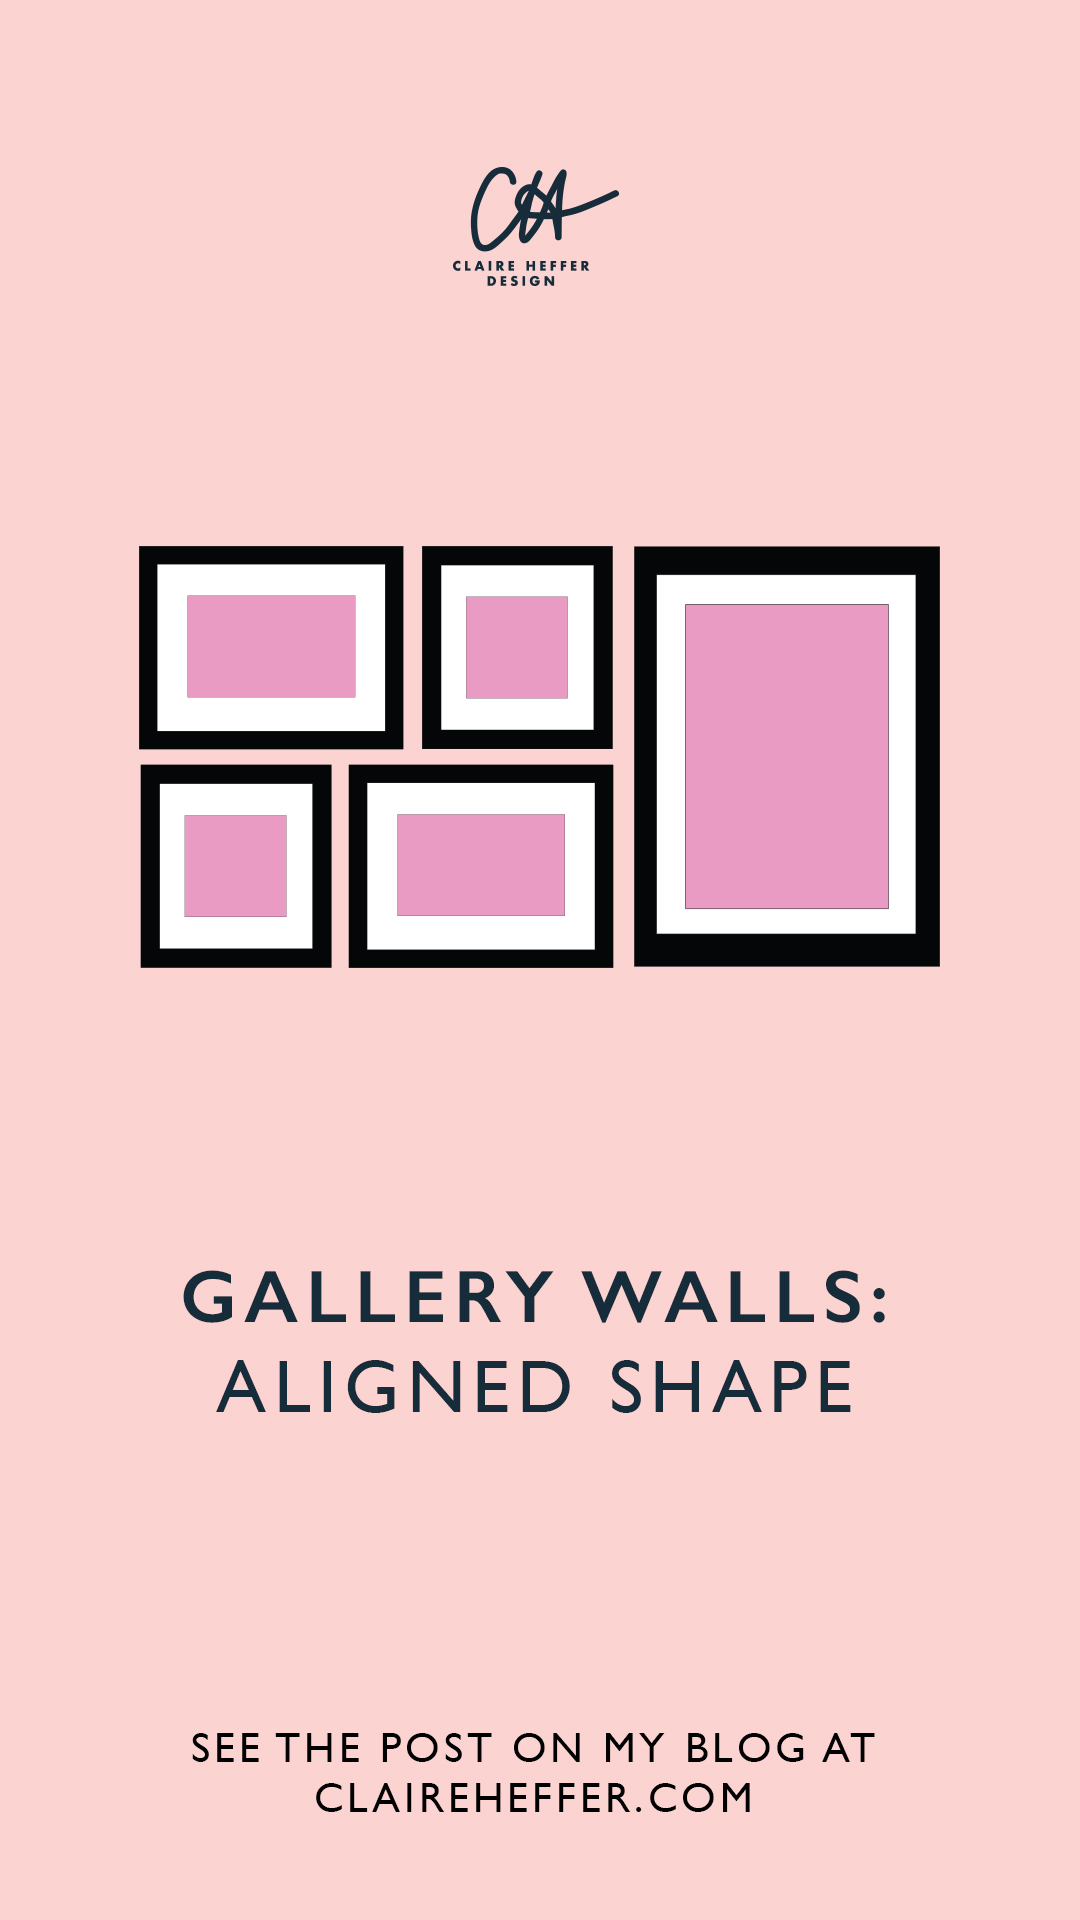
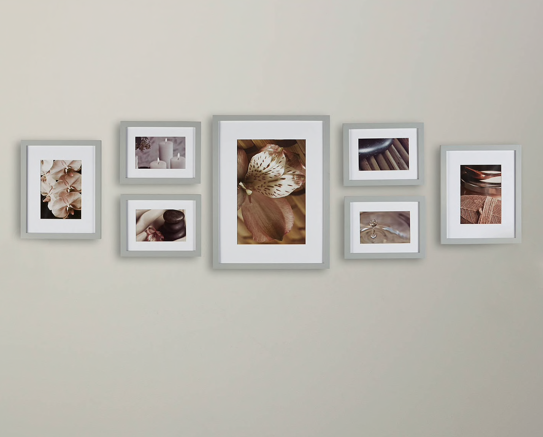
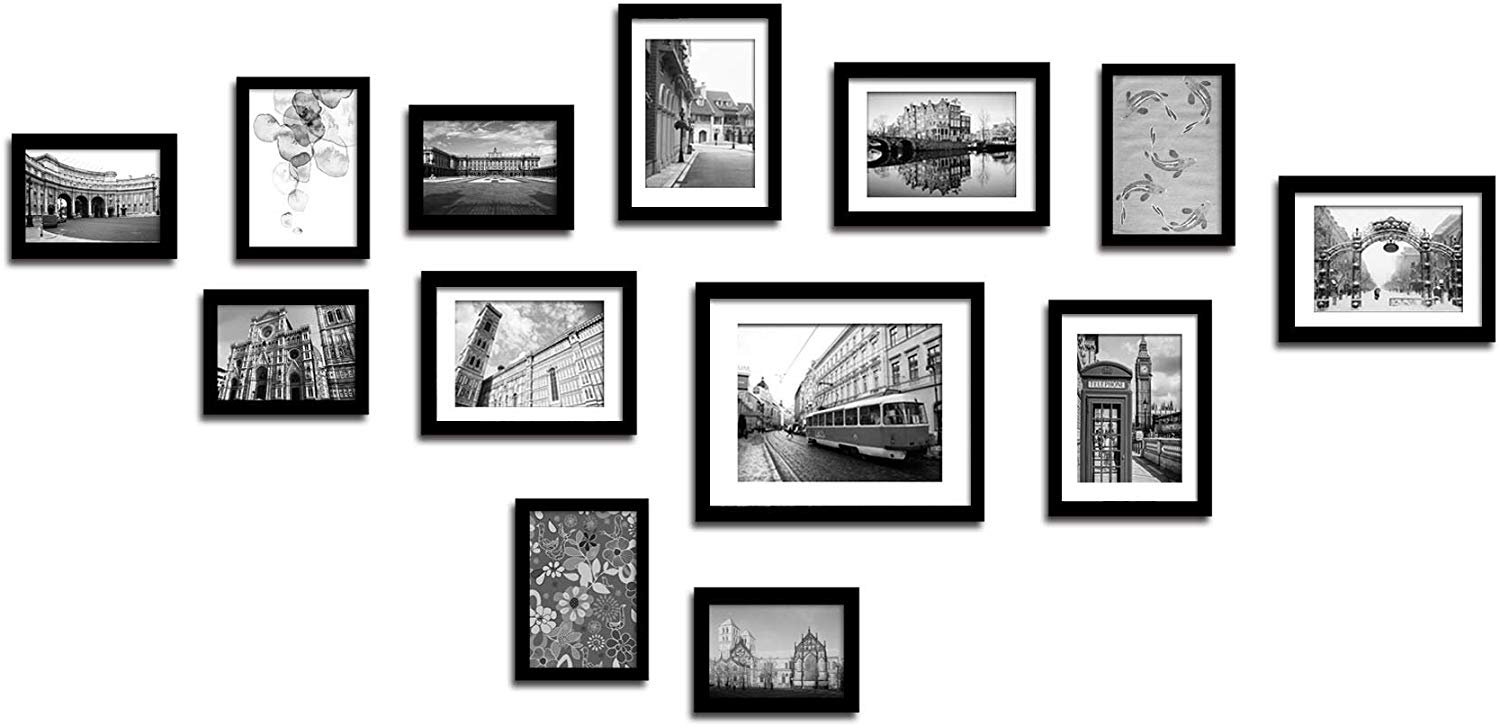
ALIGNED SHAPE
You can use different coloured frames but you can link by having all the images in black and white.
ALIGNED SHAPE – SPIRAL
This is another kind of aligned shape. This is handy if you’ve got all different sizes and shapes but want to make a neat and orderly wall.
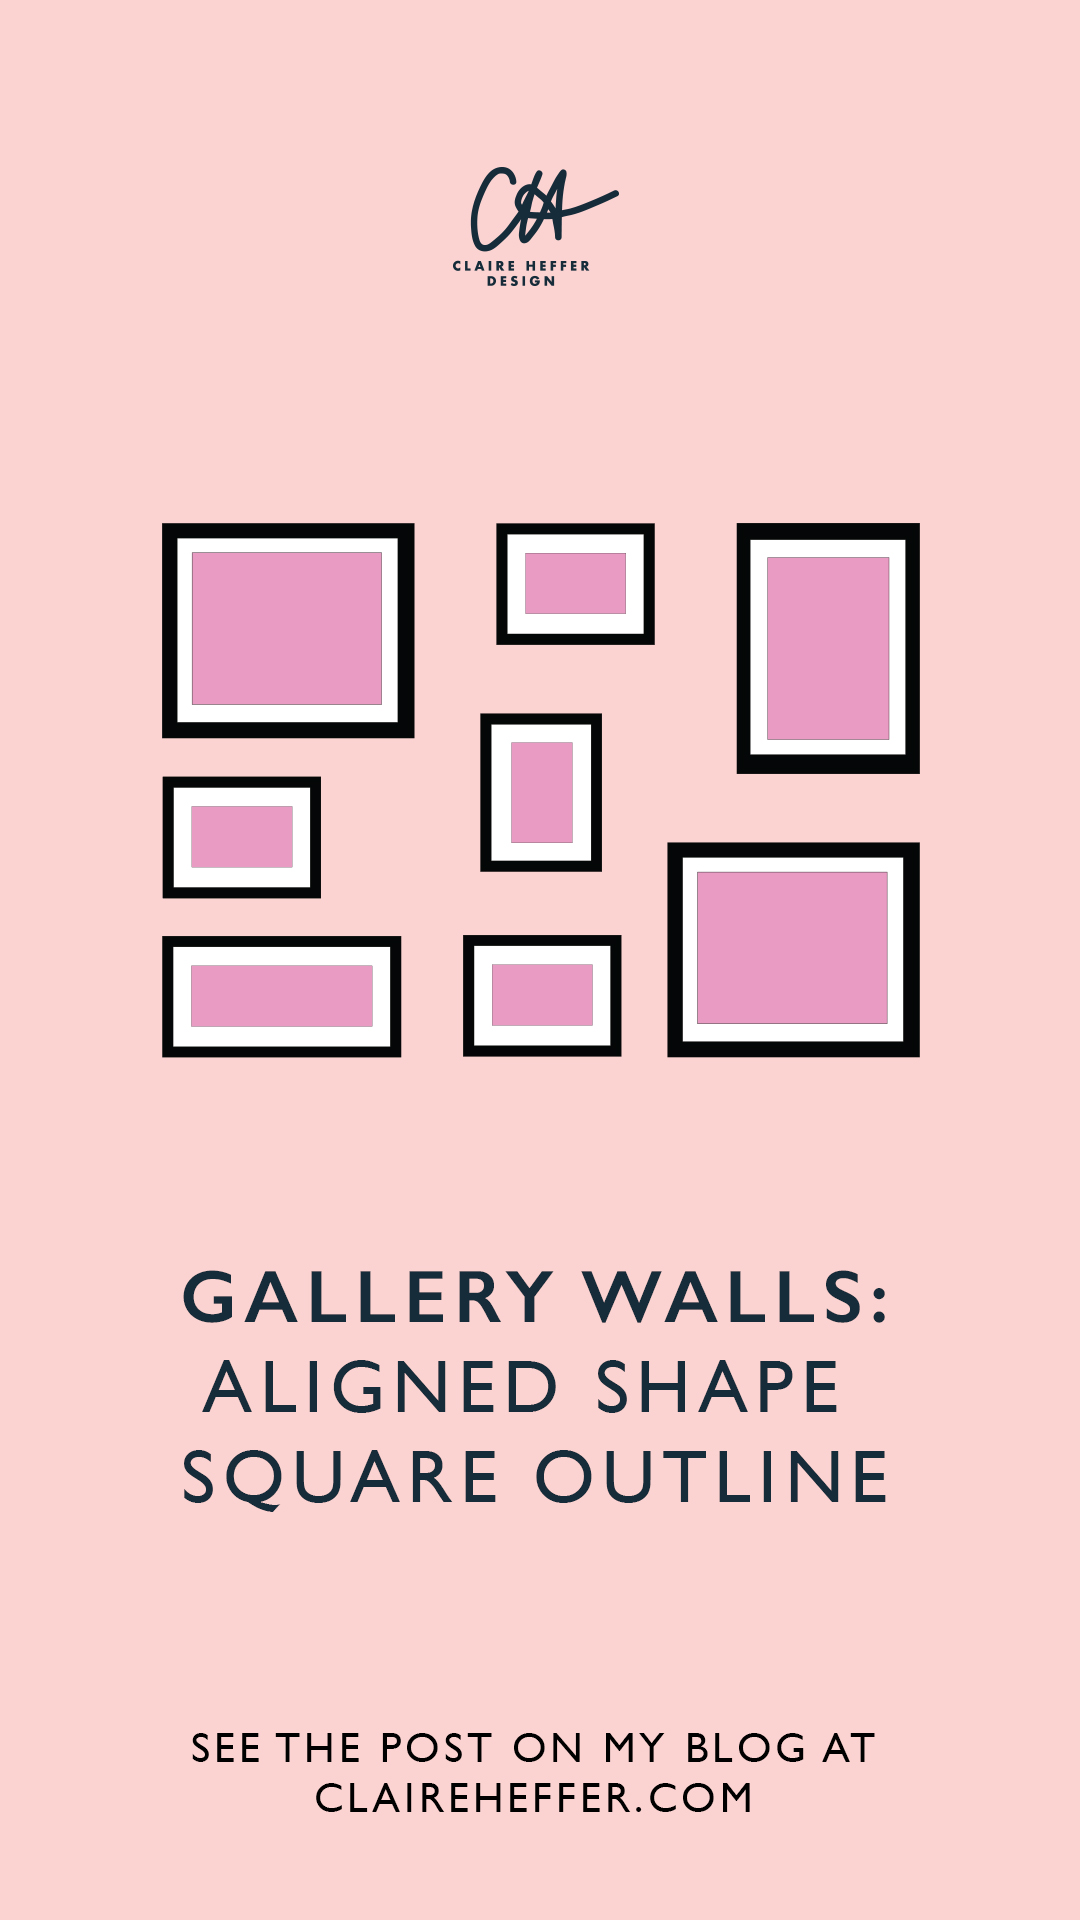
ALIGNED SHAPE – SQUARE OUTLINE
This is another kind of aligned shape. This is handy if you’ve got all different sizes and shapes but want to make a neat and orderly wall.

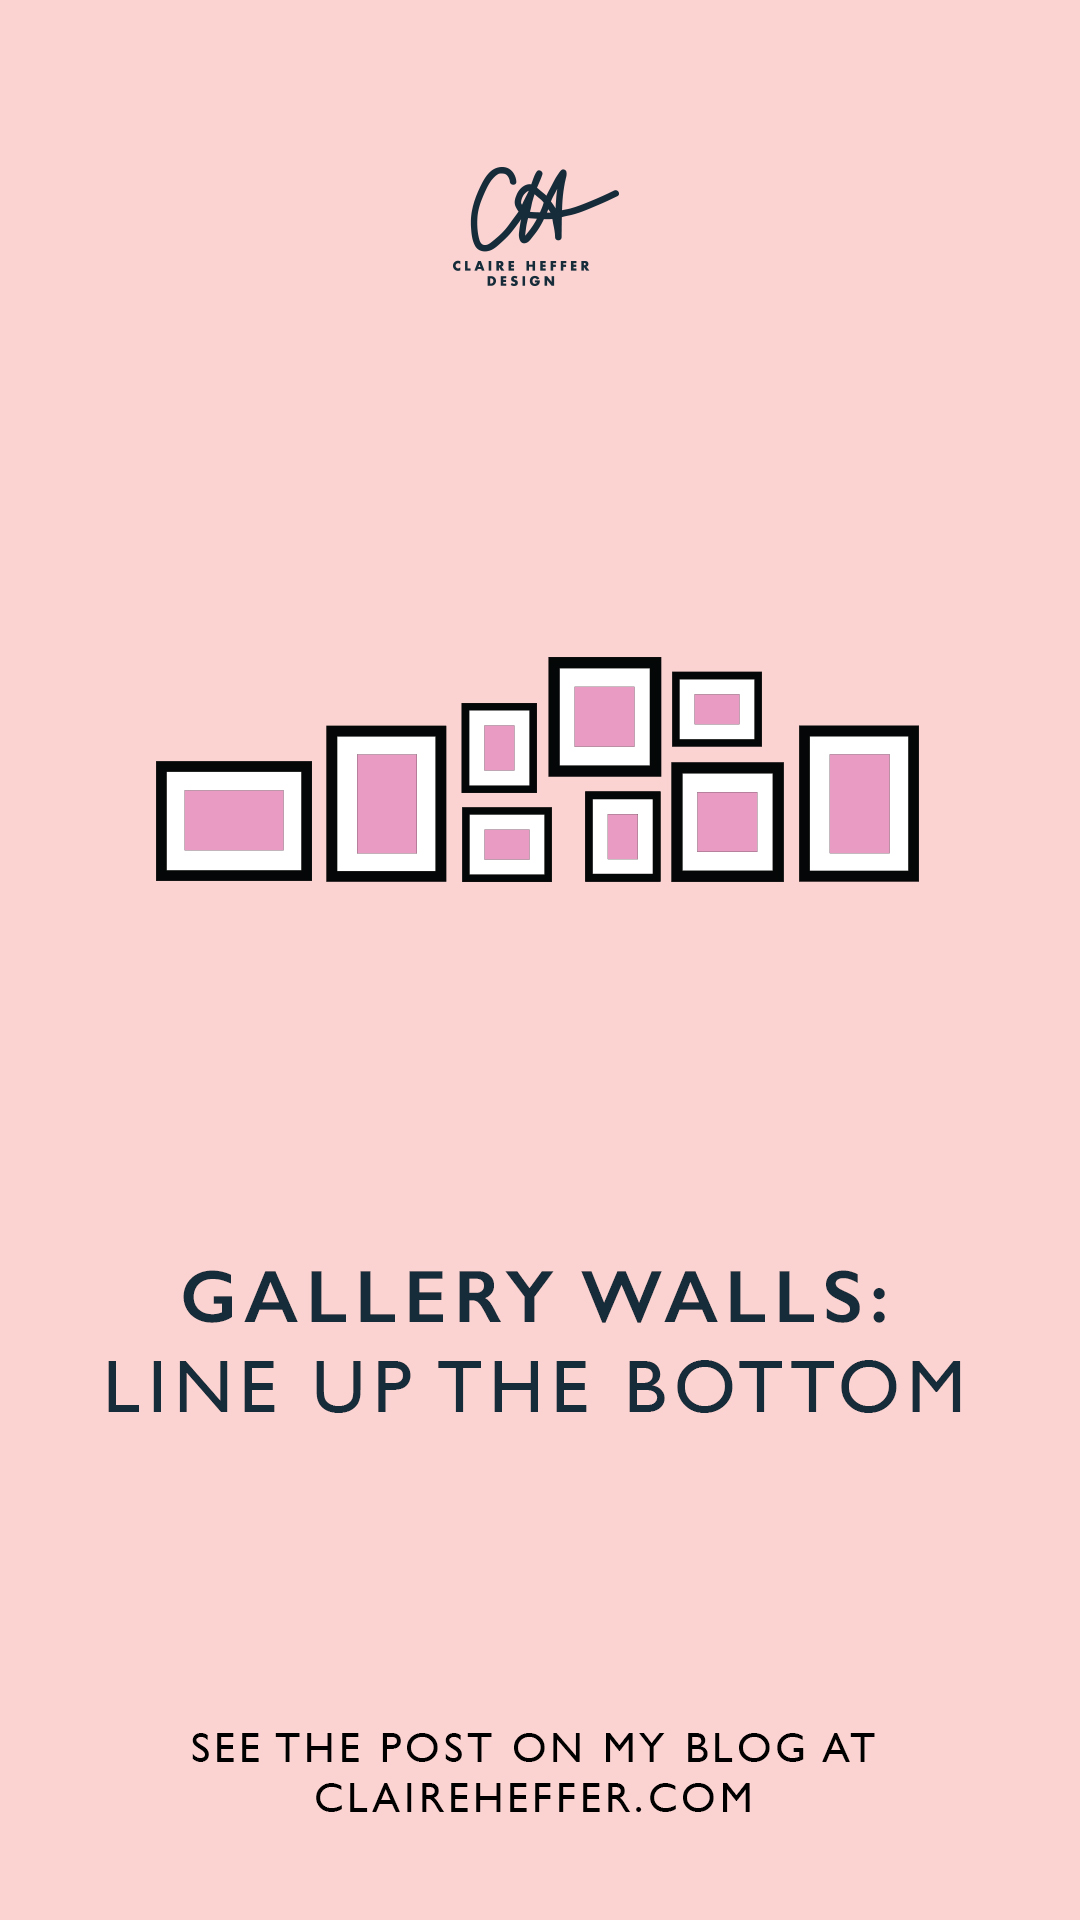
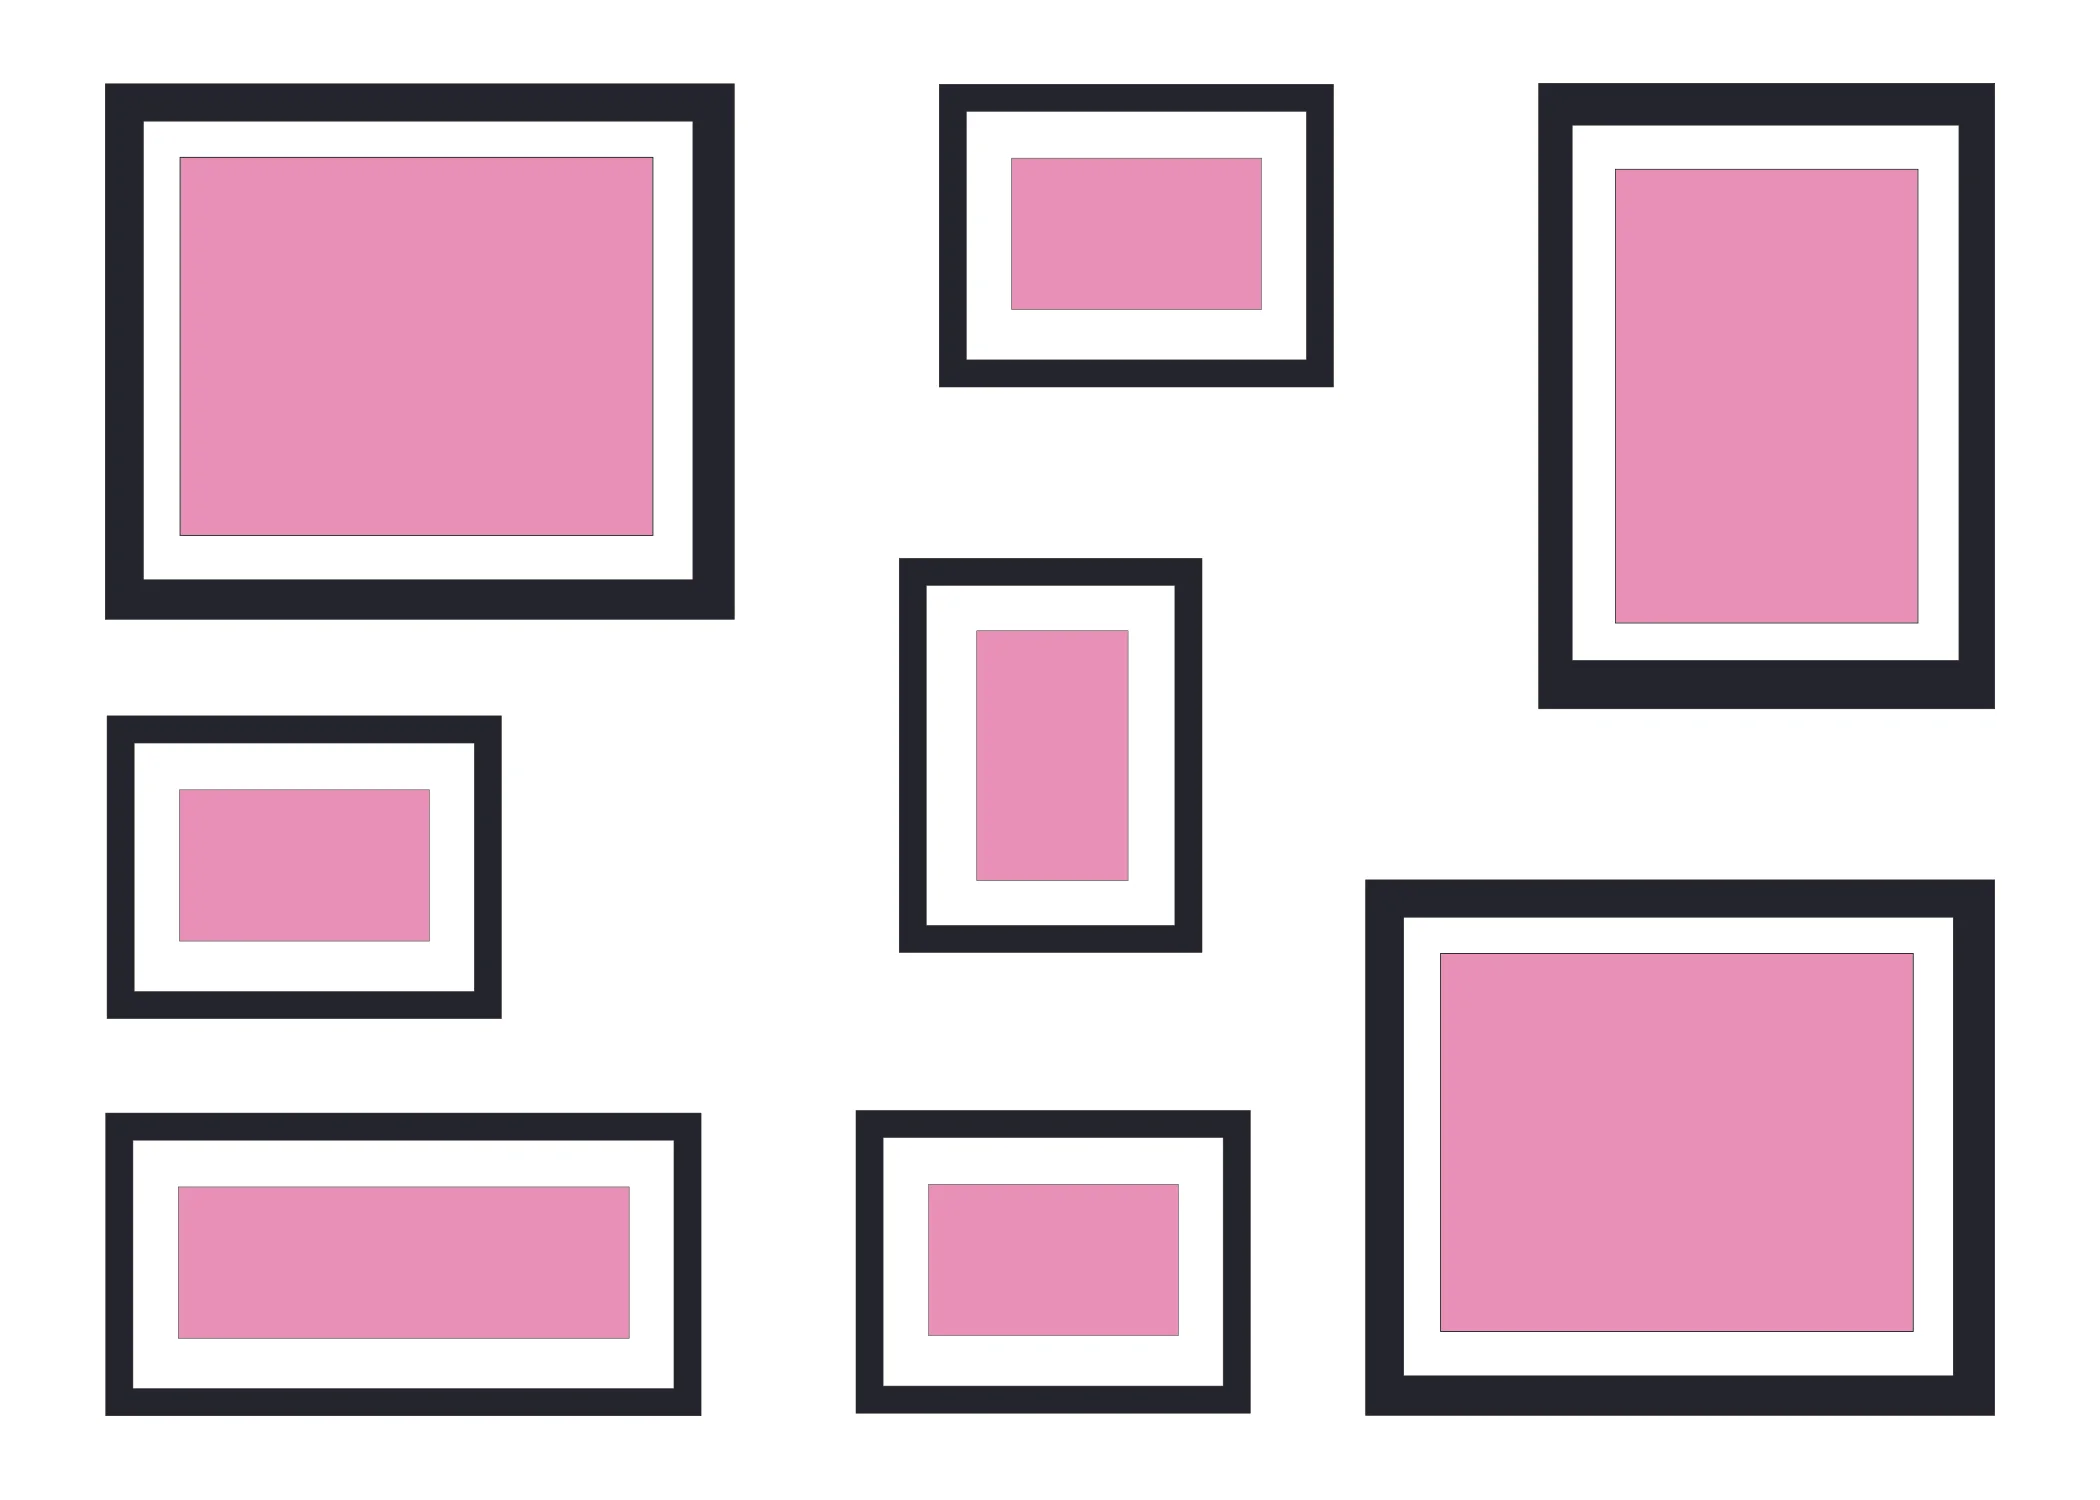
LINE UP THE BOTTOM
This style is great if you have a wide range of different size prints – you can link them all by having frames of the same colour.

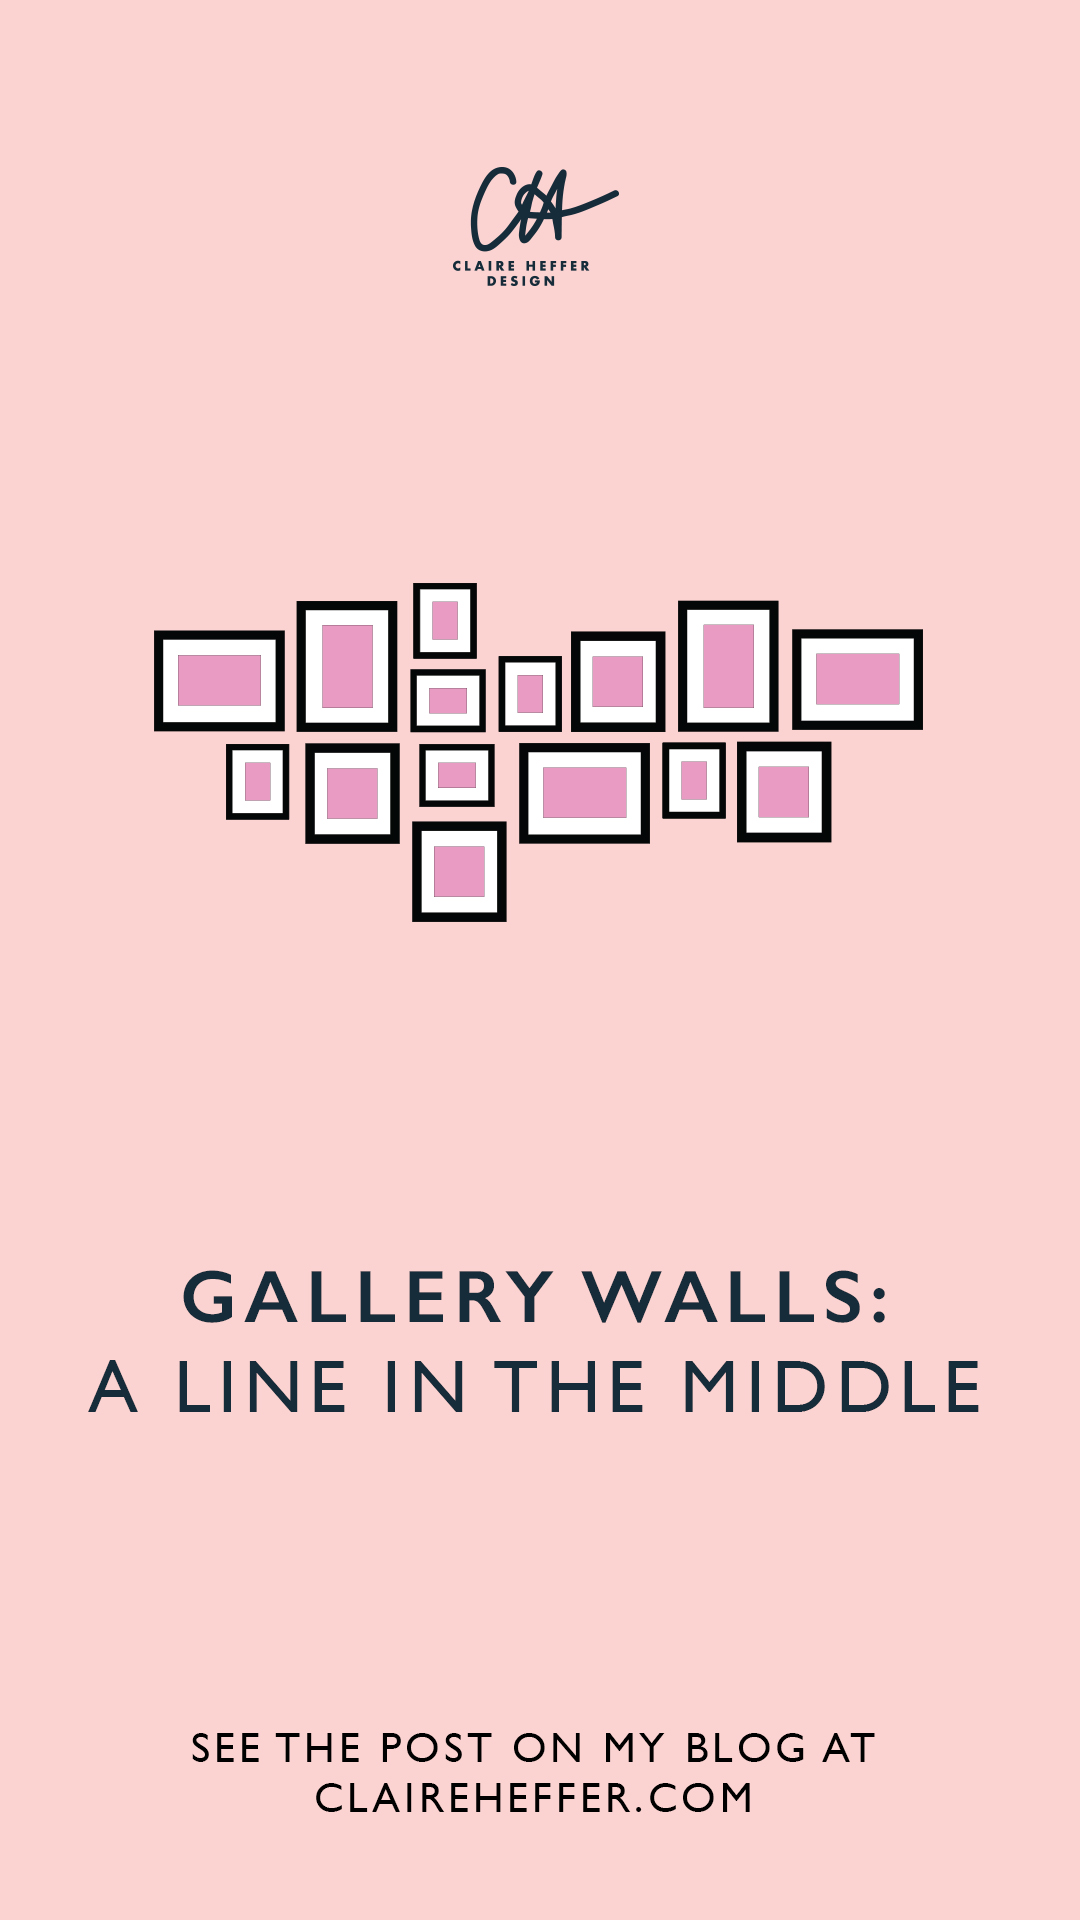
A LINE IN THE MIDDLE
If you have a mix of different sizes and frames then this works to align them – you could link the images by a signature colour that’s in each print.
CHEVRON
This style is great if you have frames all of the same size and style. It’s great if you have narrative stories and want your eyes to follow a line.

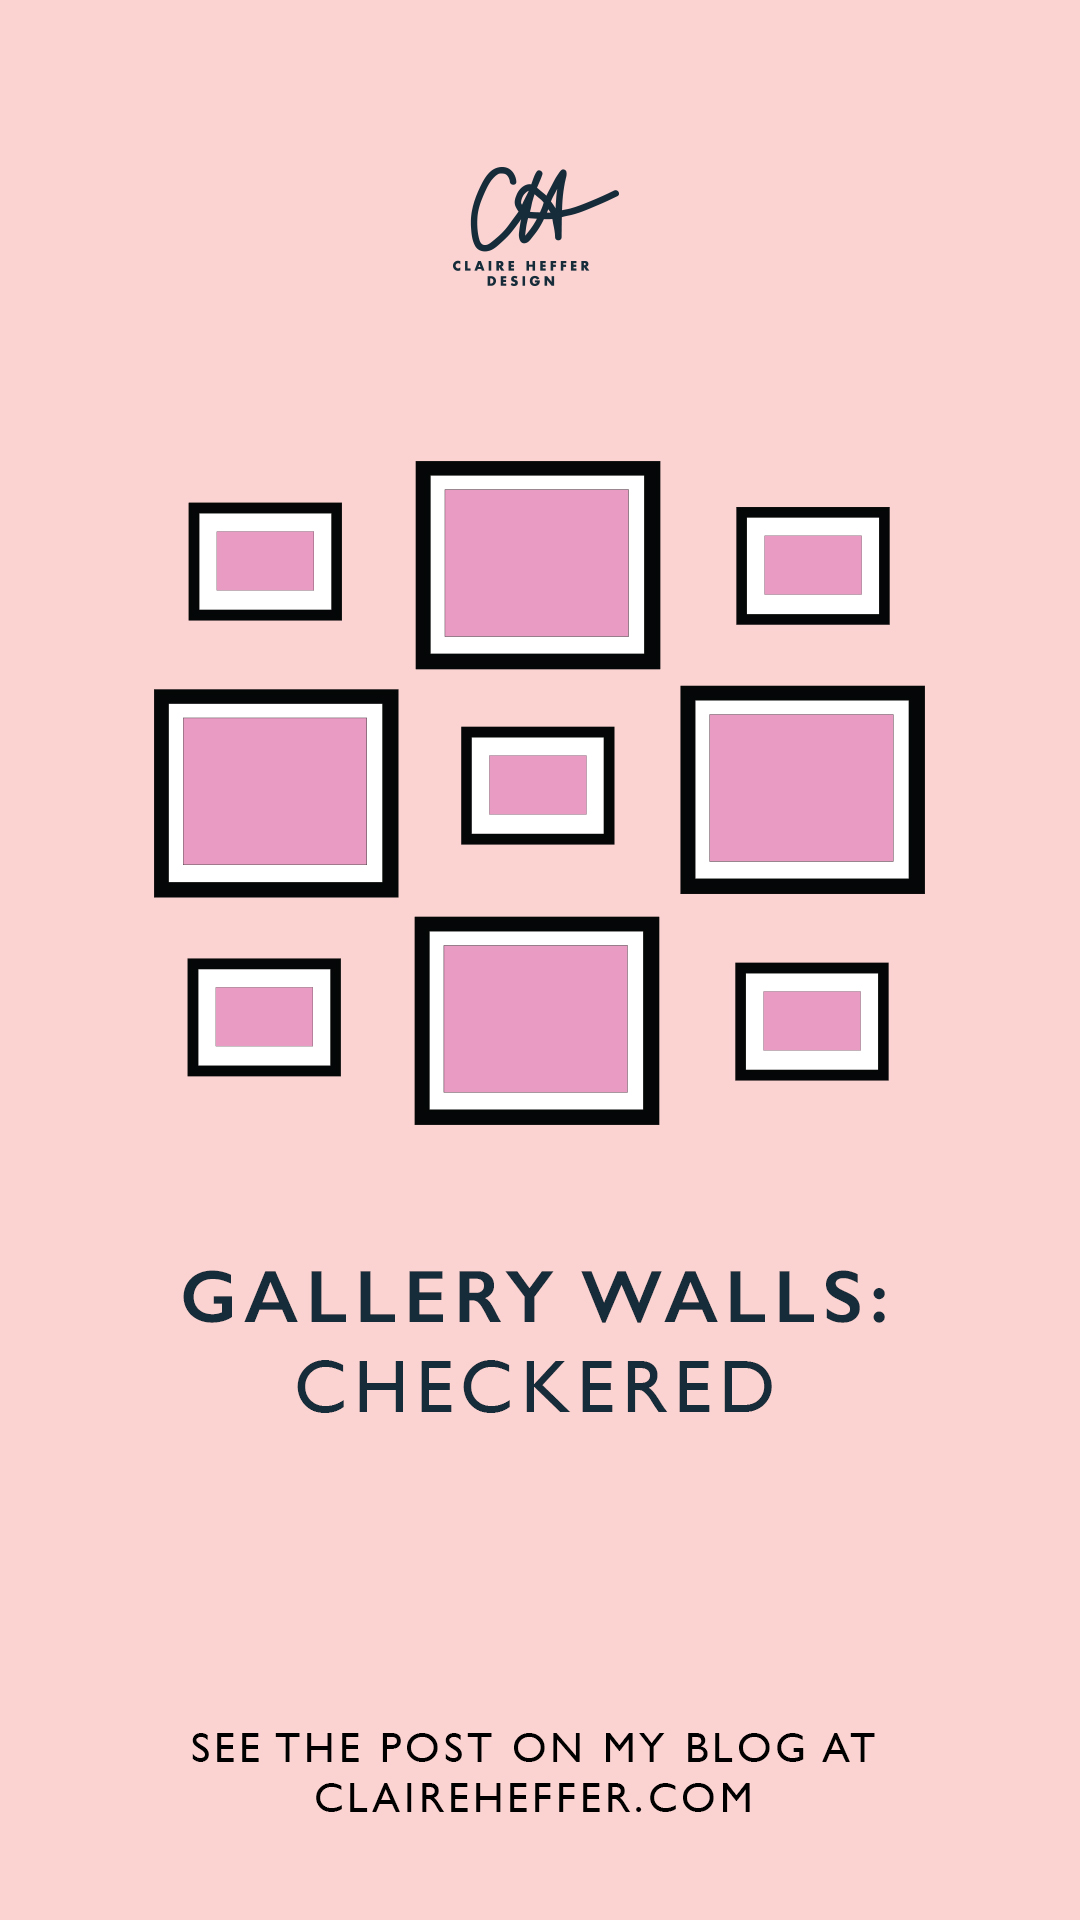
CHECKERED
This style is great for those holiday shots as they make the most of landscape prints.

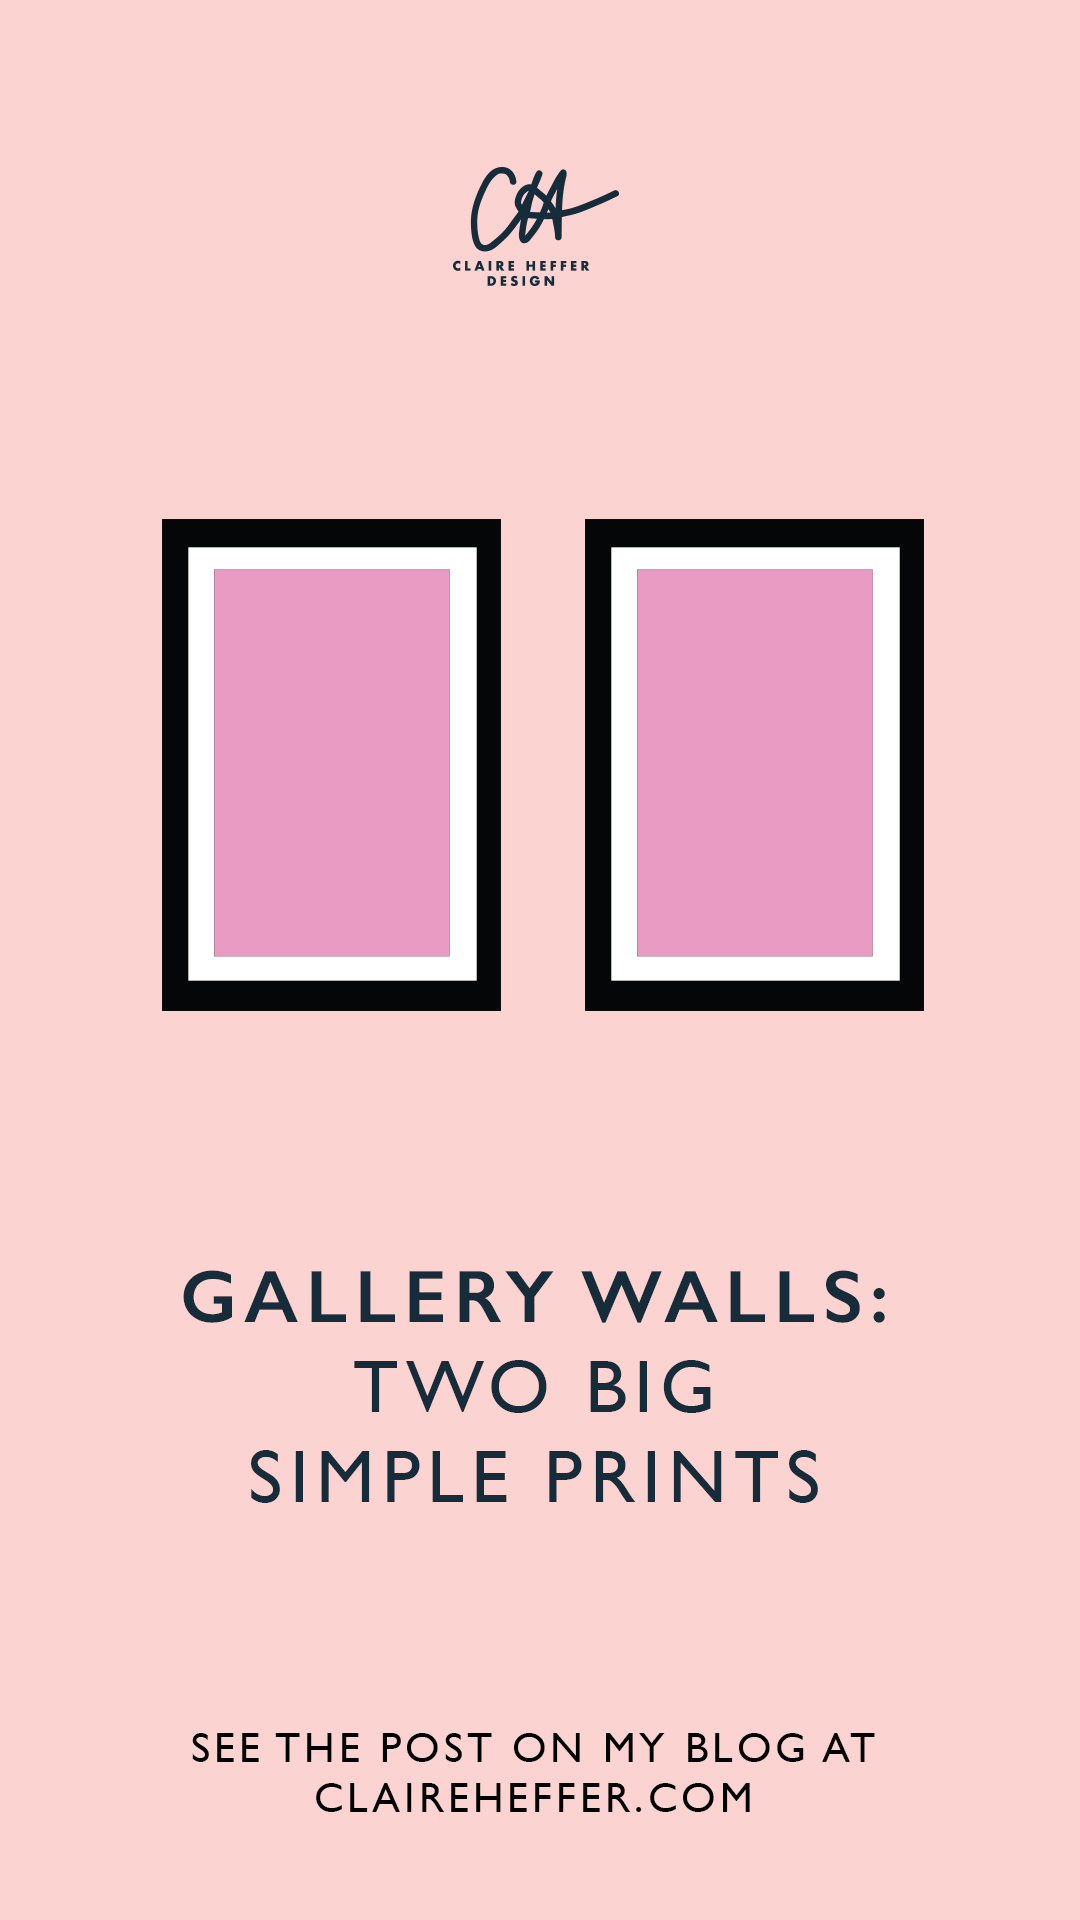
TWO BIG SIMPLE PRINTS
This example is great for big modern spaces.

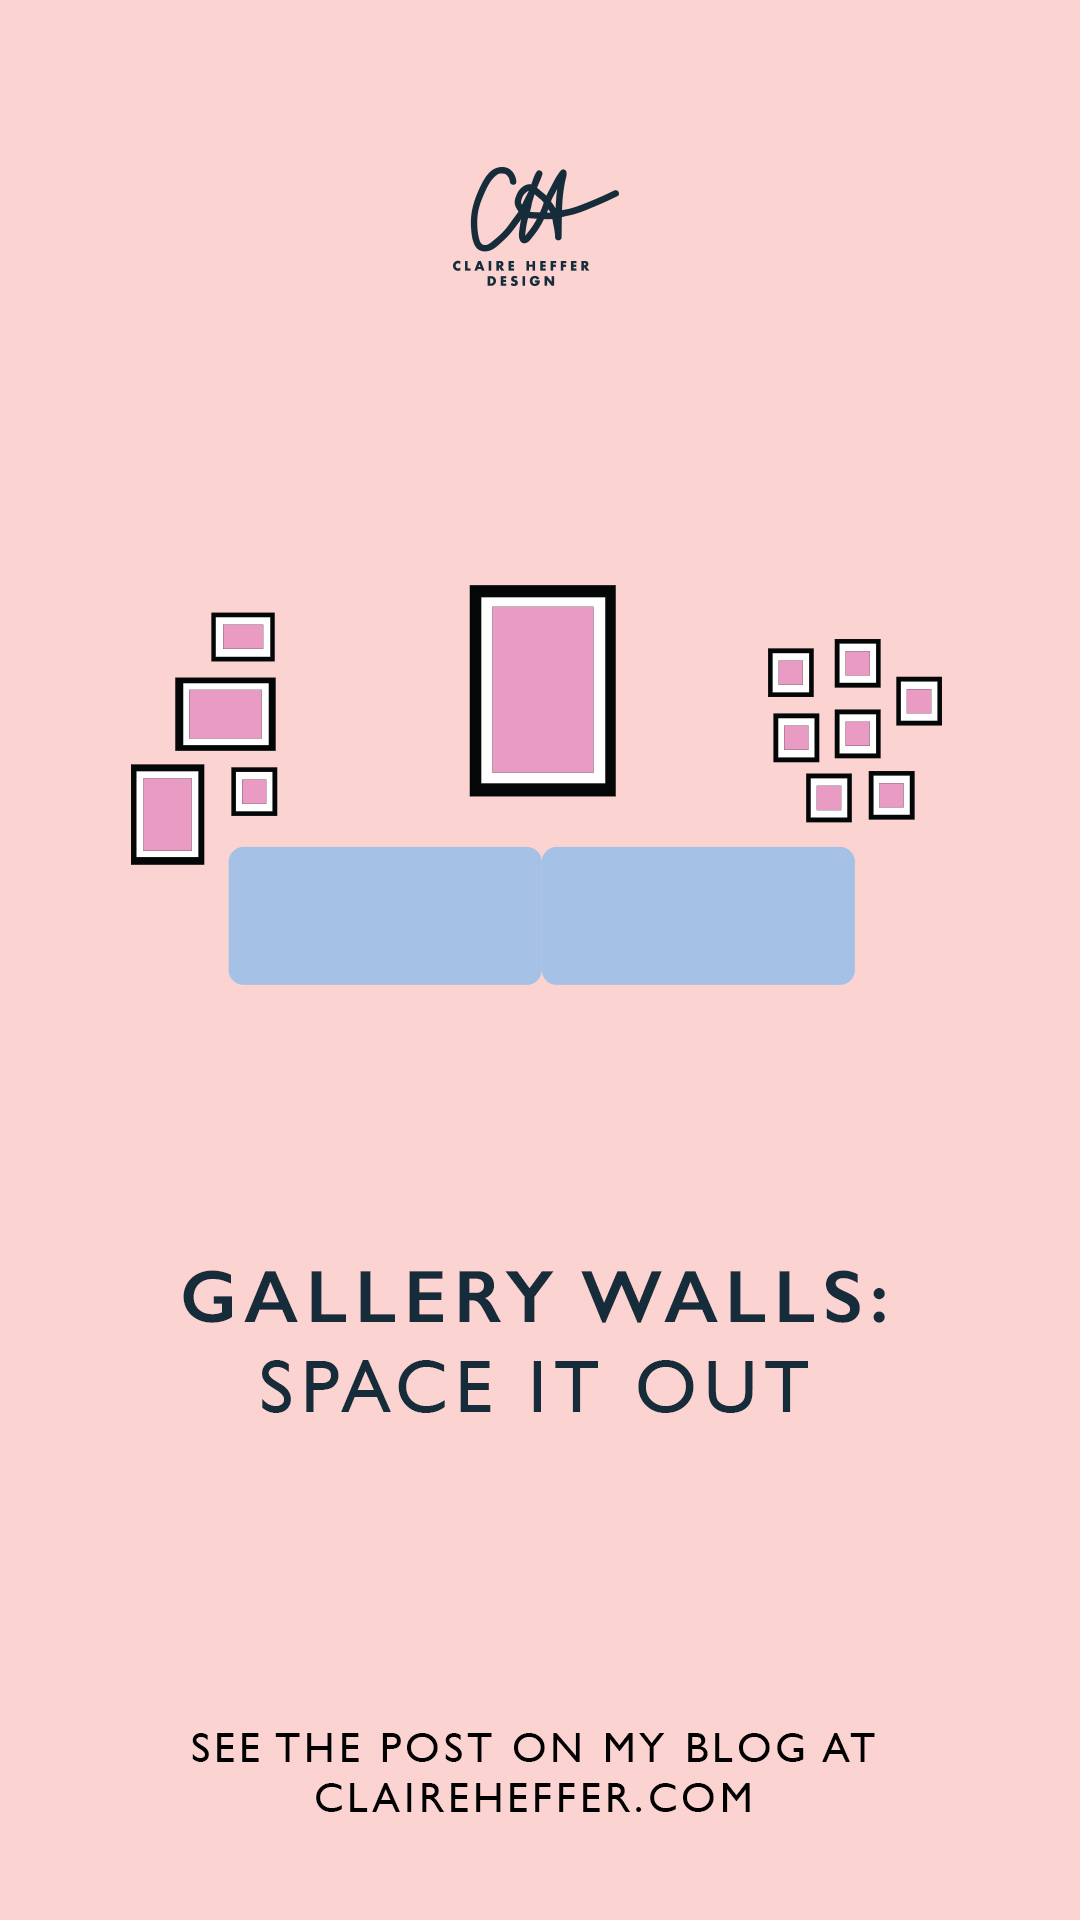
SPACE IT OUT
If you’ve split a larger room into sections you might want art to also define these areas.

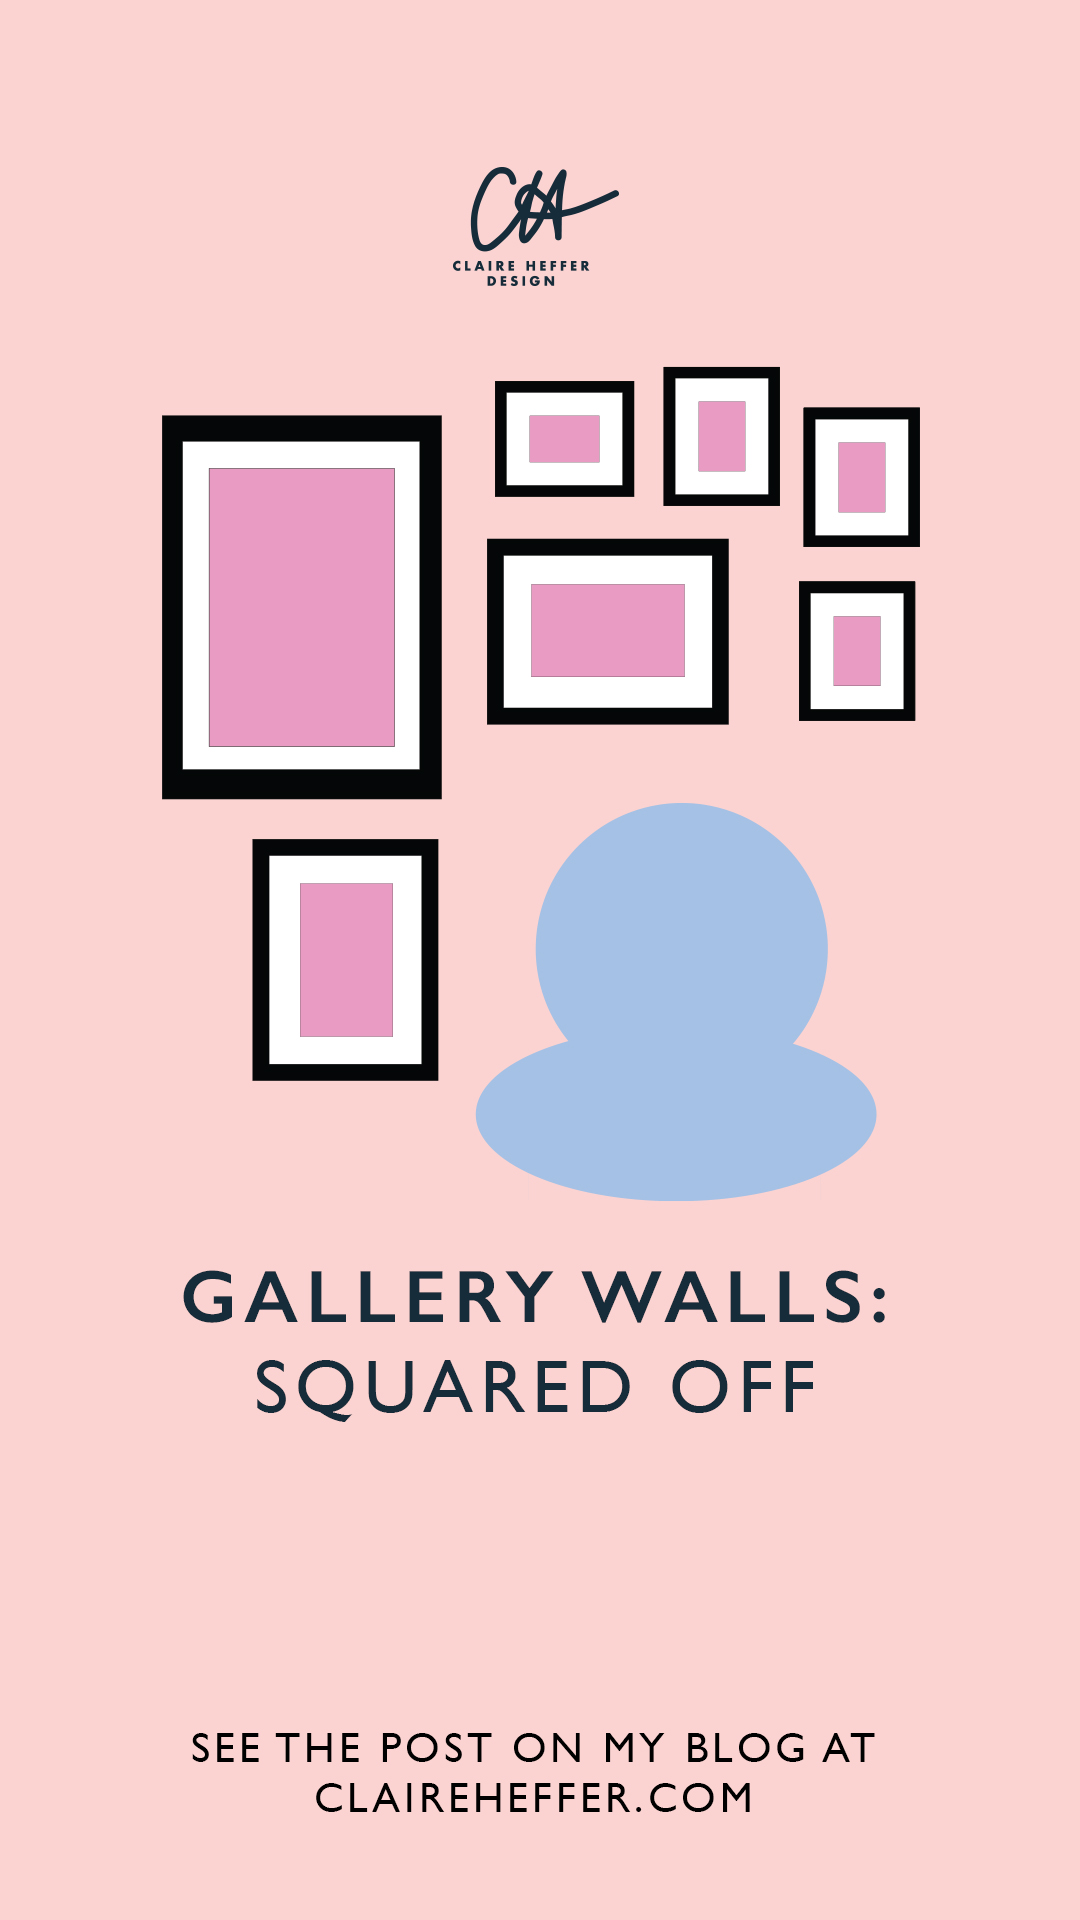
SQUARED OFF
Go around something with a square corner – this style is great if you want to draw attention to a piece of statement furniture.

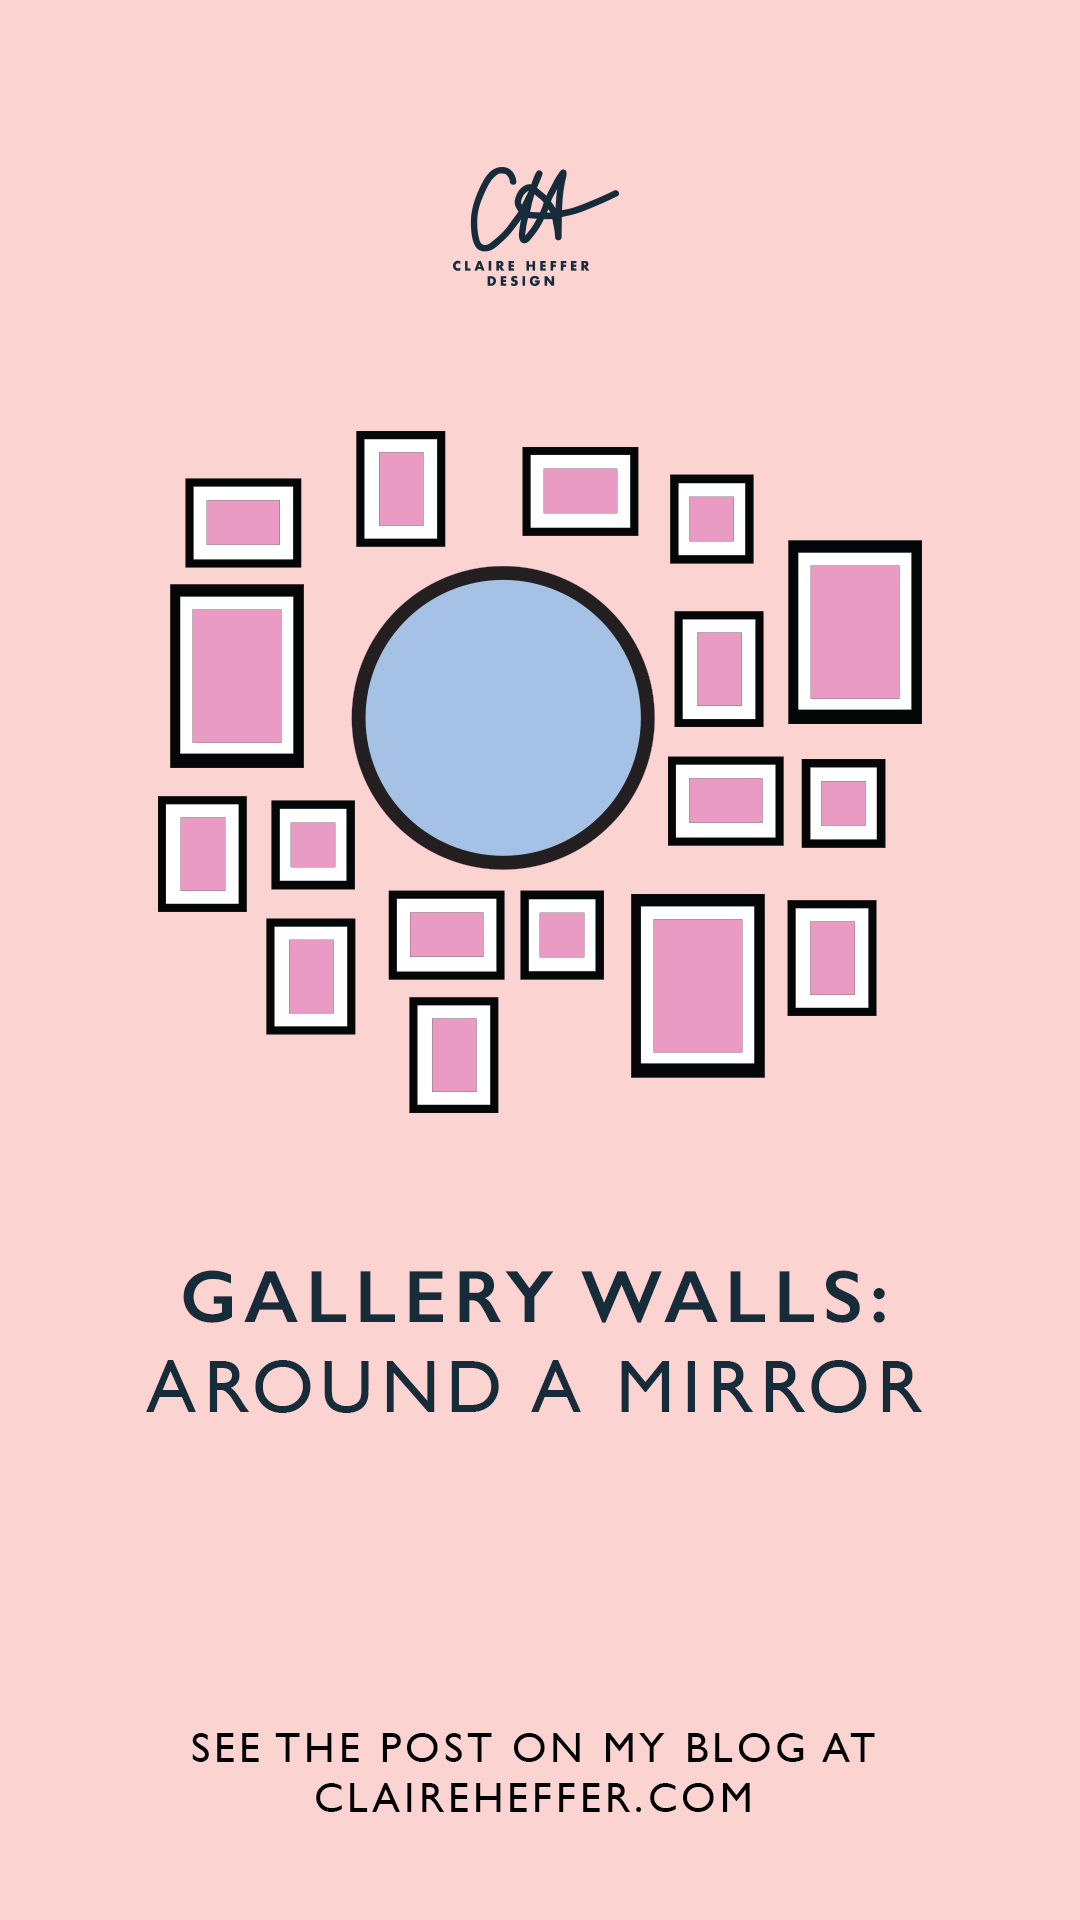
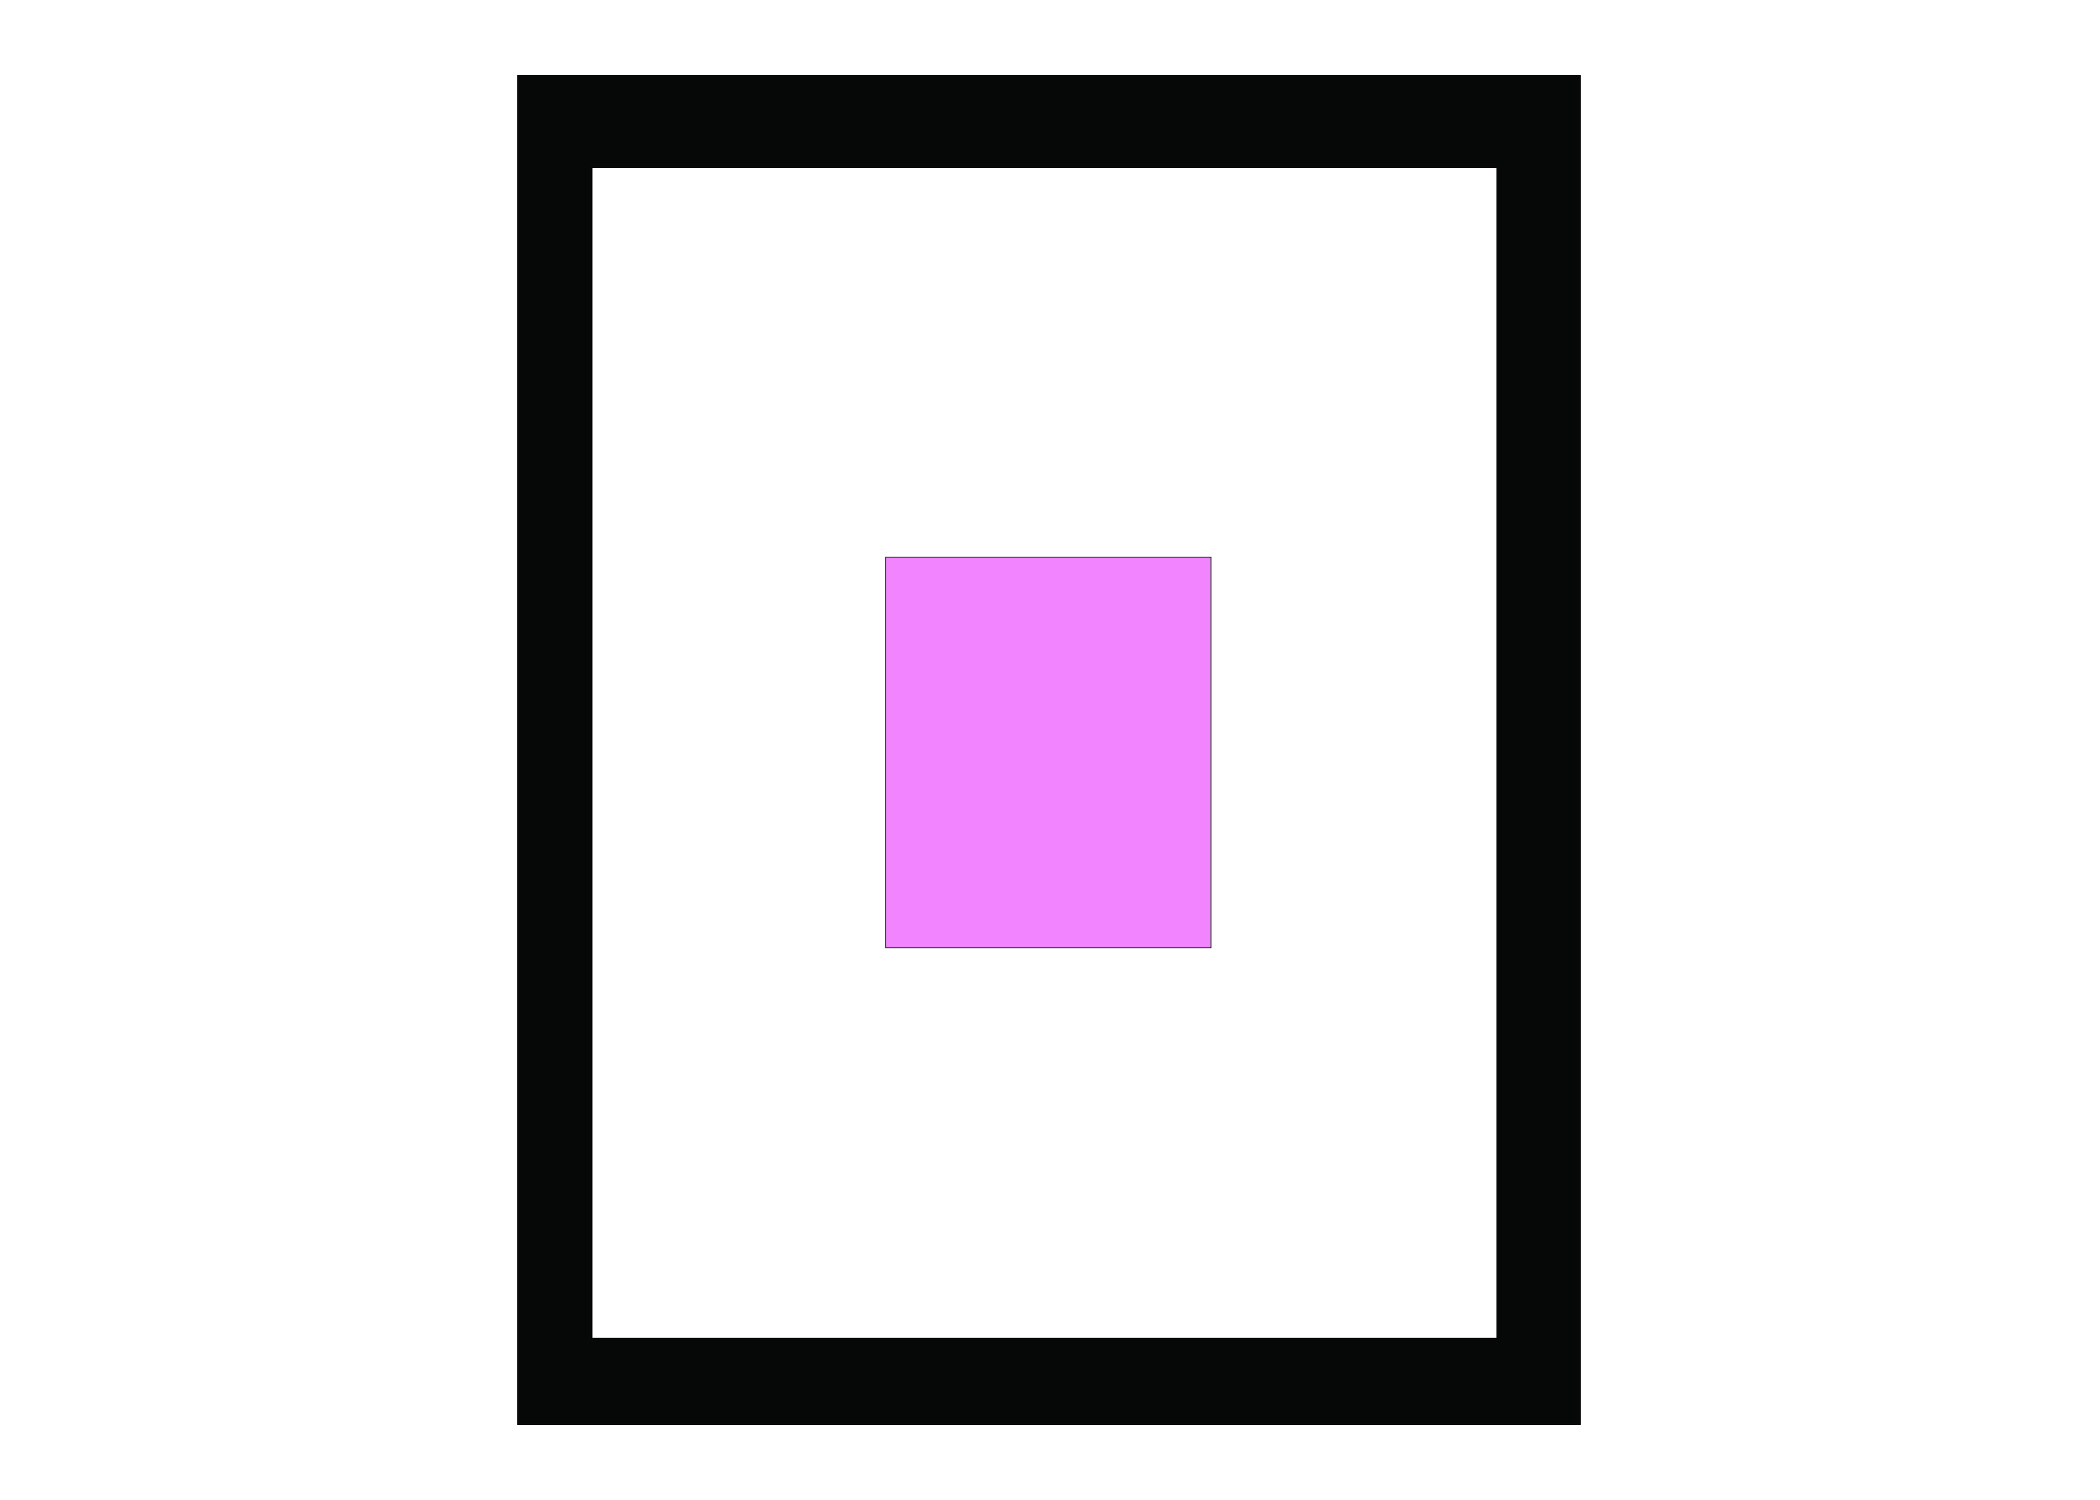
AROUND A MIRROR
Great for smaller prints – this could work for vintage mirrors and prints but you could give it a modern monochrome twist. If going for a vintage theme you can link by age.

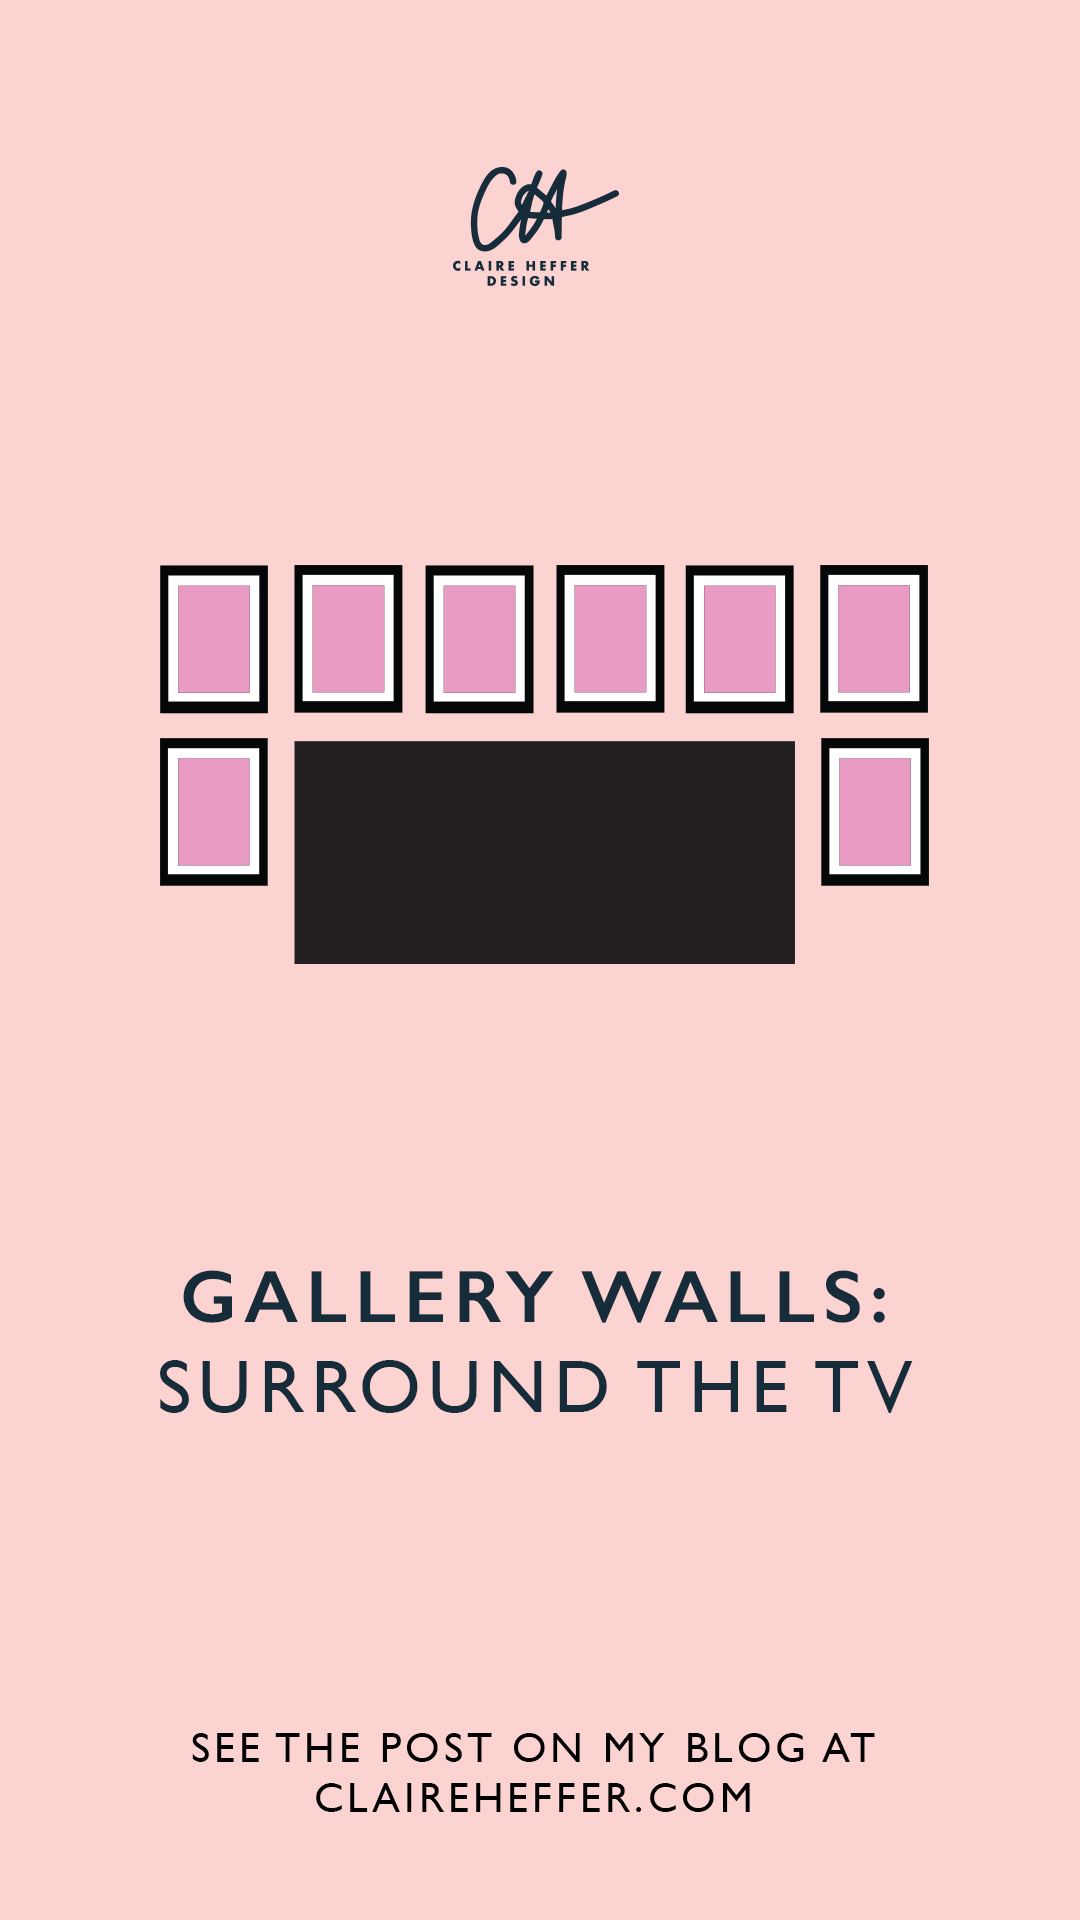
SURROUND THE TV
Use a grid and keep the prints minimal to stop from distracting too much when you’re watching the television – this gallery wall will make your tv area more attractive.

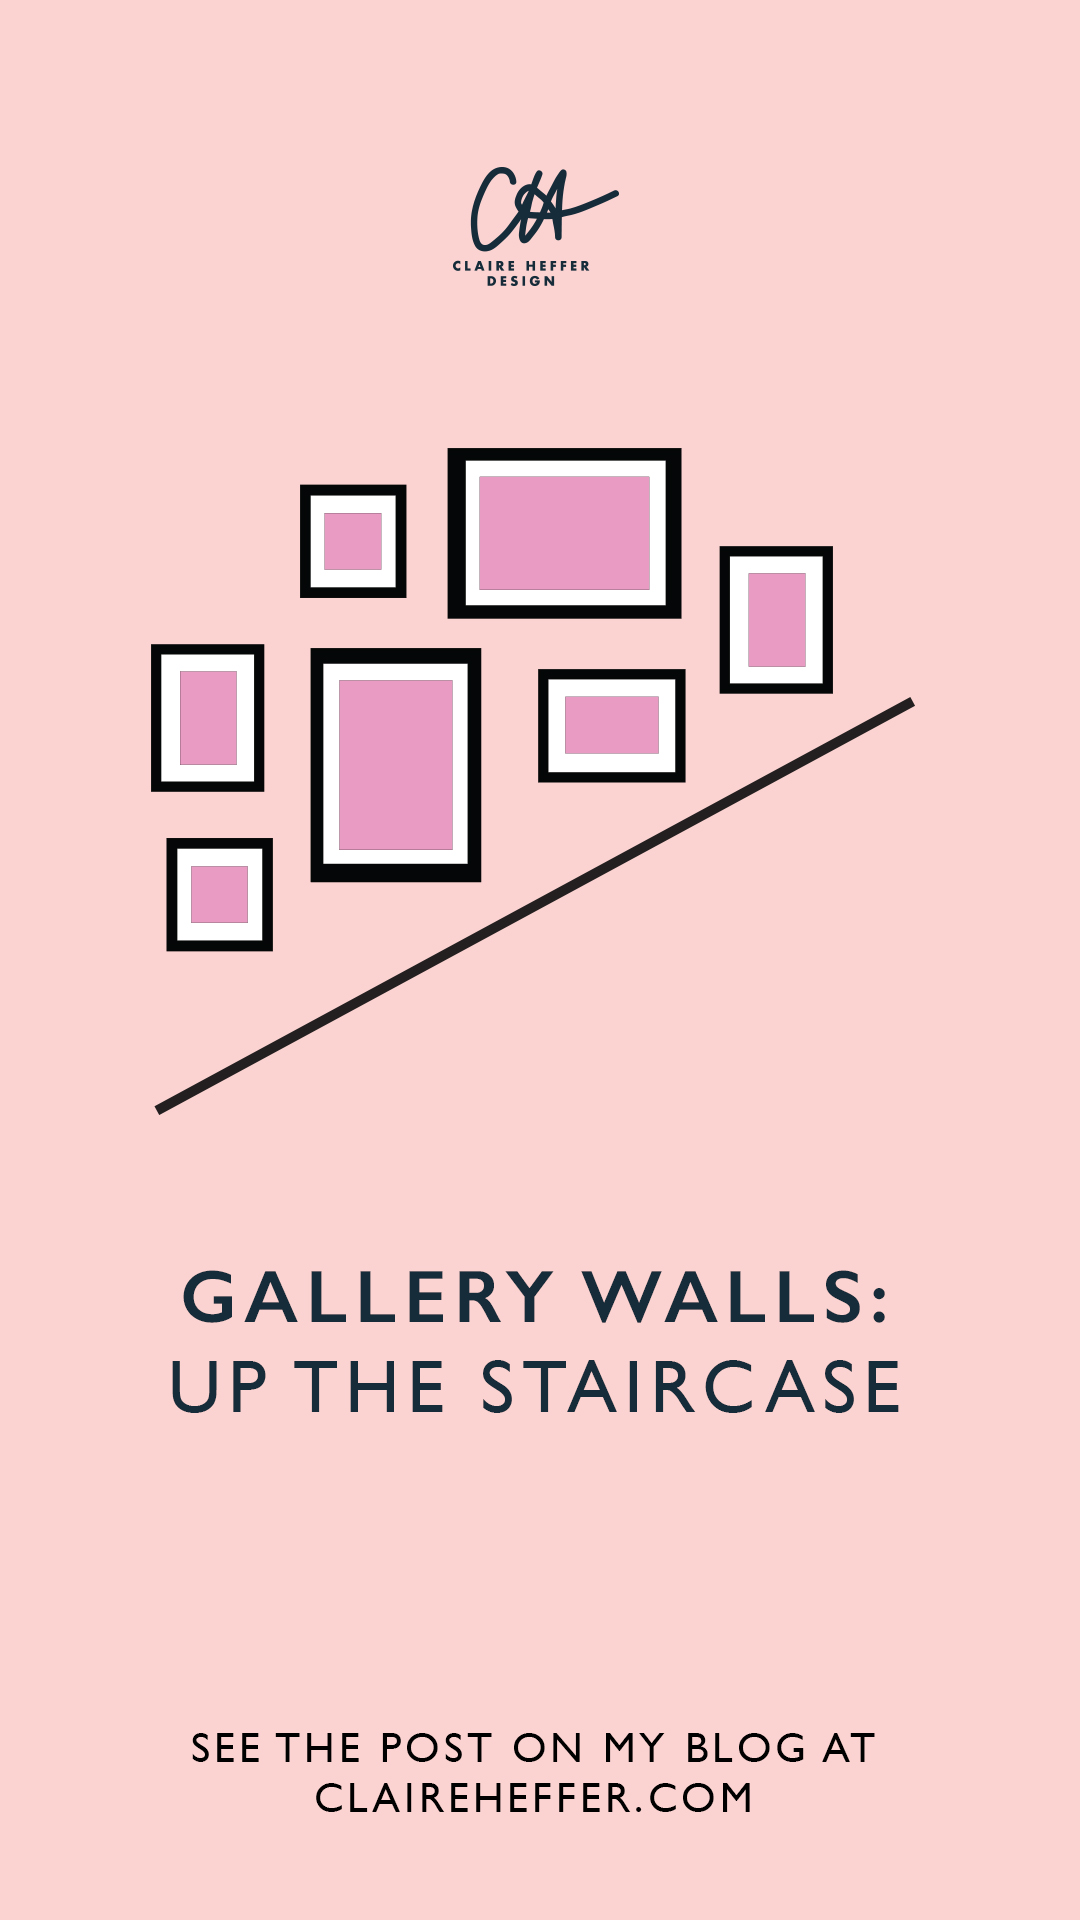
UP THE STAIRCASE
Follow the angle up the stairs. This is a very simple concept – you can use matching frames and sizes of you could use a mix of different sizes and shapes.

IN THE CORNER
To make this work, keep the two sizes the same distance from the corner. This style is quirky enough that you can use a mix of different style frames and sizes.

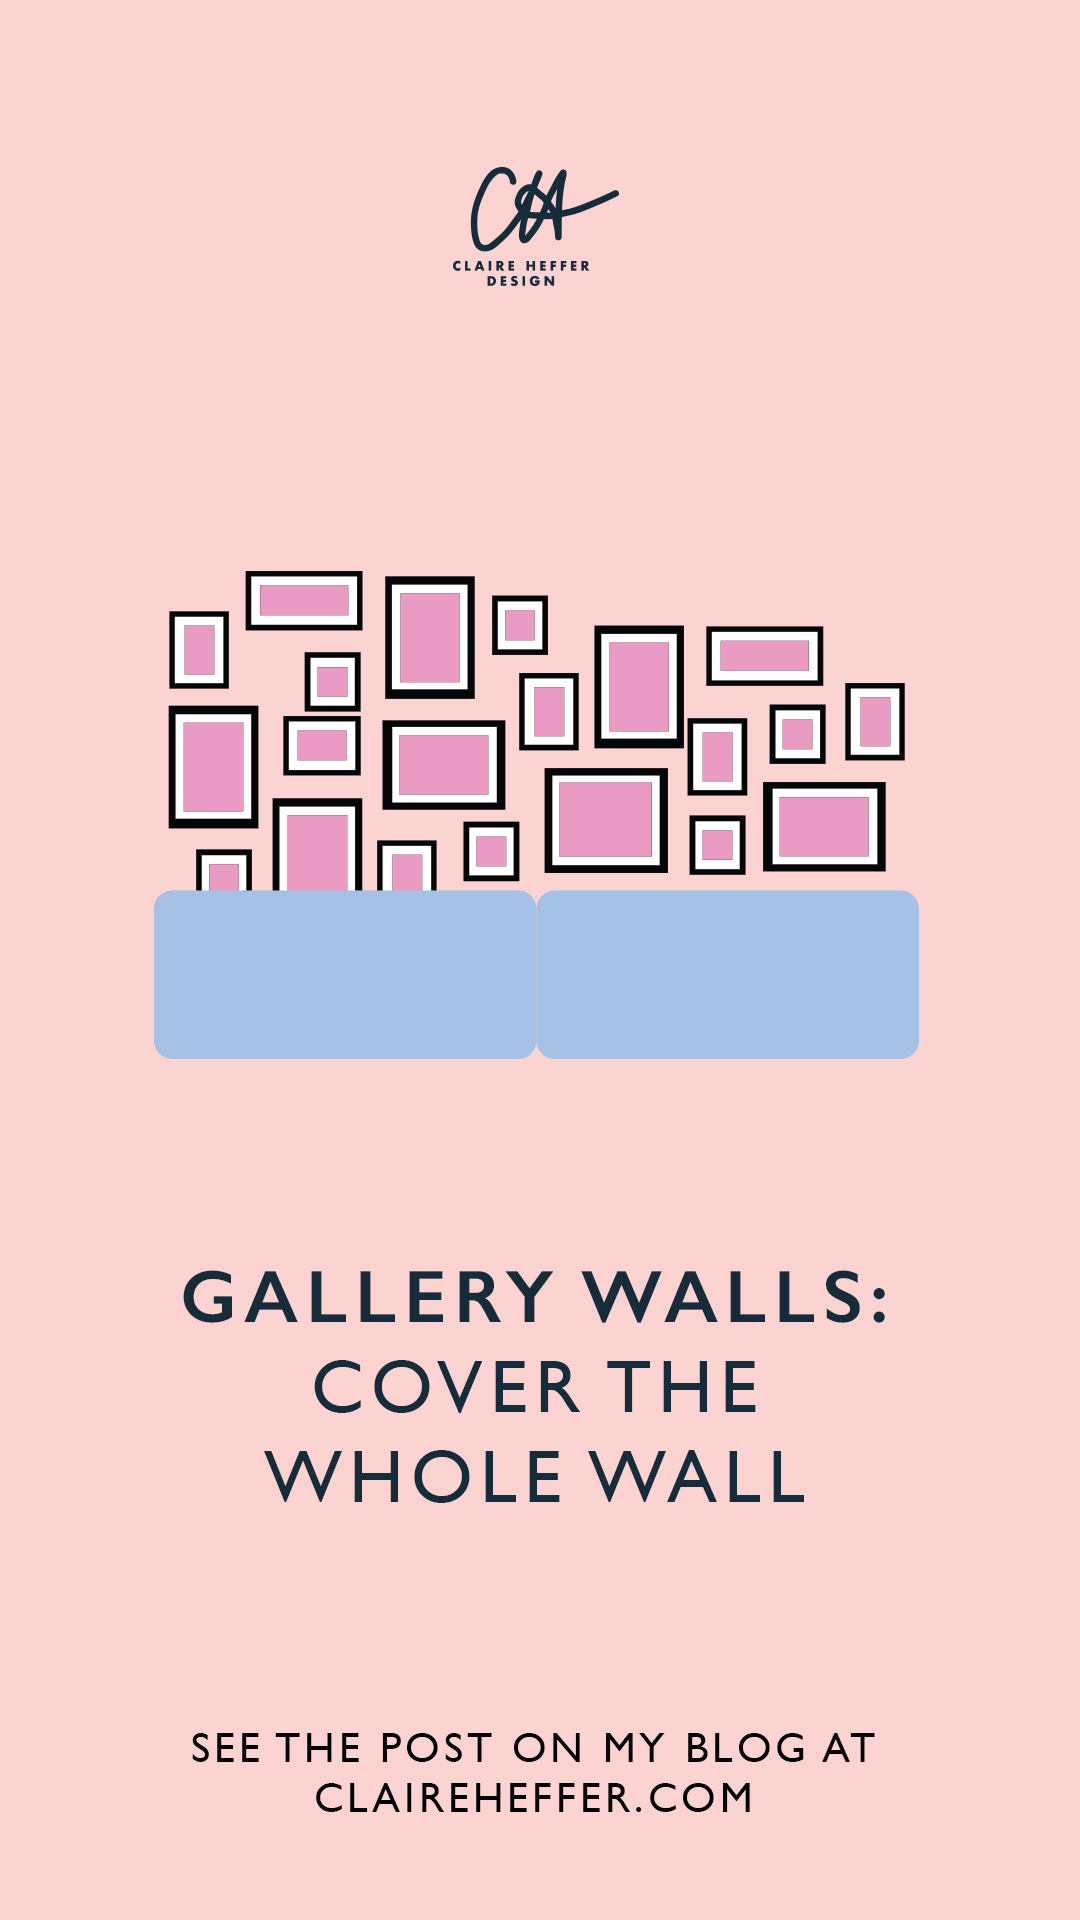
COVER THE WHOLE WALL
This works best if you’ve got monochrome prints as too much colour creates a colour clash that can be a little much for a large space.

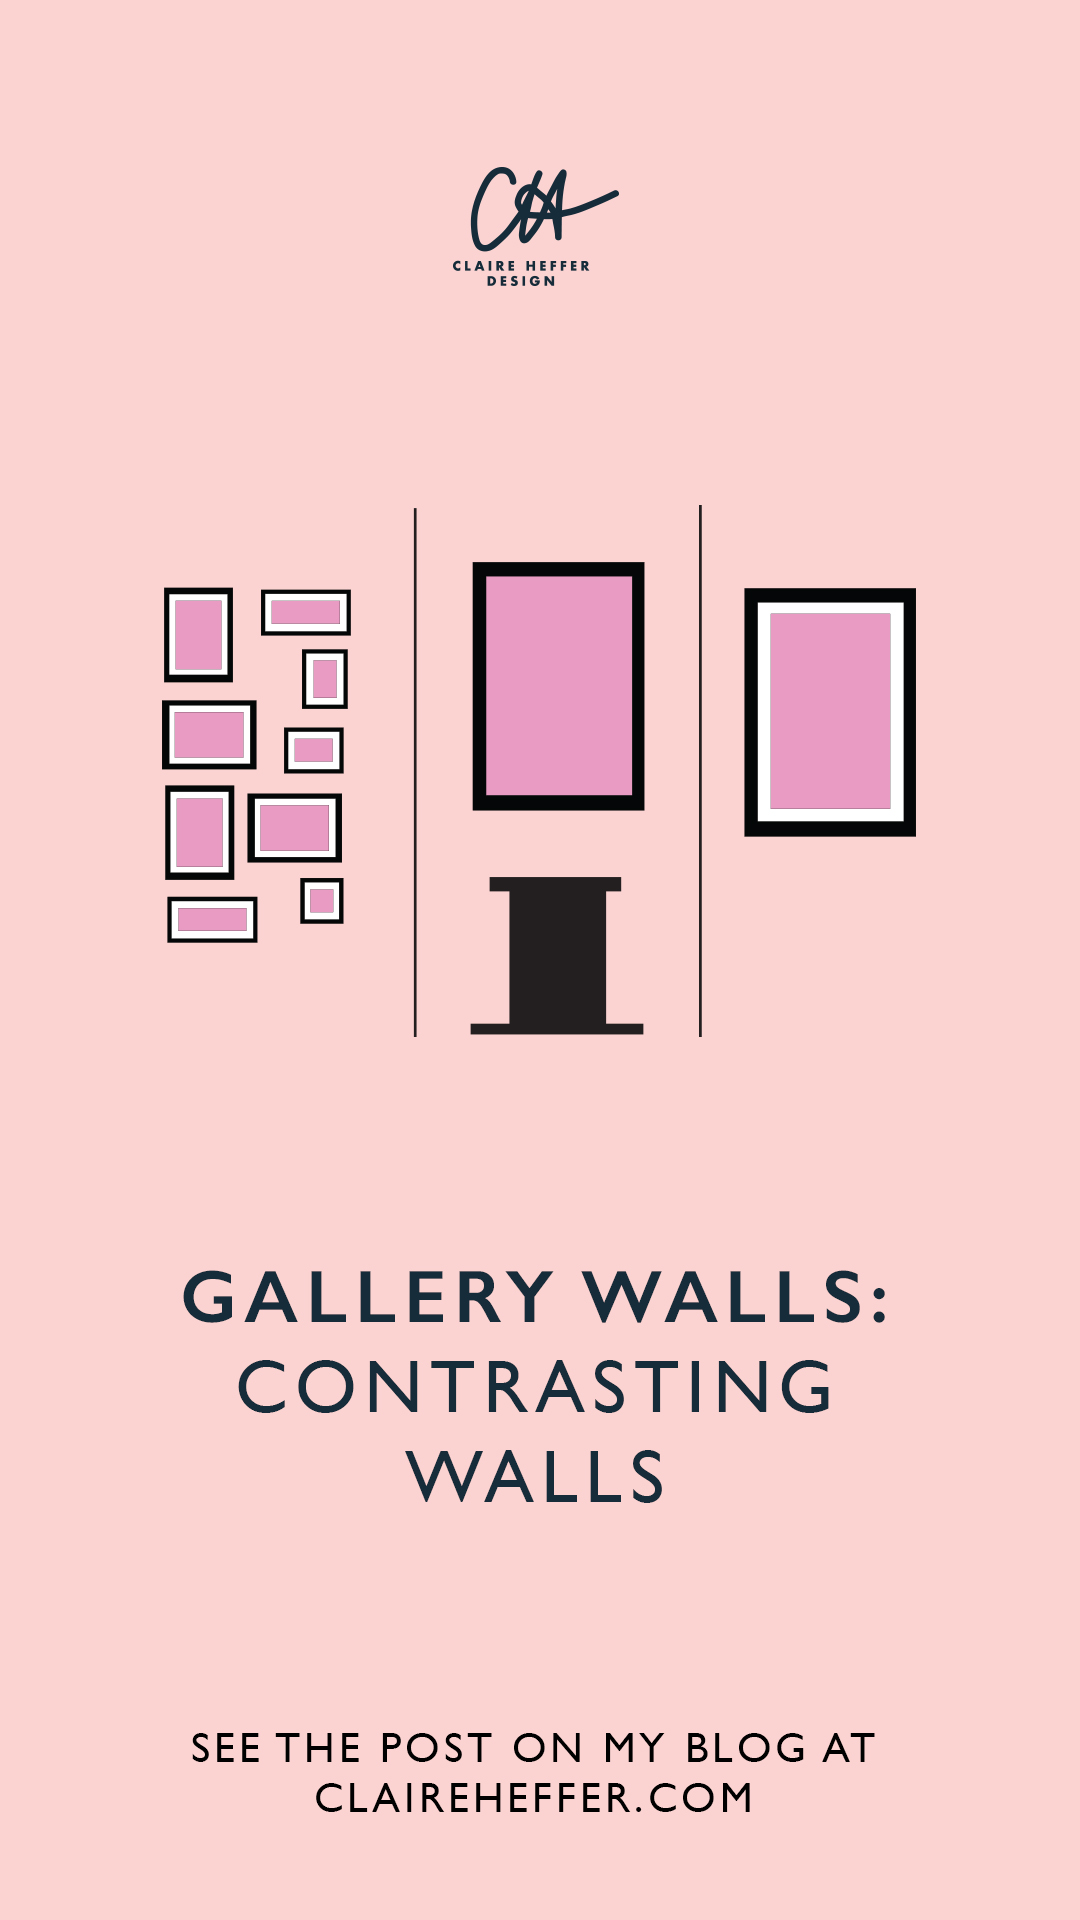
CONTRASTING WALLS
This is great if you’ve got a few different walls you want to cover with art. You could cover one wall with a gallery wall and others with big prints.

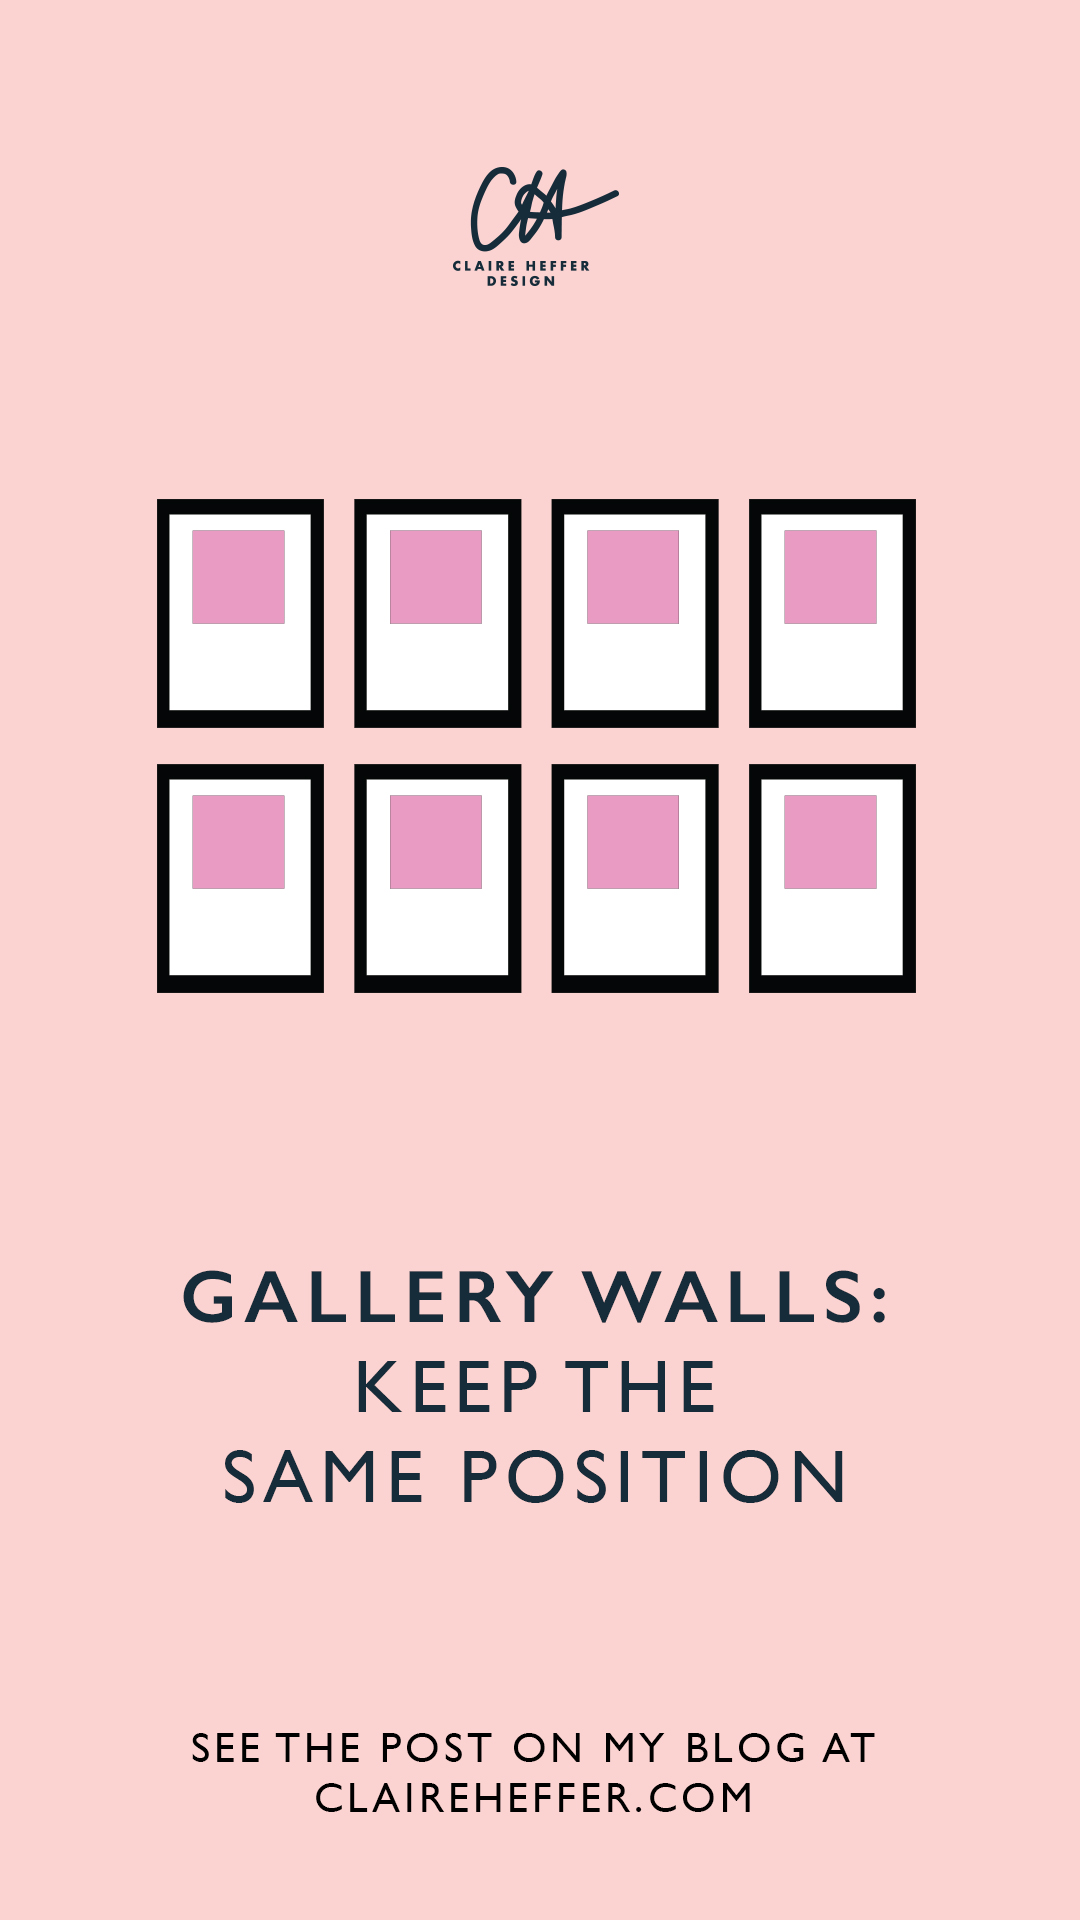
KEEP THE SAME POSITION
You can do this style in two different ways – you could use mounts to put all the prints in the same position and the same size or you could design your prints this way if you’re handy with photoshop.

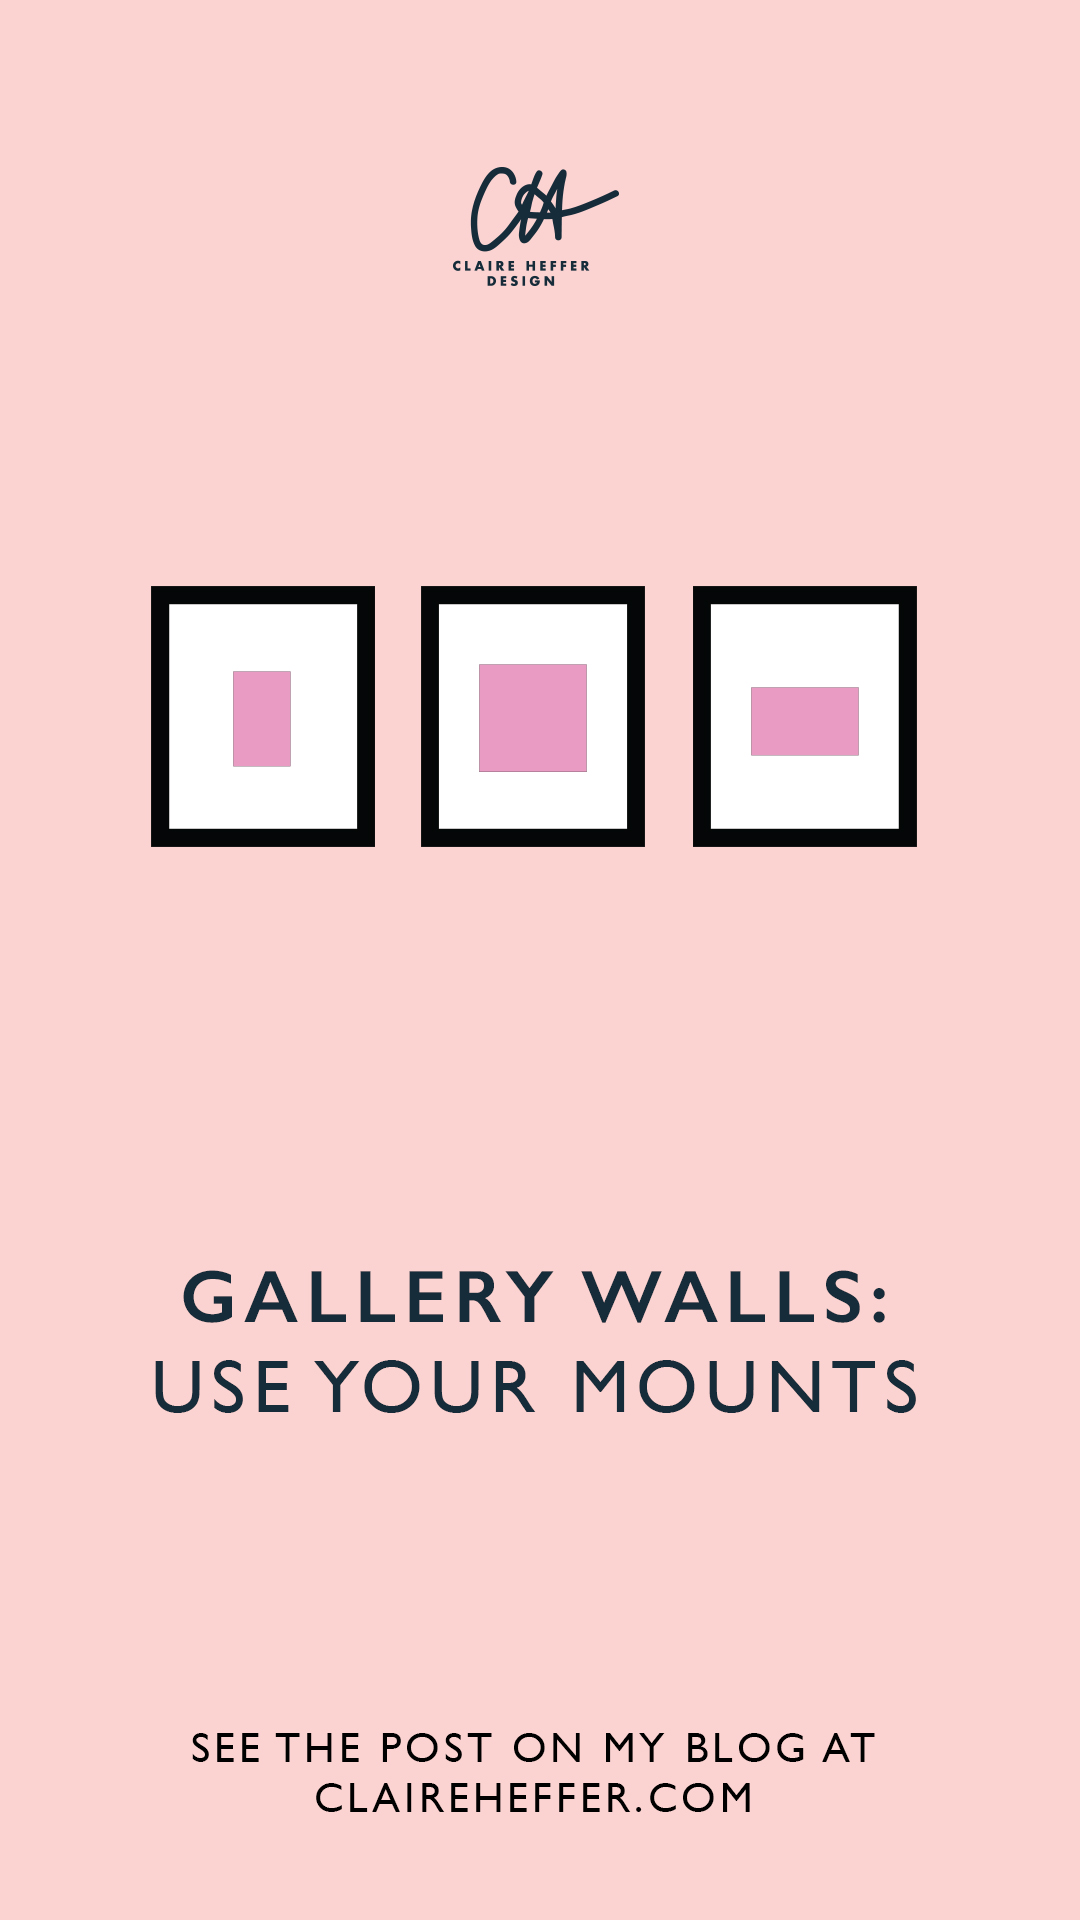
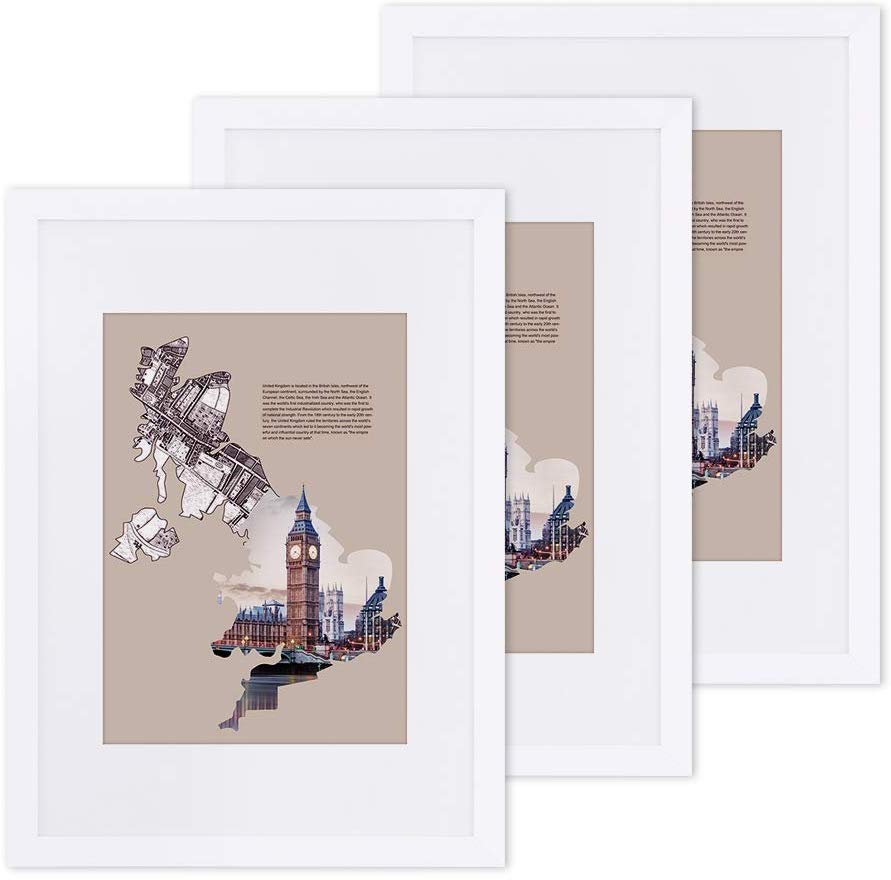
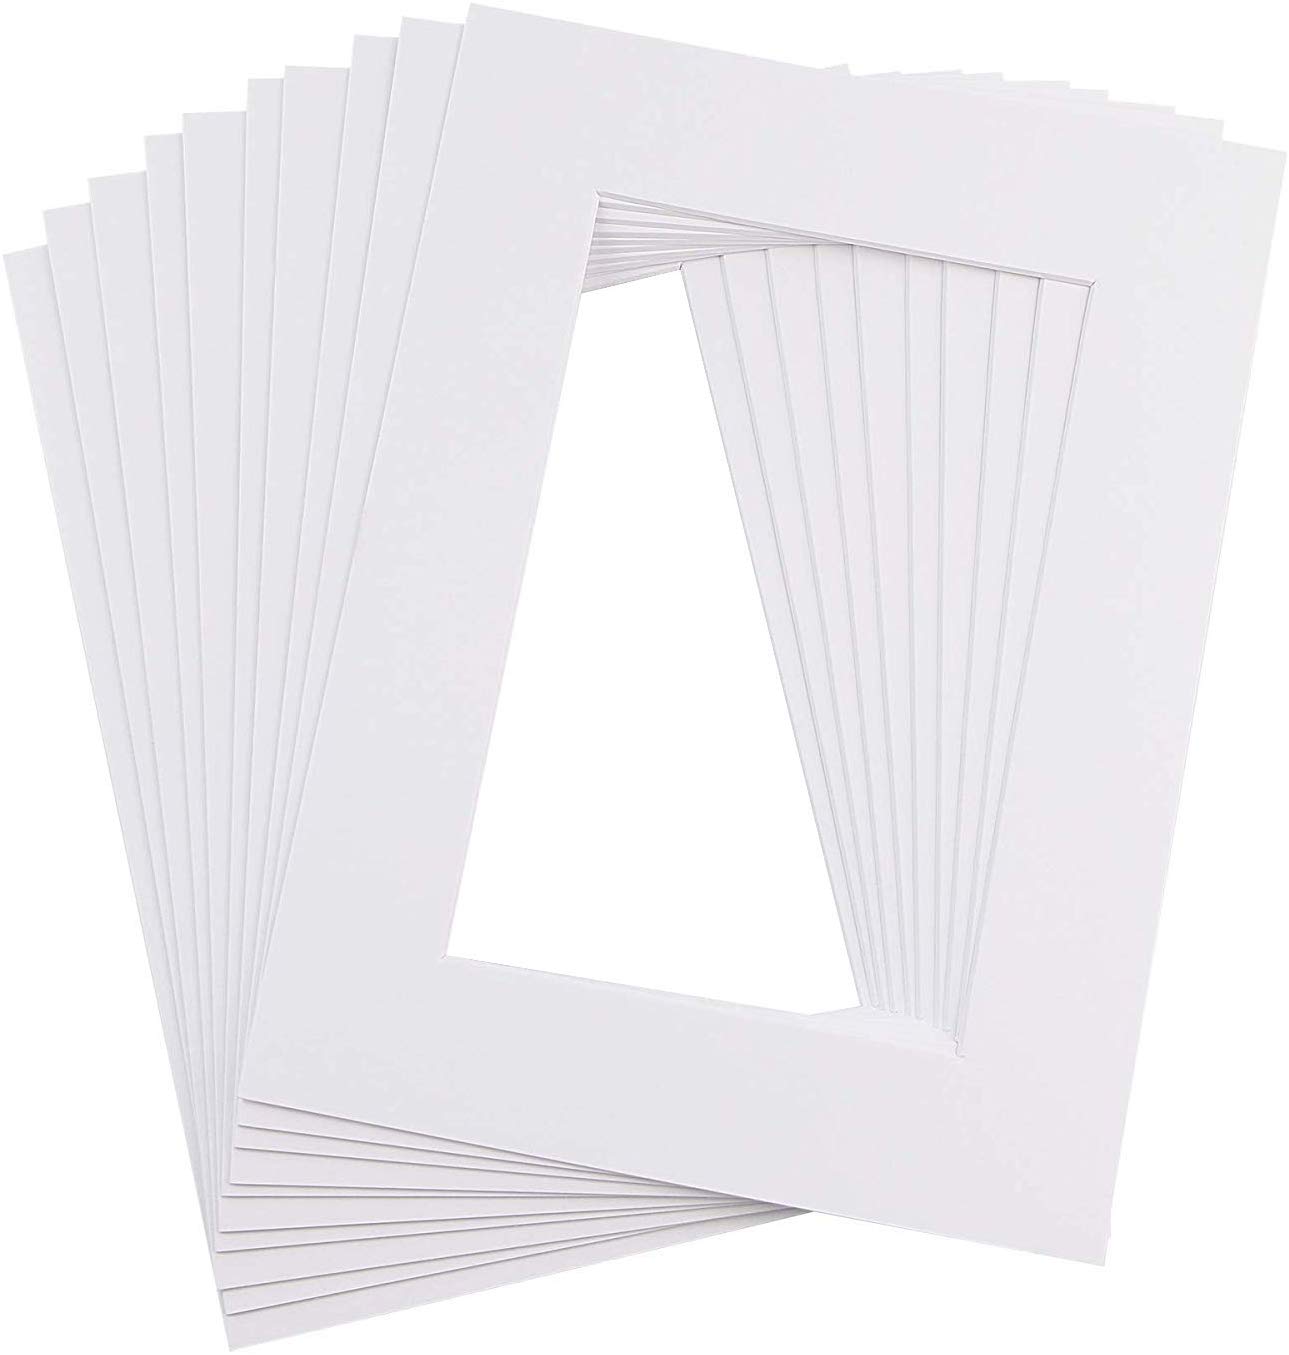
USE YOUR MOUNTS
Mounts are a really handy and inexpensive way to keep a uniform look when your prints are different shapes or sizes. Keep all the frames the same but use mounts to make them fit in the frames.

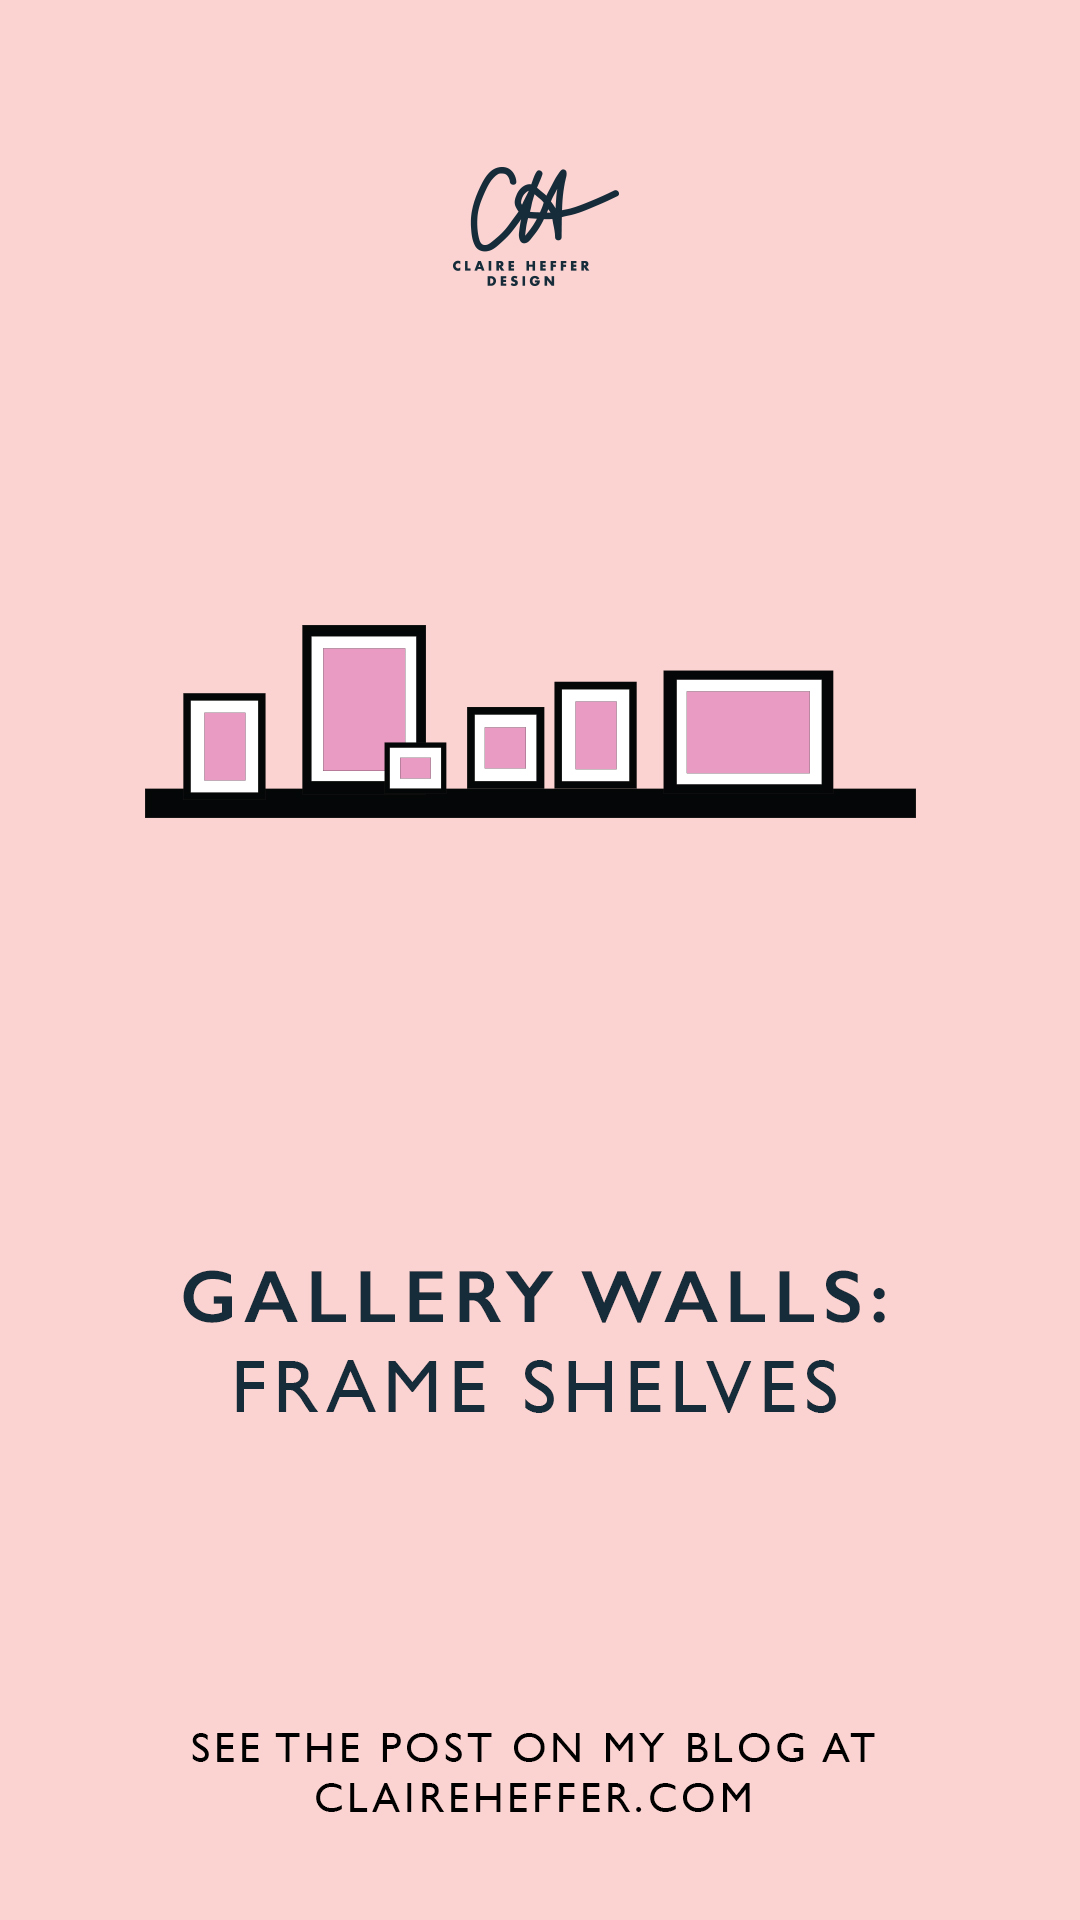
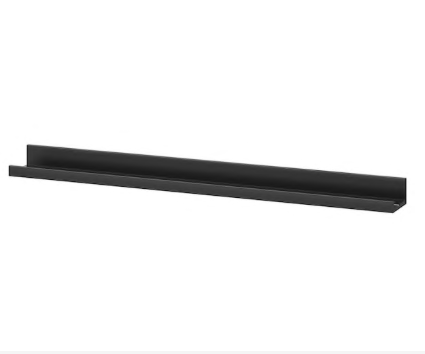
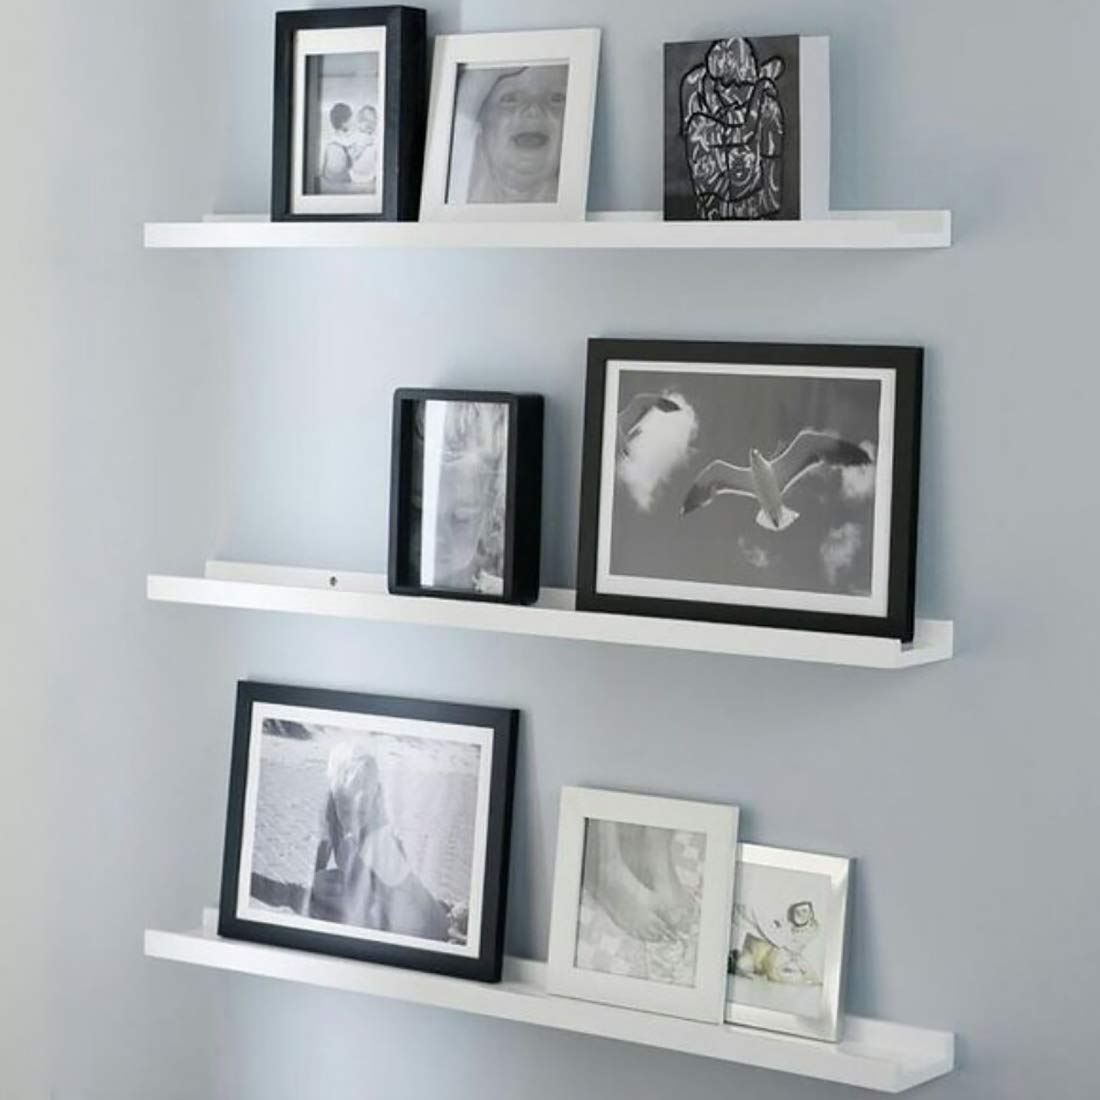
FRAME SHELVES
Frame shelves are handy if you’re worried about making holes in the wall and committing to a gallery wall. With a shelf you can mix your art around as much as you like and so there’s no chance of getting bored.
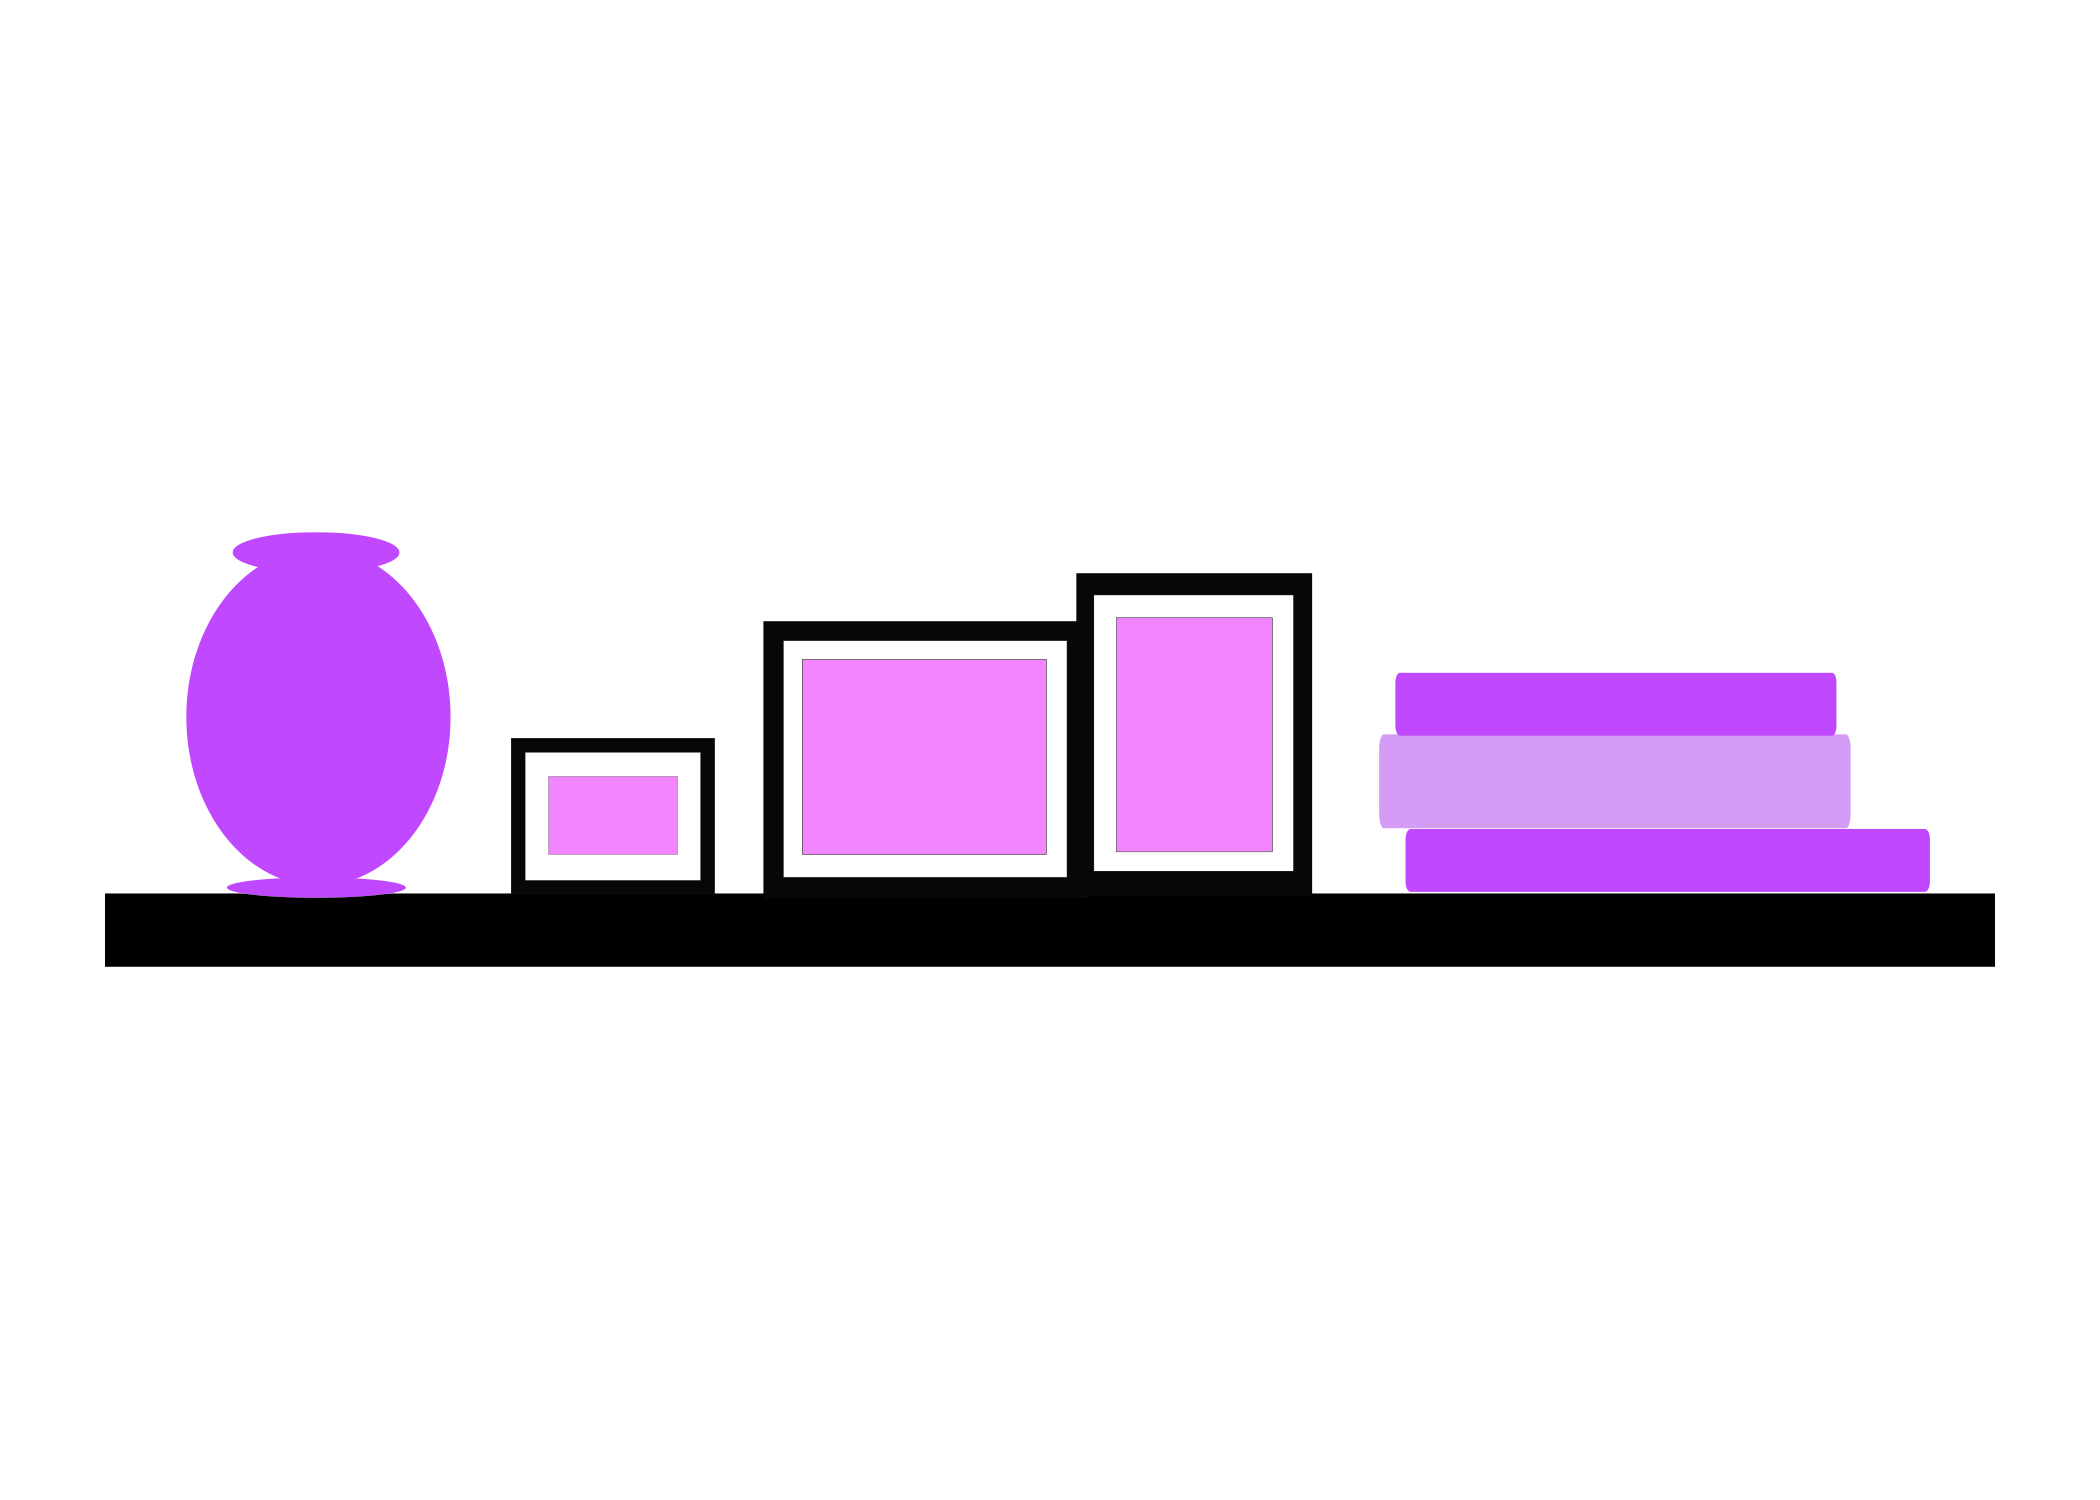
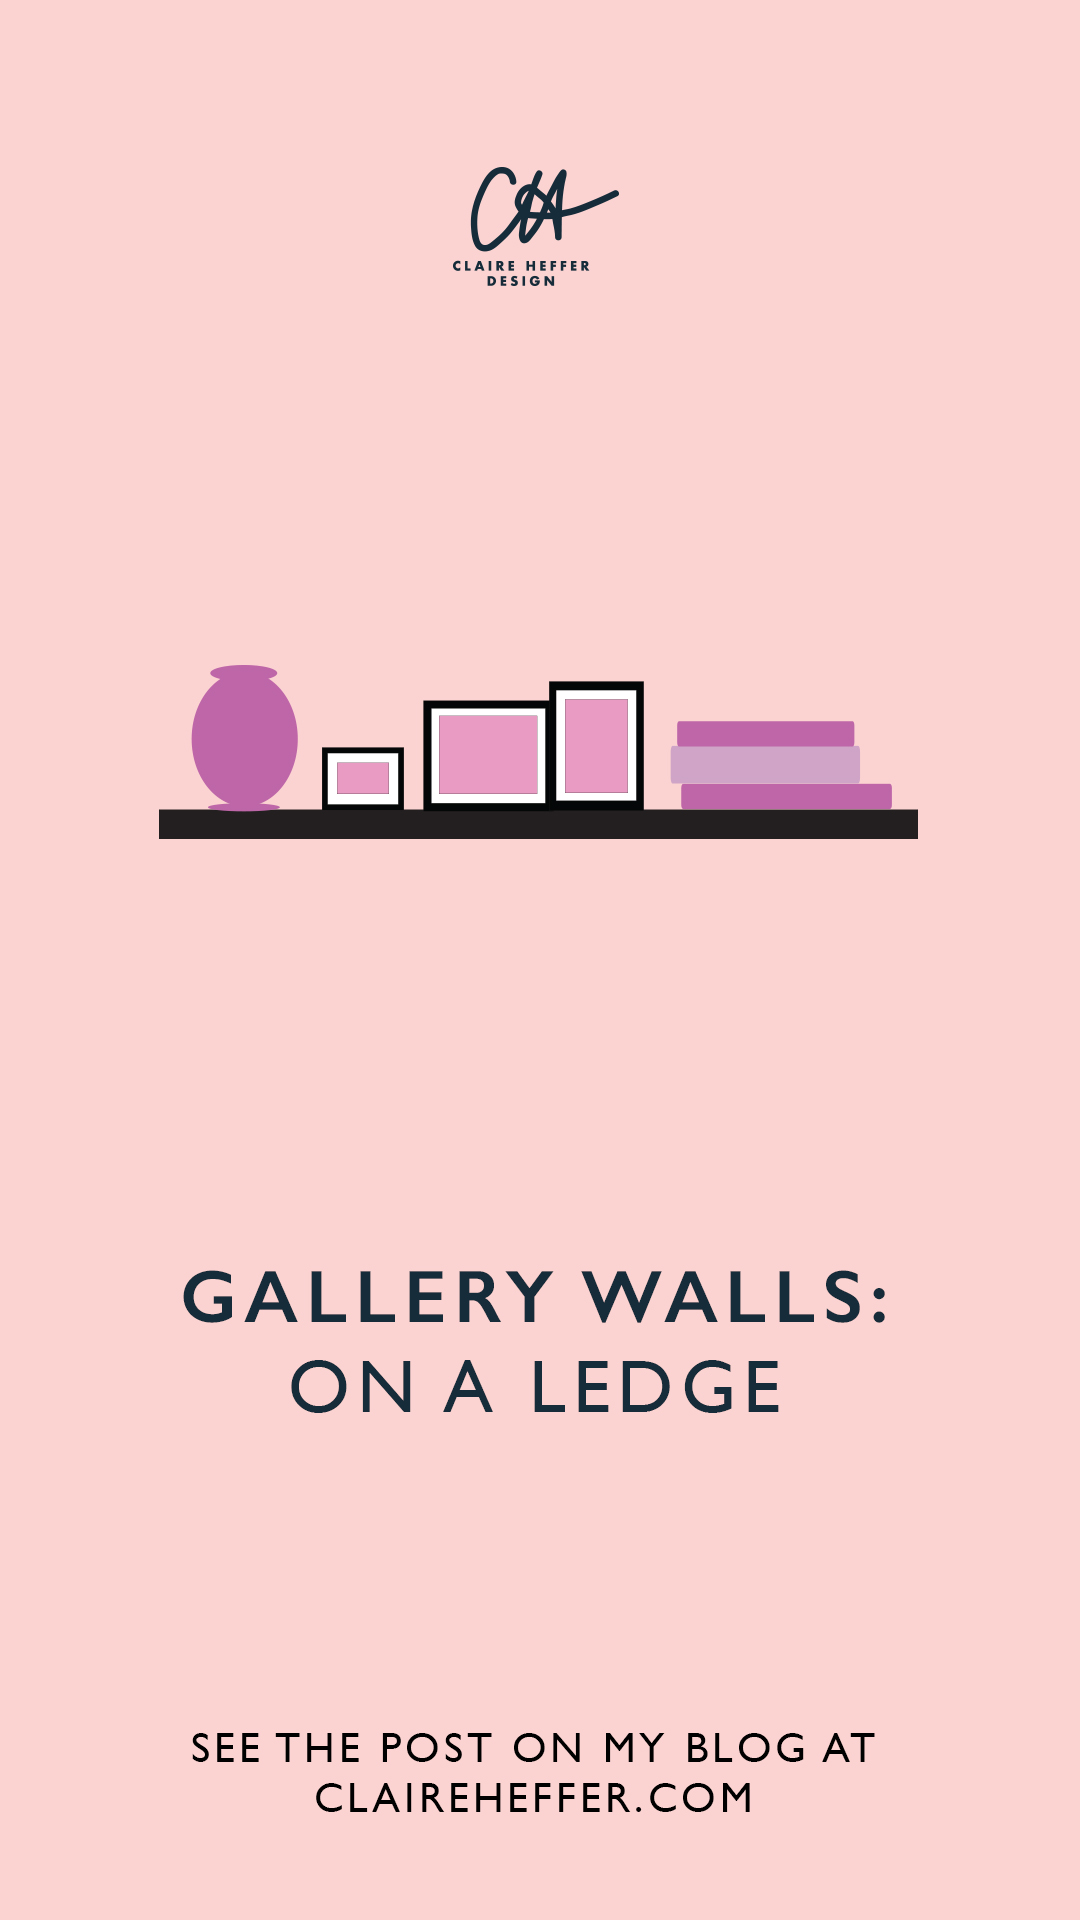
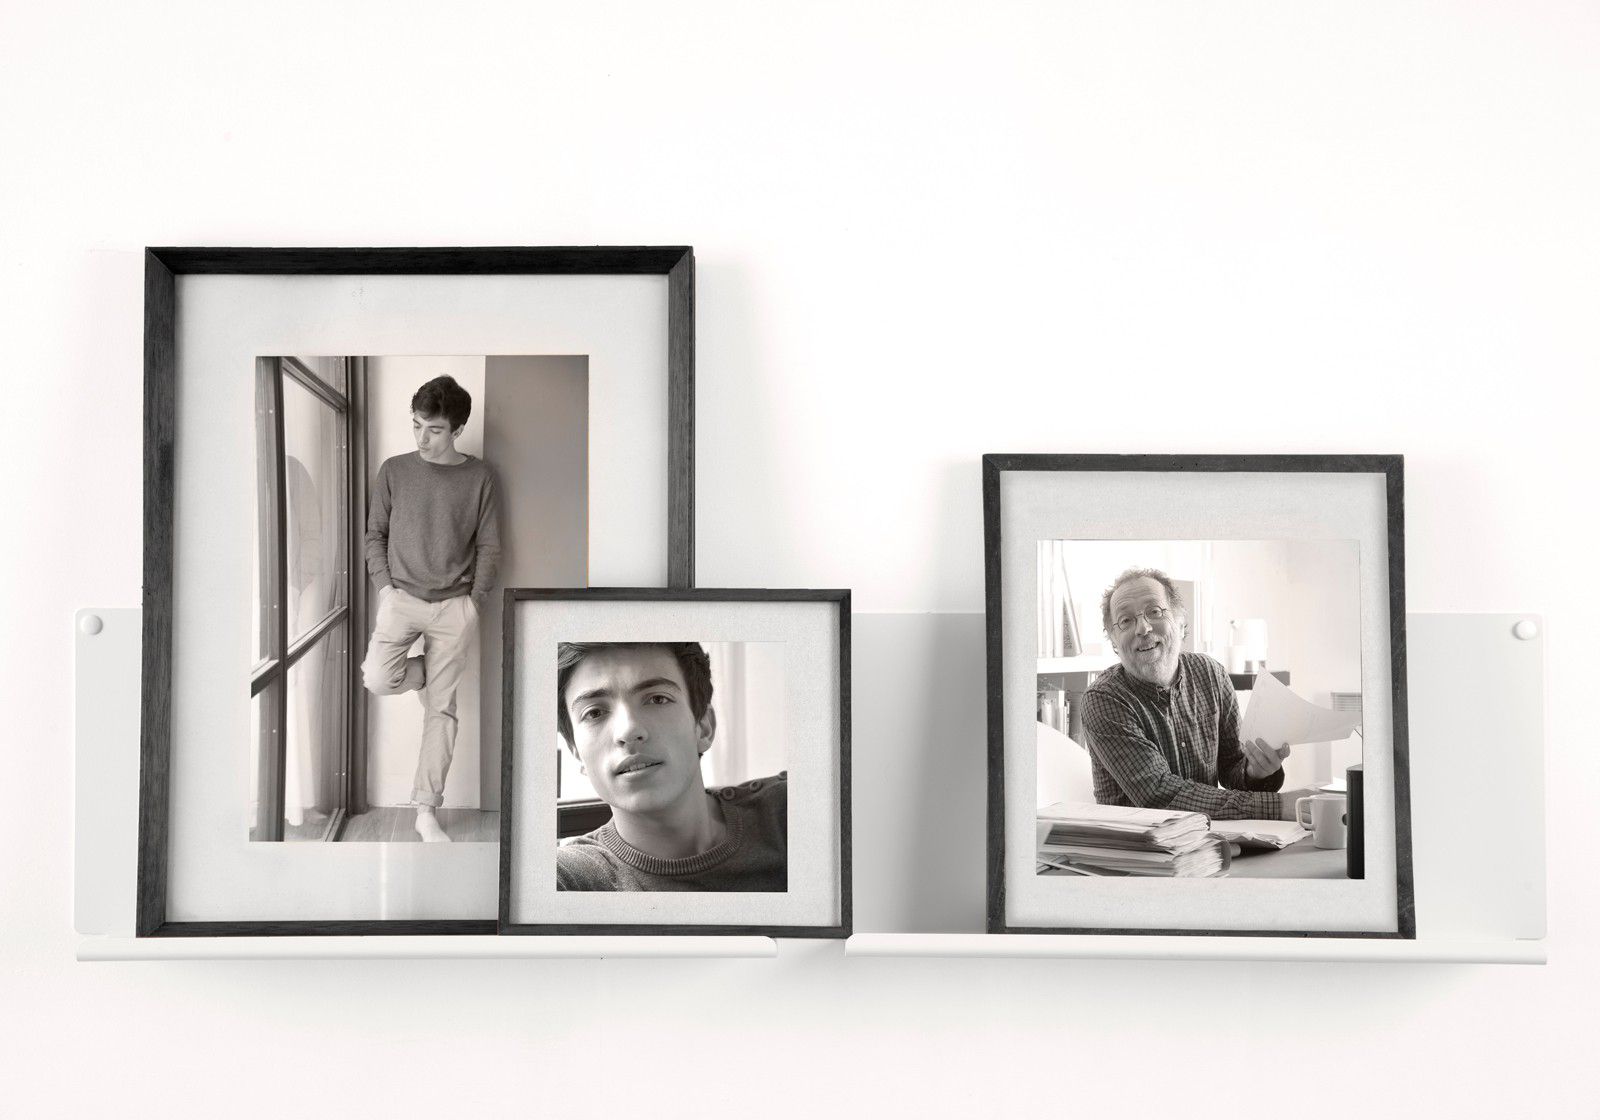
ON A LEDGE
The great thing about shelves is that they’re adaptable – you can mix your prints with other decorative items like vases and magazines and are so easy to change. You can layer them too.

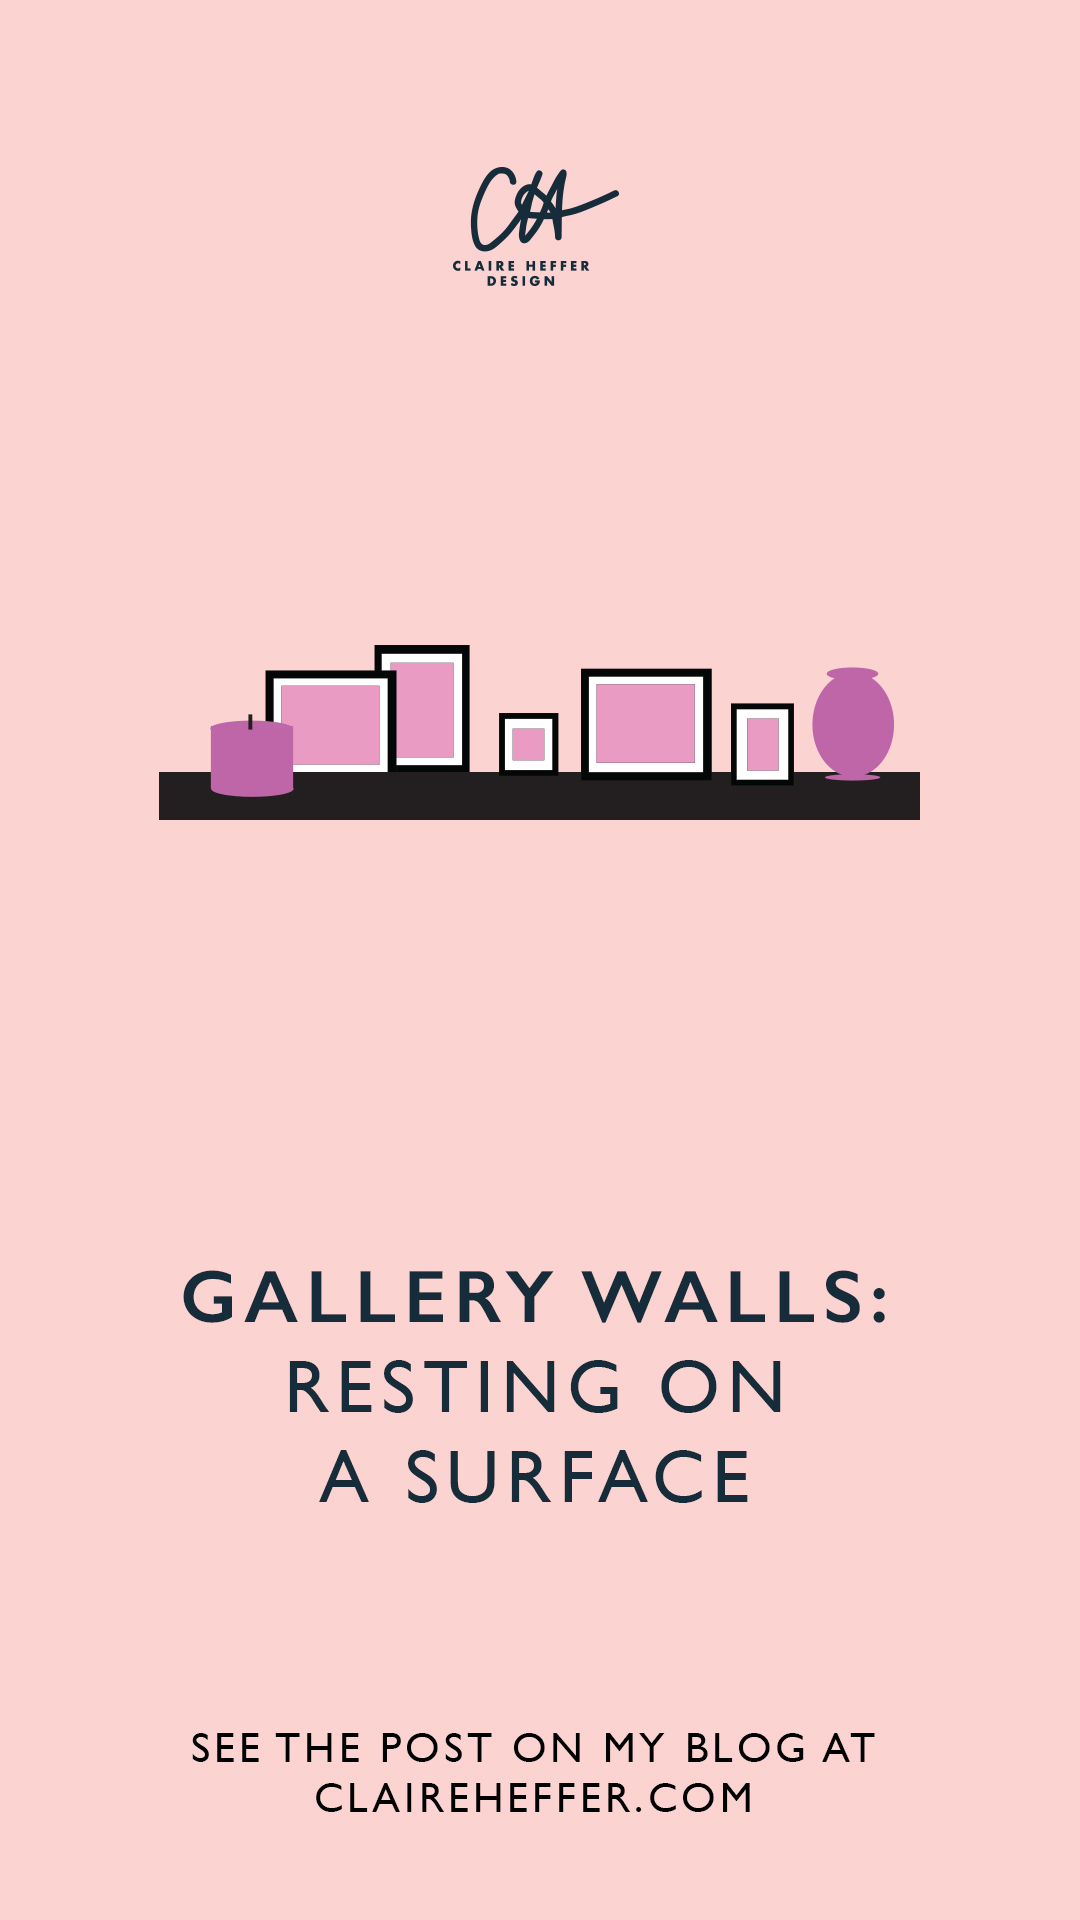
RESTING ON A SURFACE
This usually allows for less space but is very easy to do. You can bunch them up and add things like candles and vases. This is easy changeable and you can rearrange until you have the look you love or change your vignettes seasonally.

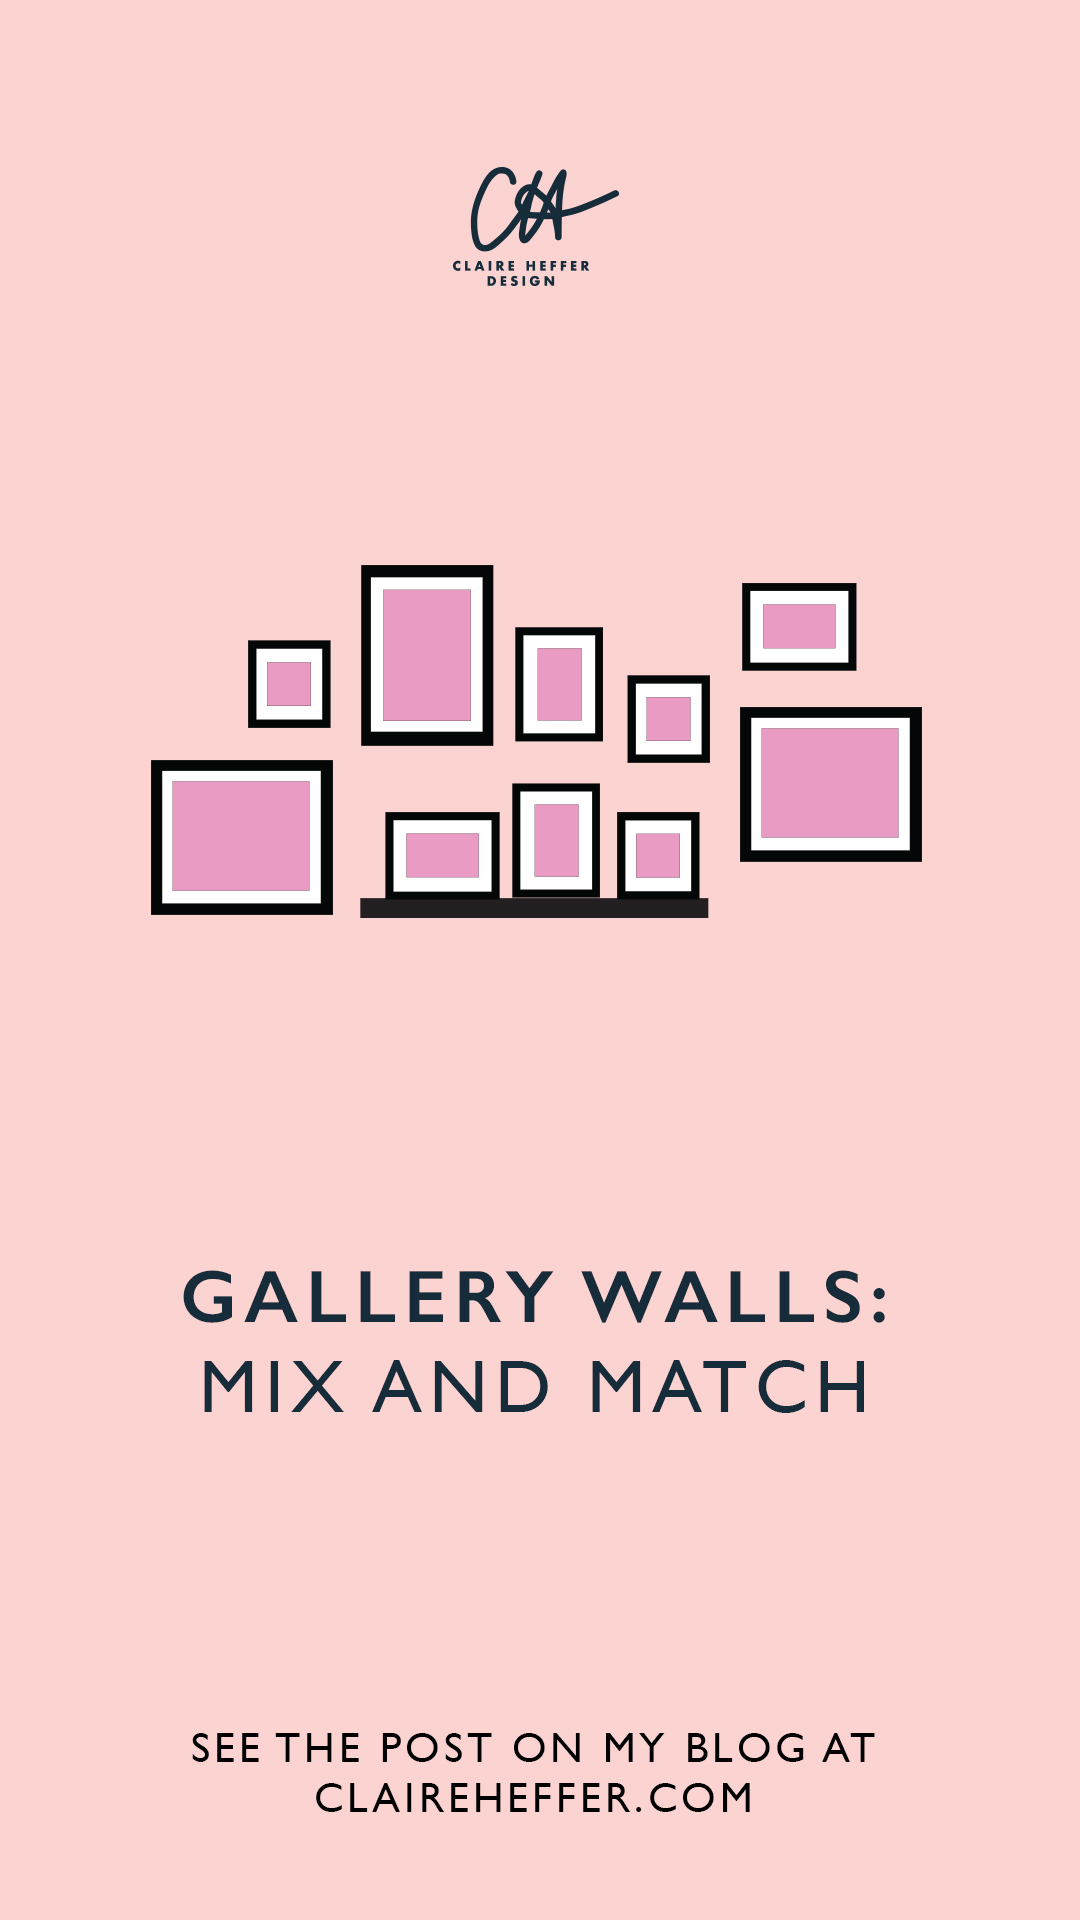
MIX AND MATCH
Mix between hanging prints on the walls and a frame shelf. This is great if you outgrow a shelf.

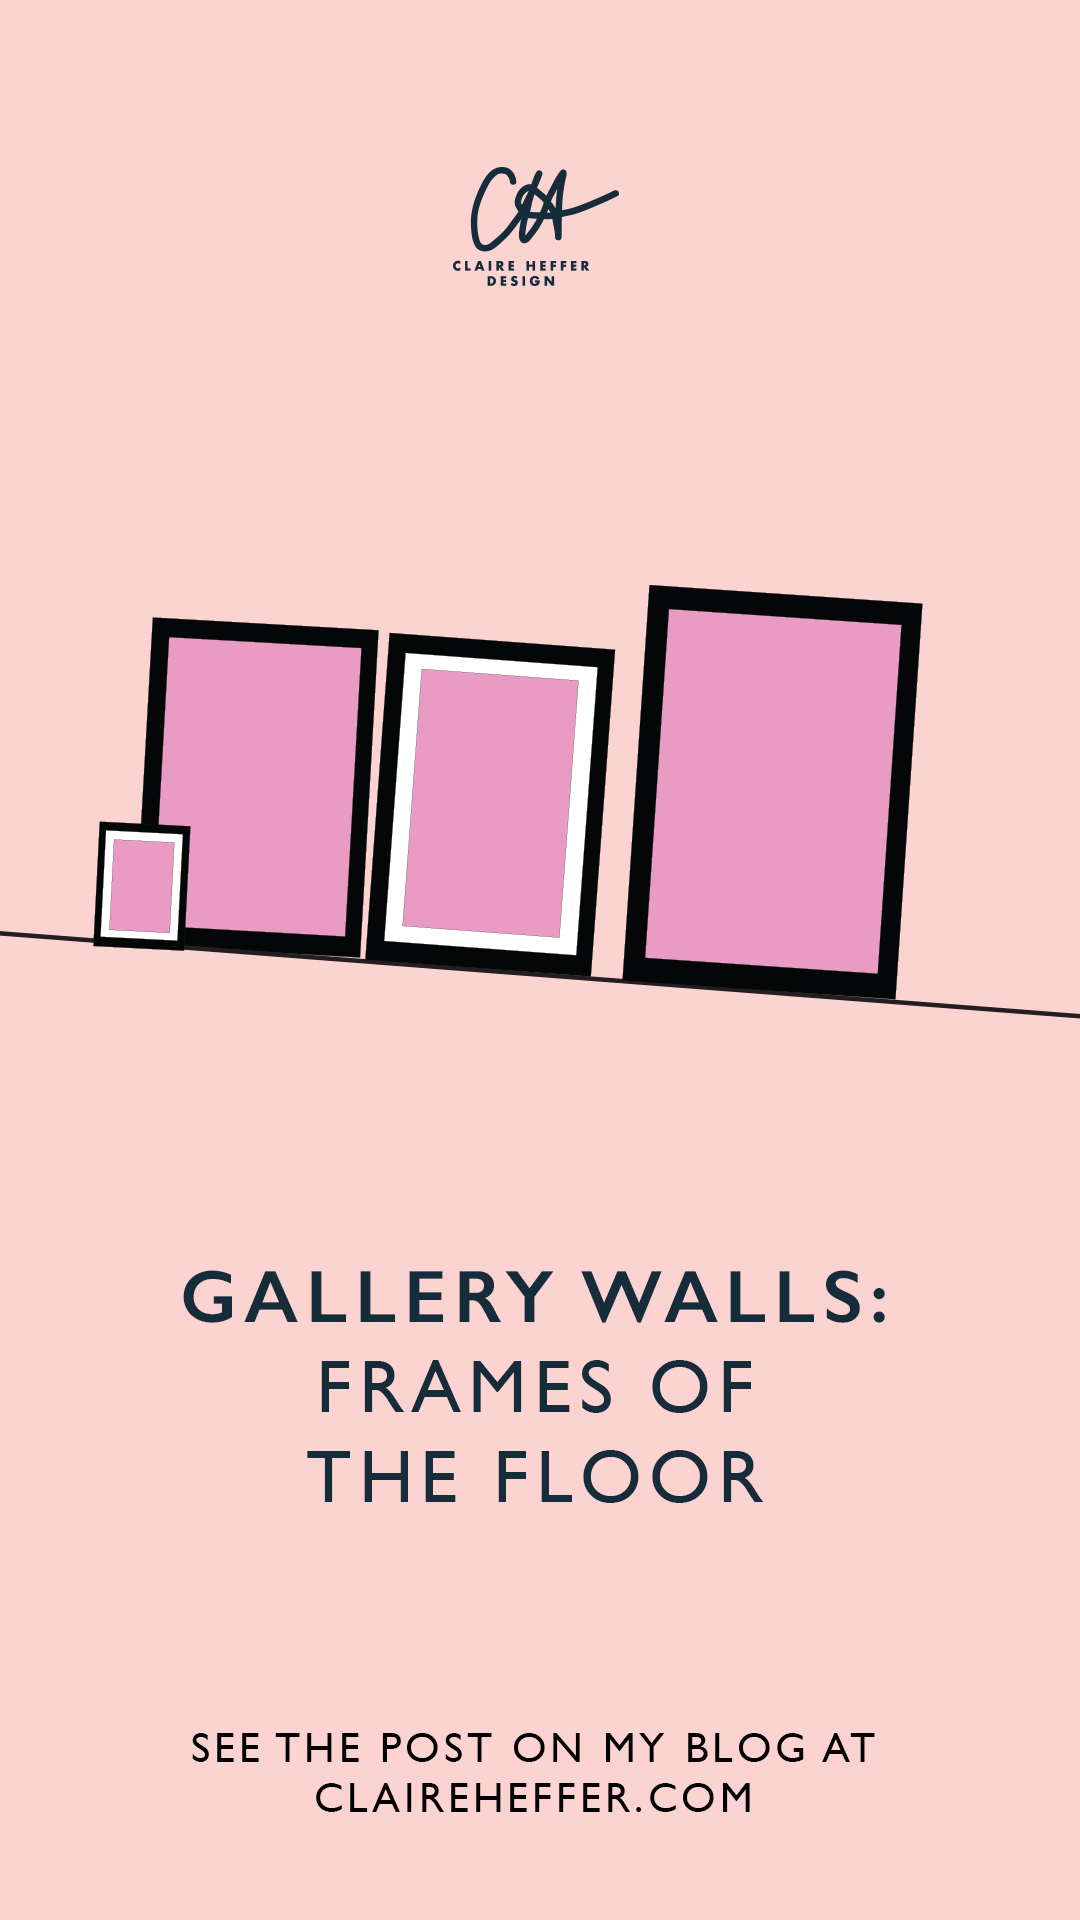
FRAMES ON THE FLOOR
This may be the laziest style but looks excellent if you have a large minimal space and big prints – this makes your space look like an artists place who’s storing prints to sell.

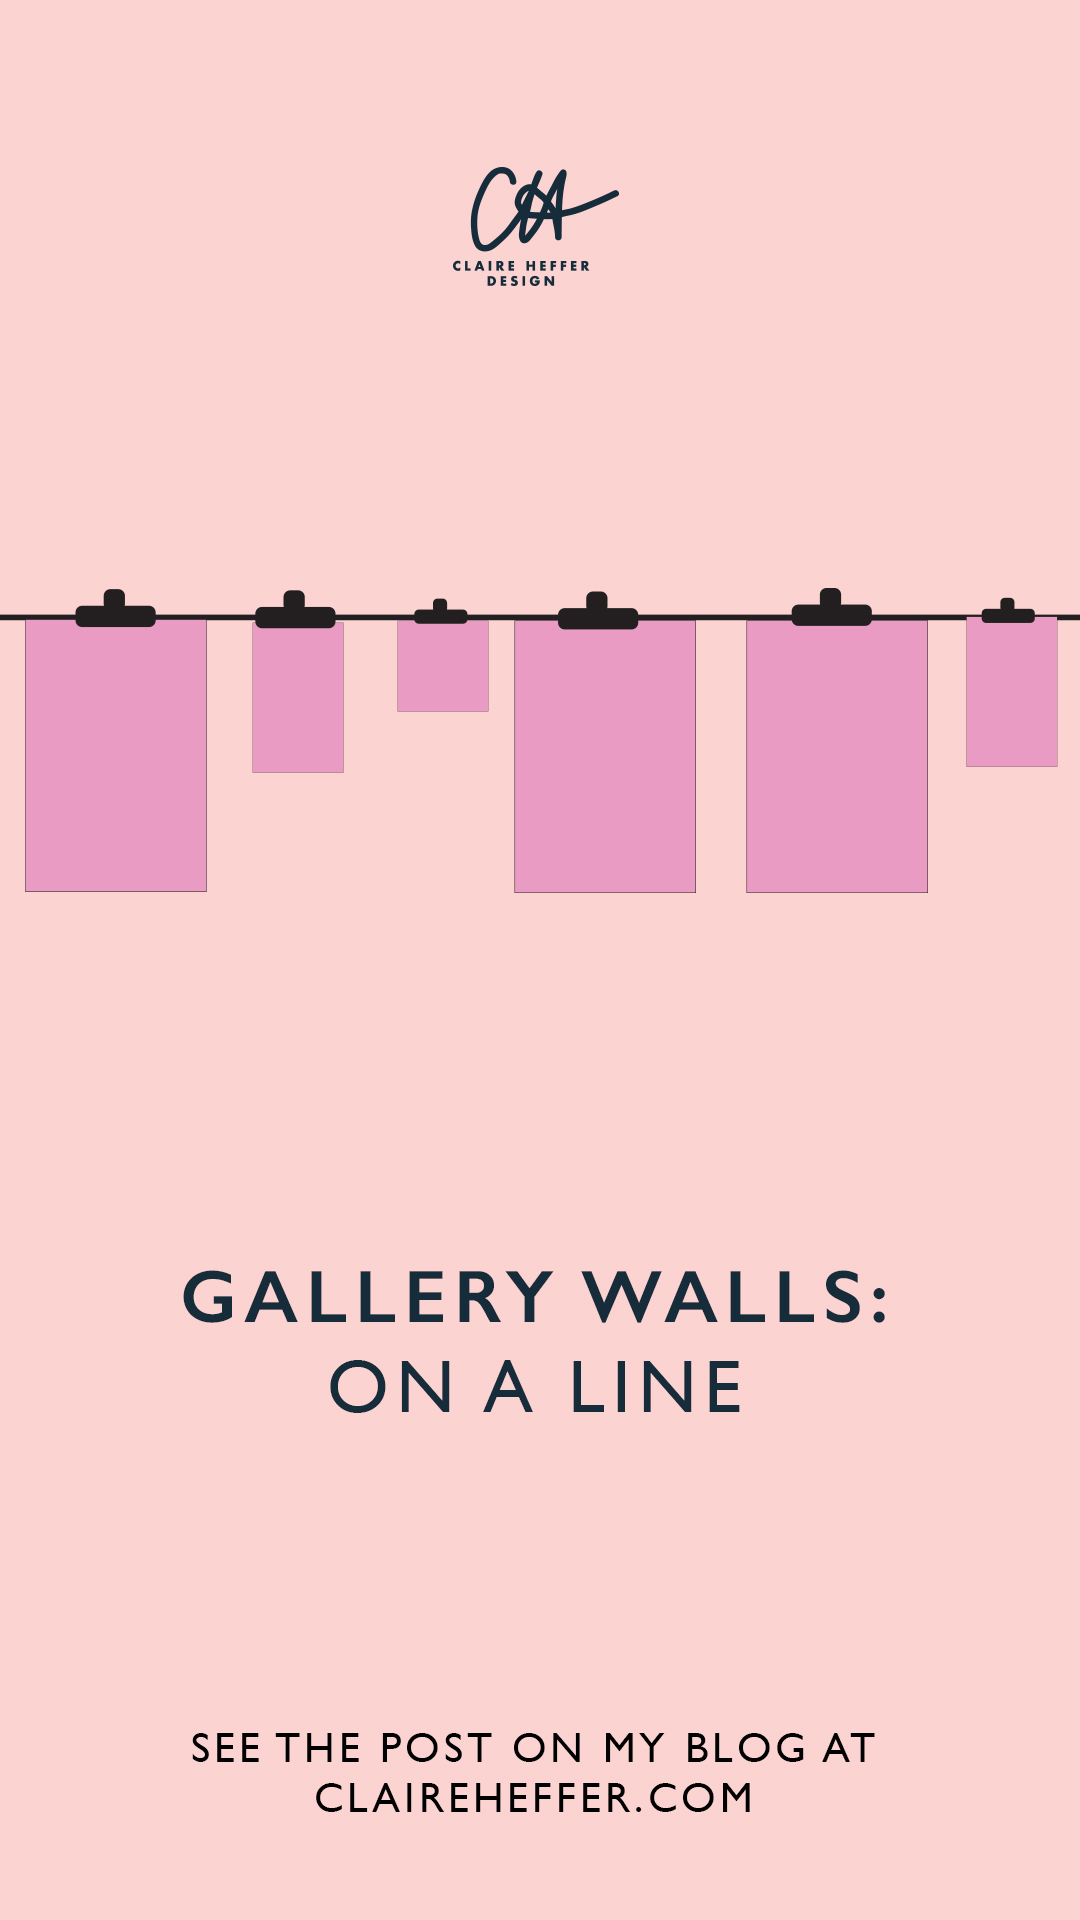
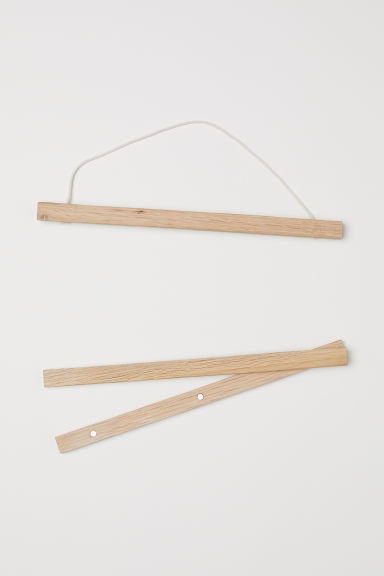
ON A LINE
This idea is simple and modern. It just takes putting up a line and then you can adjust as much as you like and keep an array of different prints without having to buy frames.

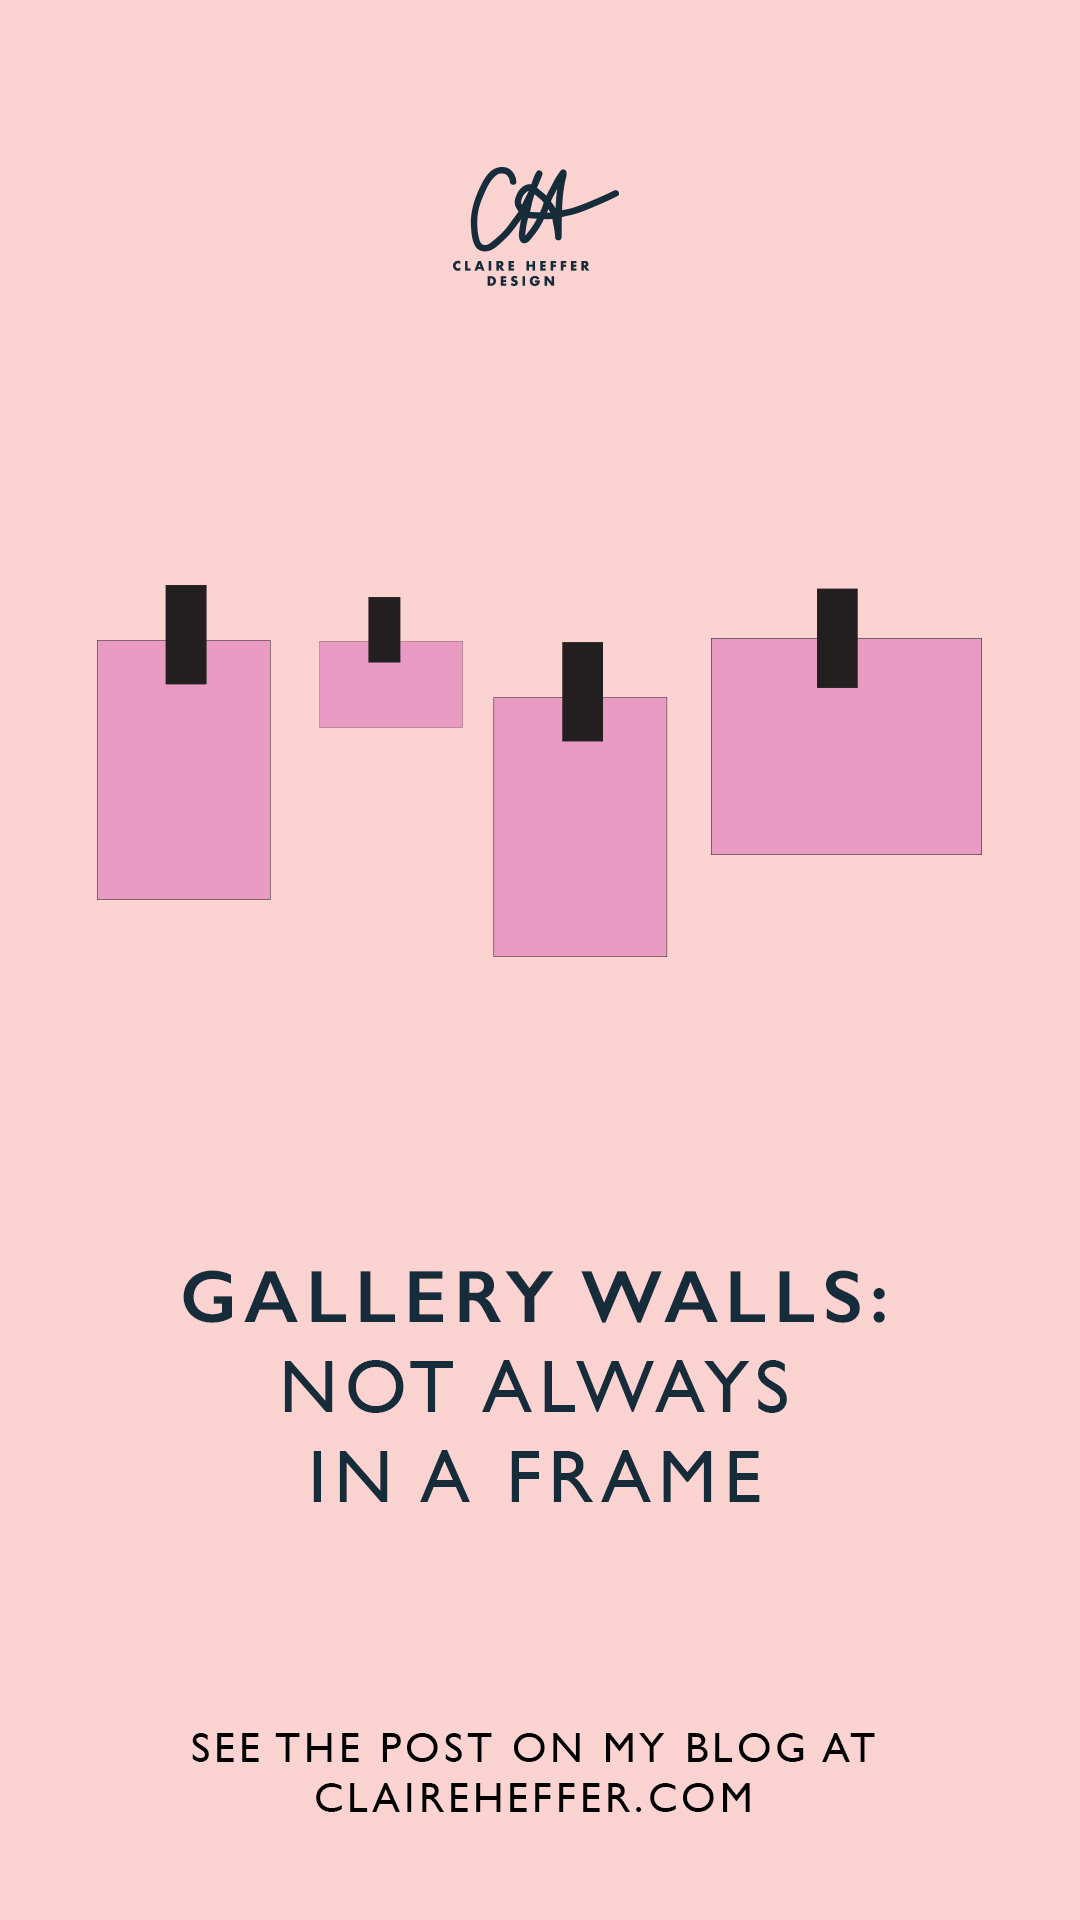
NOT ALWAYS IN A FRAME
If you’ve got odd sizes and don’t want to pay fir custom framing you can stick art straight to the wall, this is handy if you’re not able or don’t want to make holes in your walls. This style works well for large prints. You could mix and match and invest in some cute washi tape.
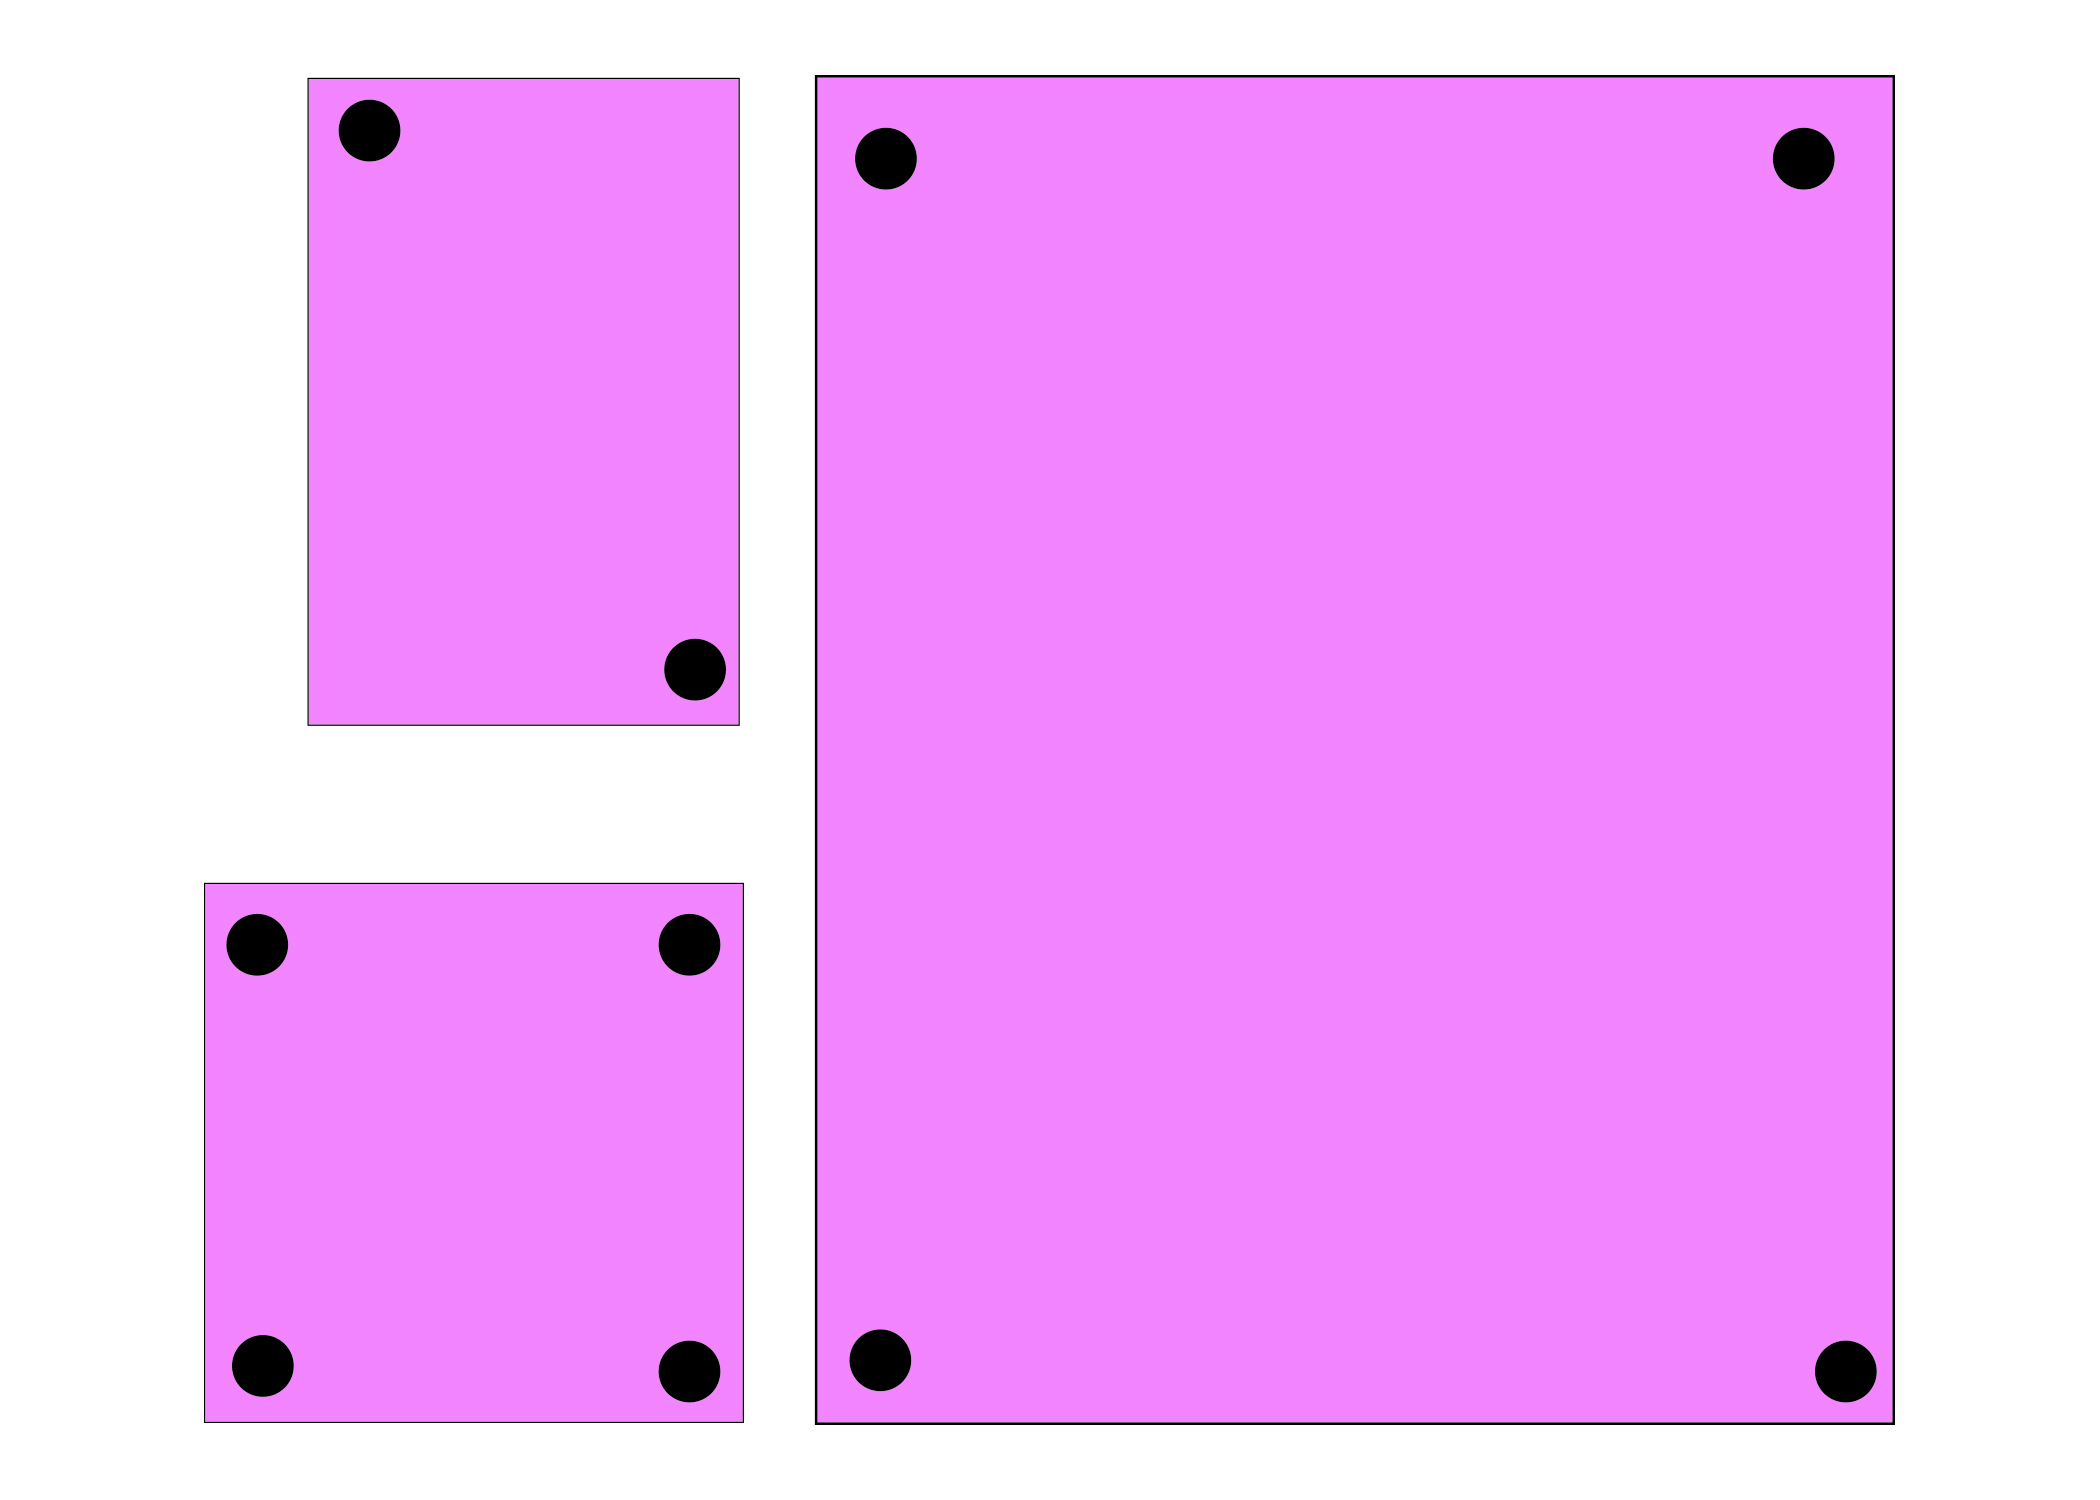
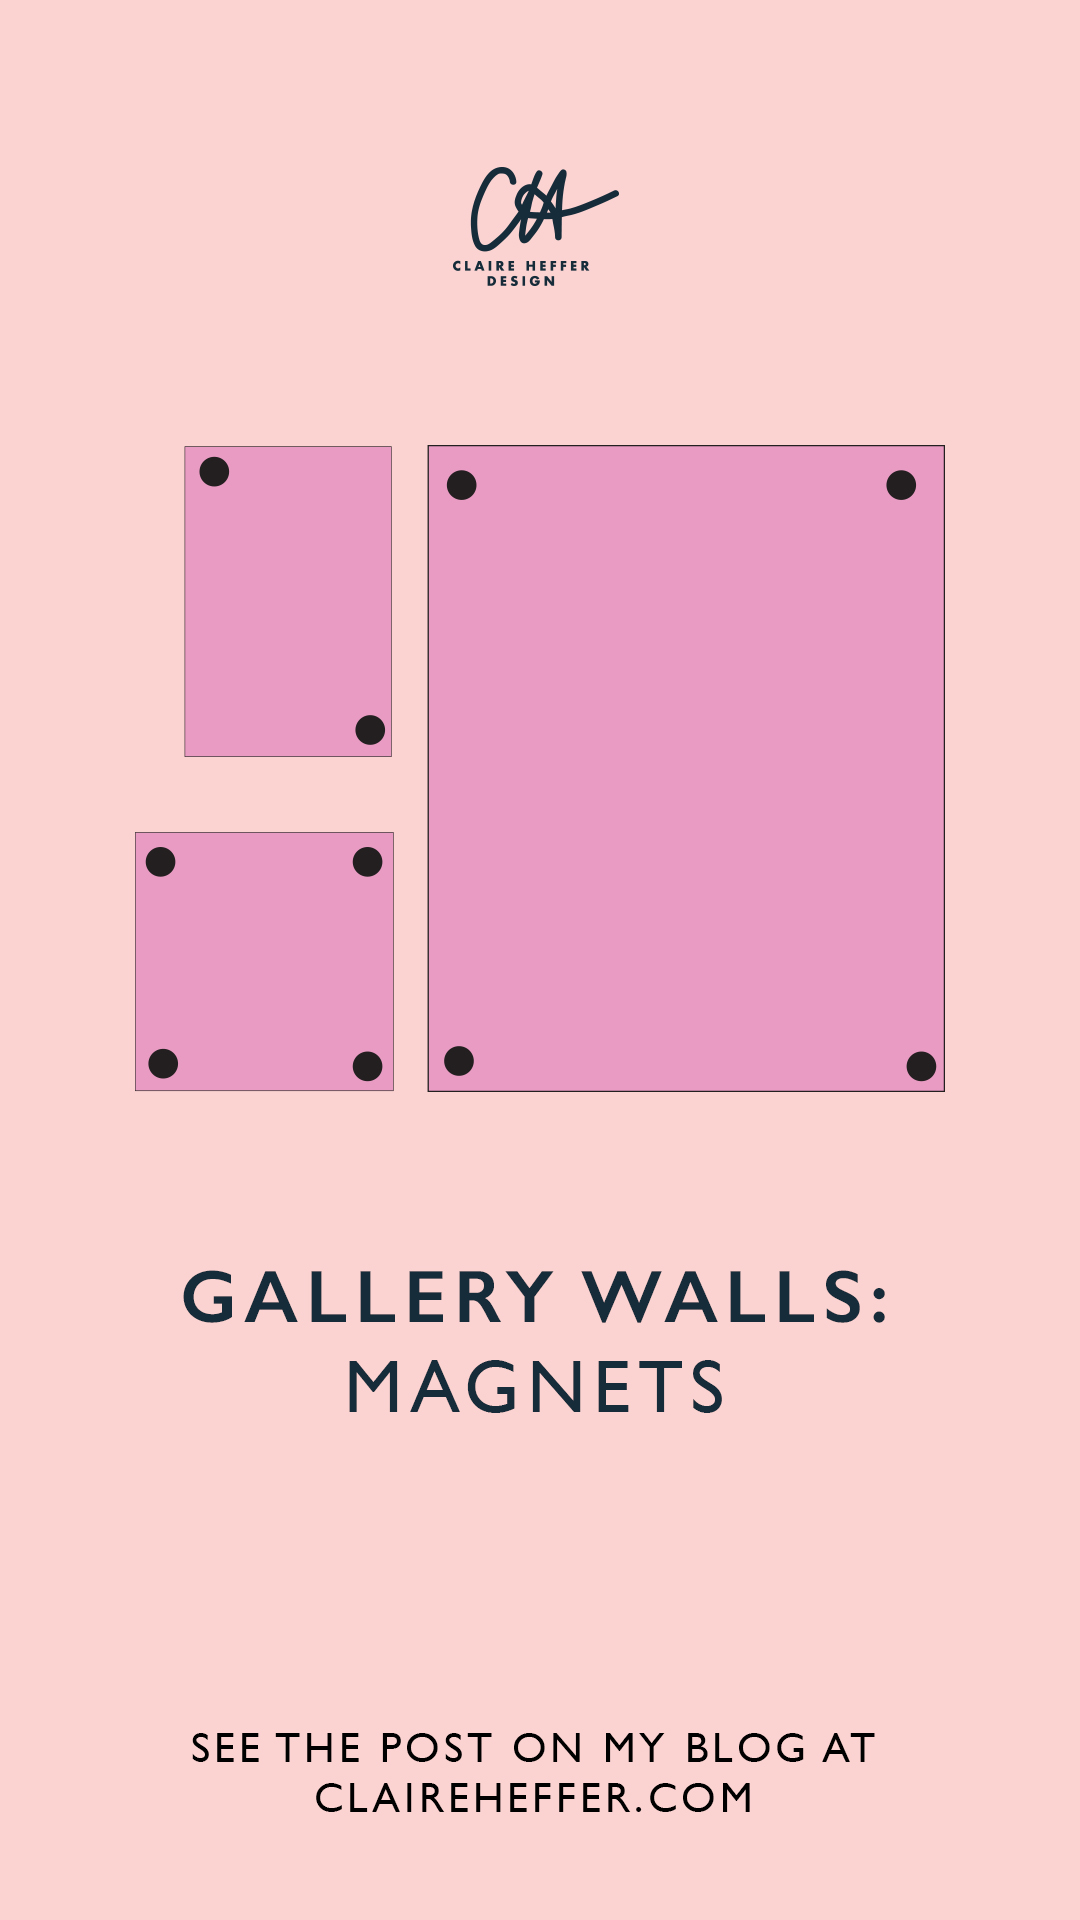
MAGNETS
If you’re renting and not able to make holes in the wall or you don’t want to commit by making holes you can tape paper clips to the wall and use a magnet to hold up your prints. The size of the print will depend on the strength of your magnets.

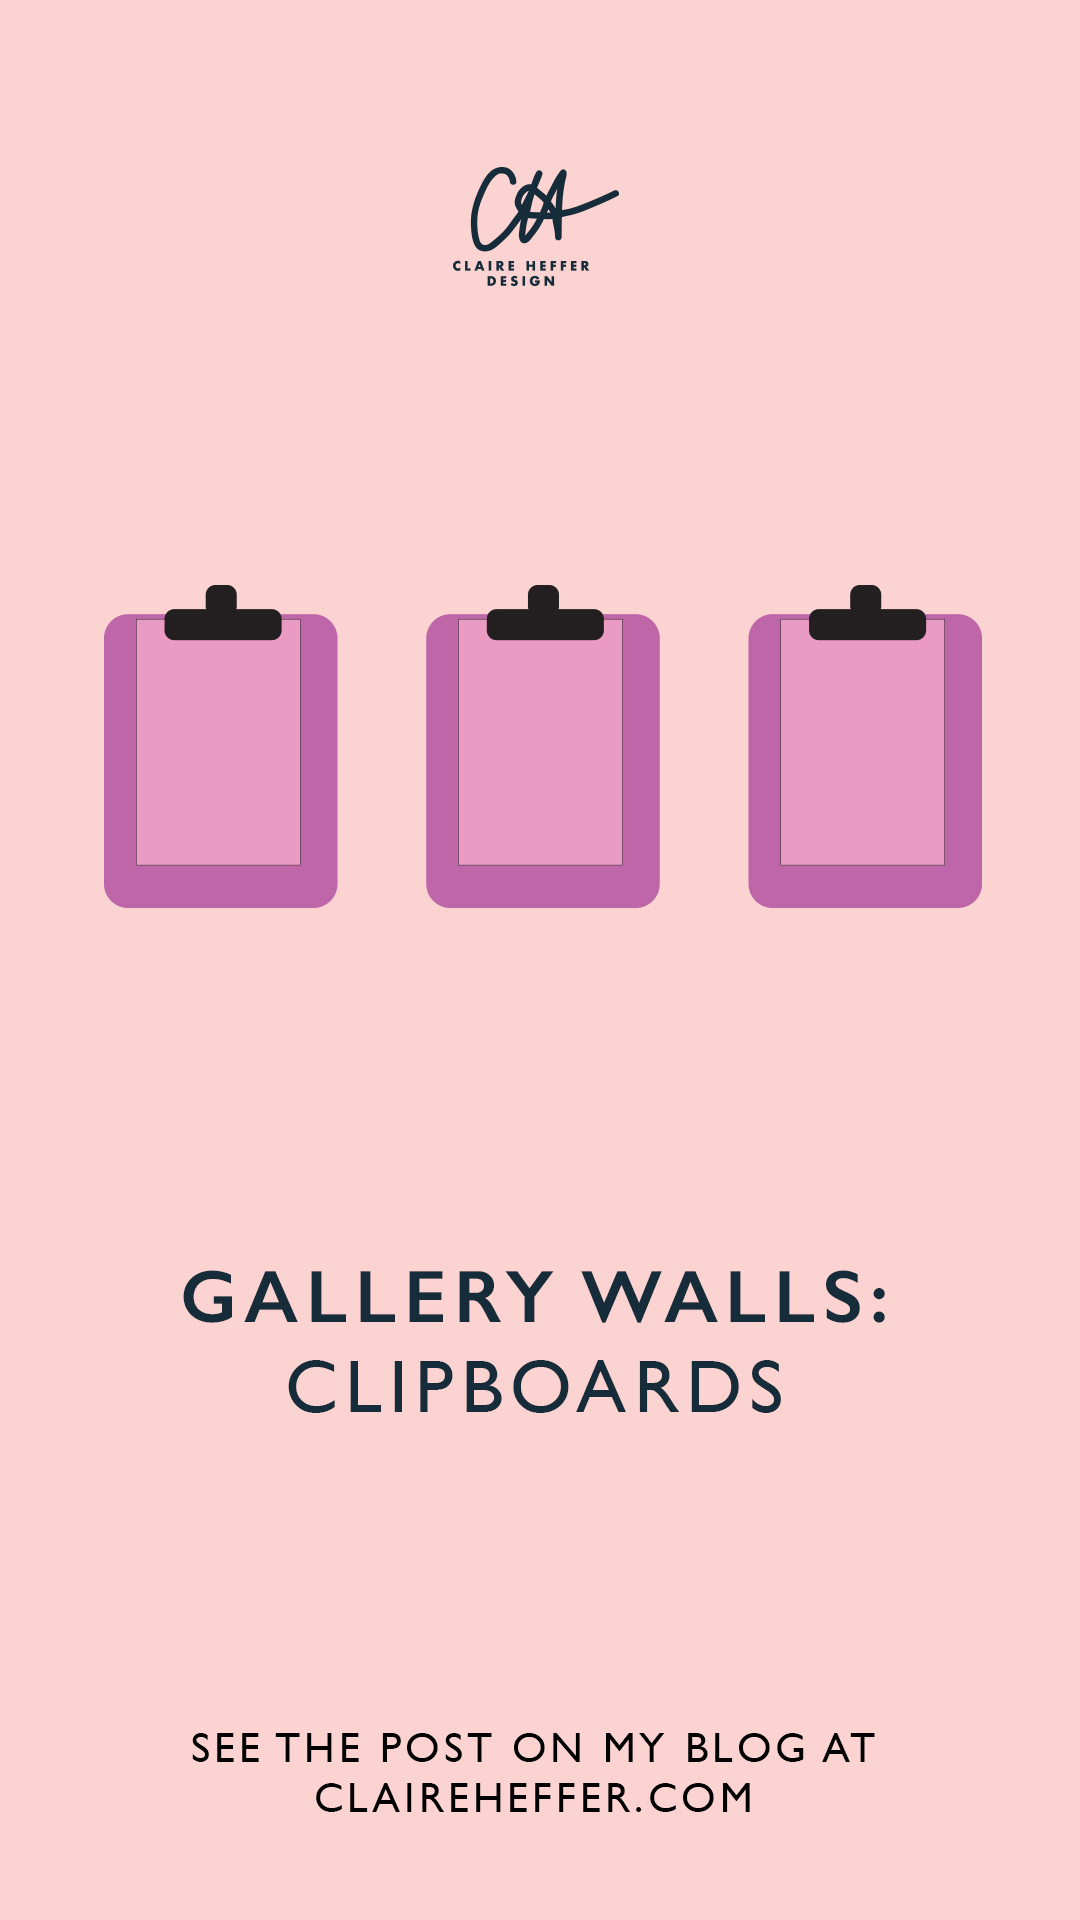
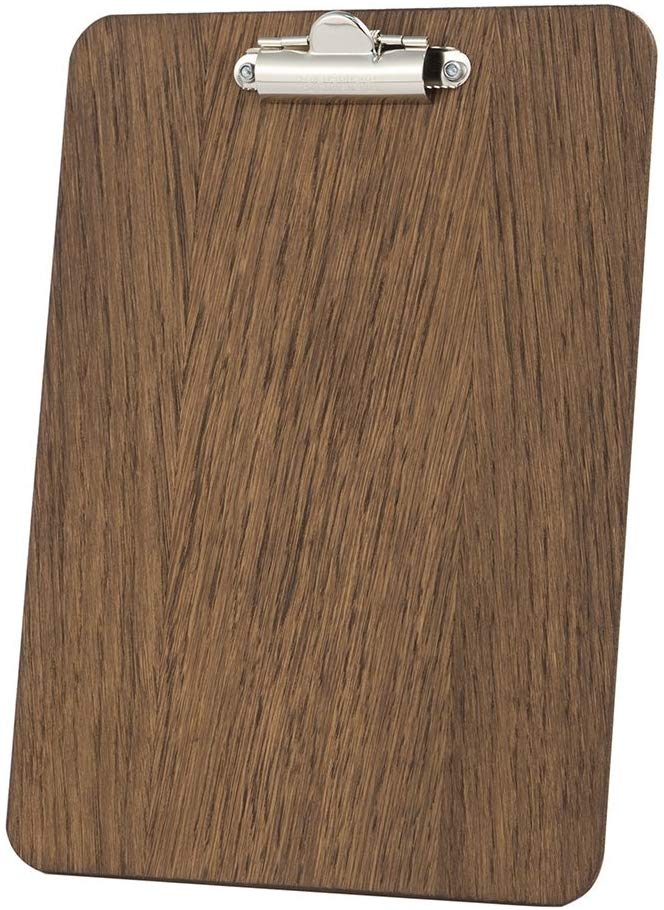
CLIPBOARDS
This style of gallery wall looks best spaced out evenly. If you have the same style clipboards you can have very different style prints but they all have to be a similar size (usually A4 and smaller) you can layer and have a few smaller prints on top of other ones.
LINK BY THEME
You could link all your prints by a theme. All your frames could be different and using different colours in your art if you link by a theme. Here are some example of themes you can use to link your images:
· Flowers
· Strong Graphics
· Nature, Monochrome
· A signature colour
· Leaves
· Architecture
· Link by an era (Victorian, Ancient Greece)
· Holidays, Circles, Tone (pastels or primary colours)
· Abstracts Art
· Geometric Shapes
· You could mix text and images (bold messages or minimal handwriting).
· If you’re in love with a place you have a wall dedicated to that destination, you could include holiday photos, maps, mementos (tickets etc) and if the destination goes back in the family, add some vintage photos to the mix.
HOW TO CHOOSE A GALLERY WALL
SPACE – Figure out where you want the wall to be
COLLECTION – Decide what pieces you definitely want included in your wall and work from that point. Do you already have things in frames – is there one piece you want to highlight? That’s a good place to start.
DESIGN – Consider how your art will work with the colour of your room. If you’re lucky enough to have white walls and a neutral space then you won’t need to worry about this.
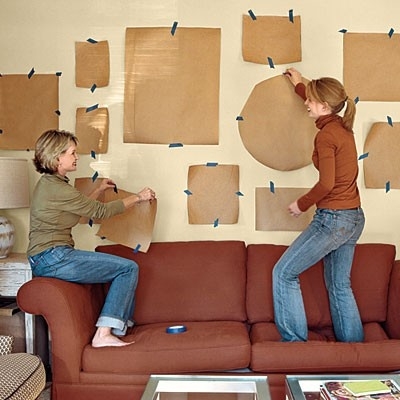
TIPS
Lay frames on the floor or cut pieces of paper to frame sizes to get an idea of what your wall will look like without making holes in the walls
Dot toothpaste where your holes and nails will need to go

MORE THAN JUST PHOTOS AND PRINTS…
· Large Scale
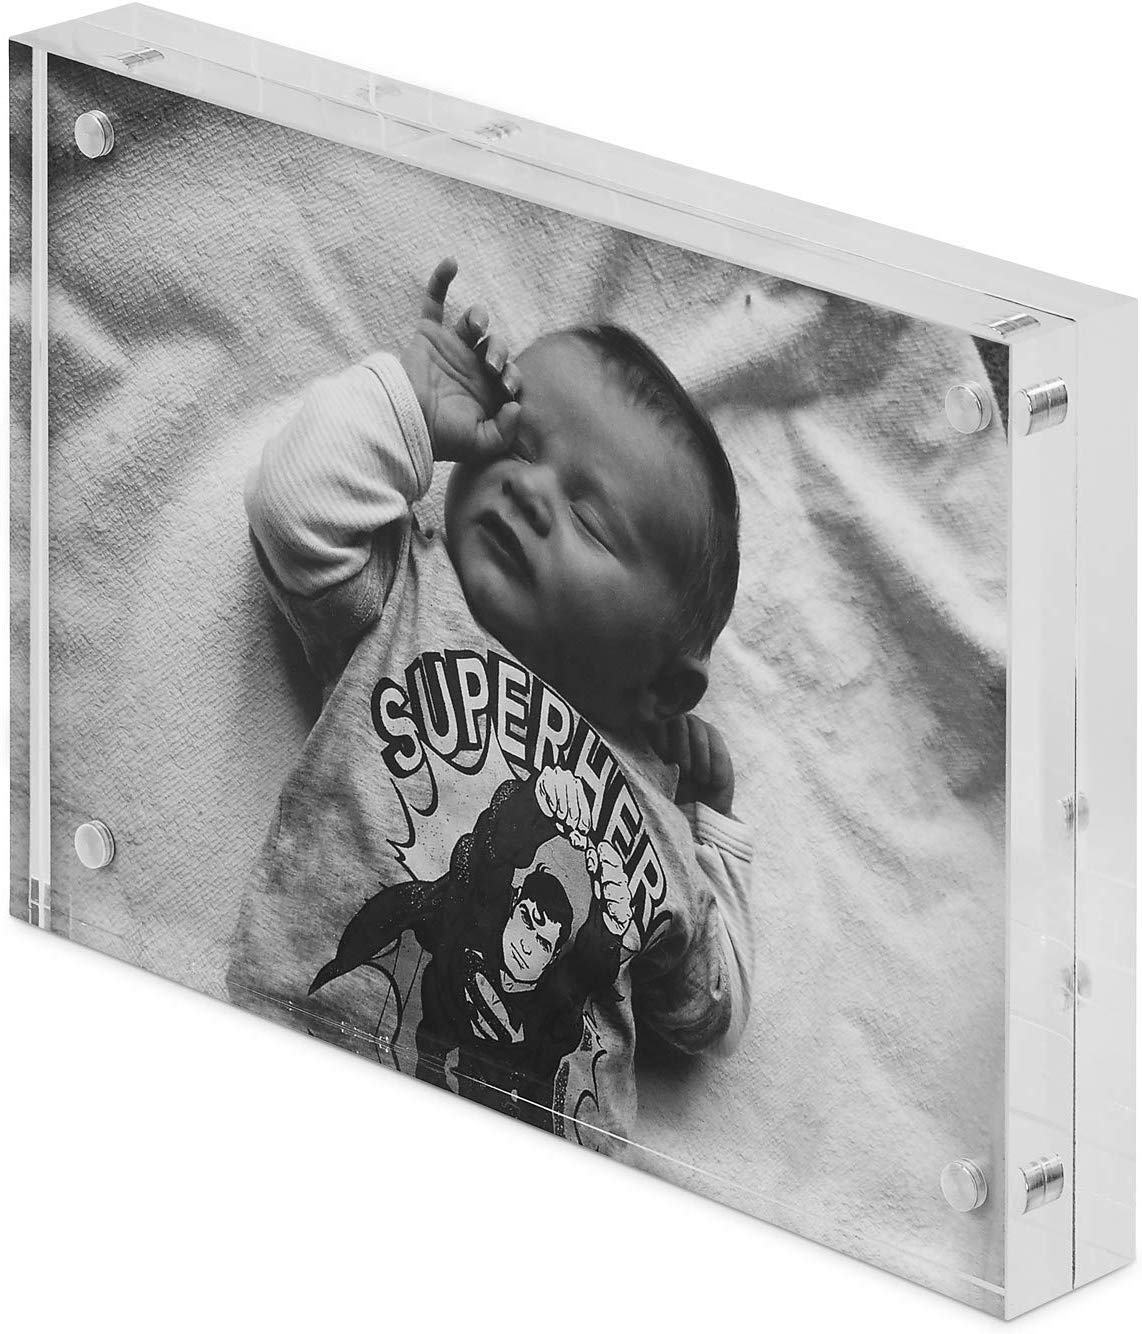
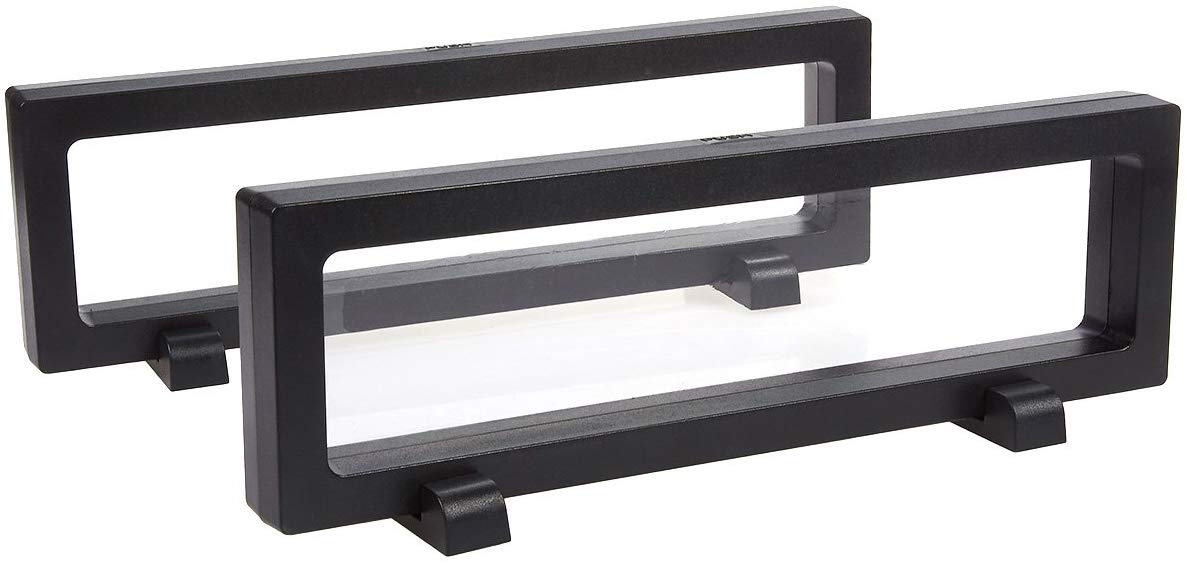
· Photo Blocks
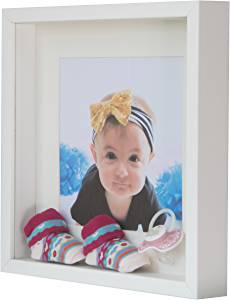
· Shadow Box
· Tiny Canvas
· Posters
· Art Prints
· Postcards
· Exhibition Prints
· Vintage Family Photos
PLACES TO PUT ART
· Above the sofa
· Above the bed
· Above the bedside table
· Above the fireplace
· Up the staircase
· Around the TV
· Above a crib
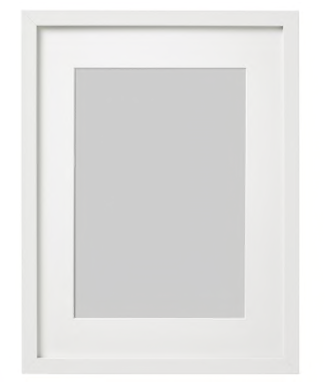
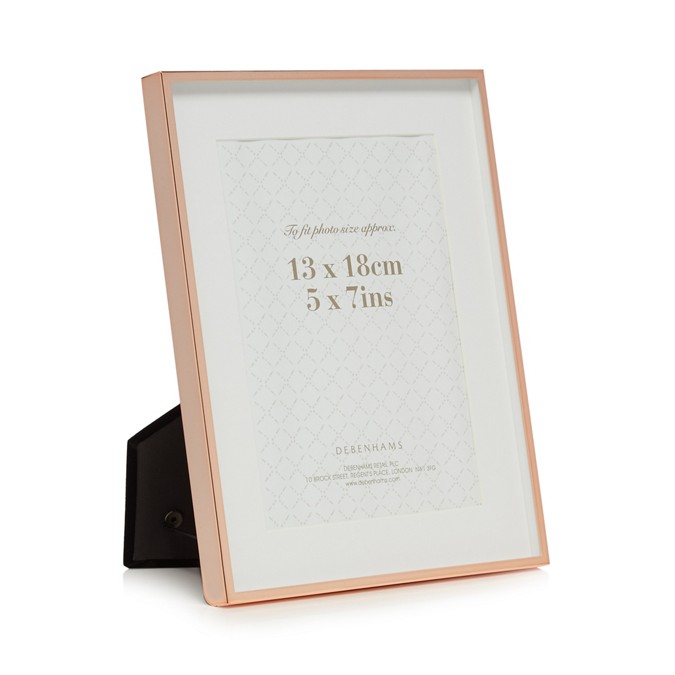
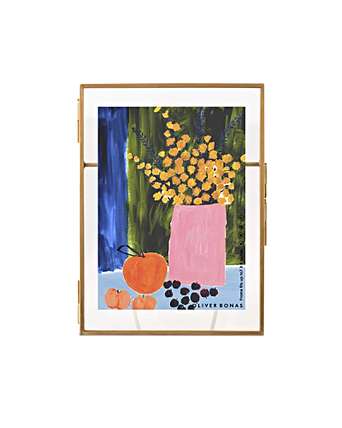
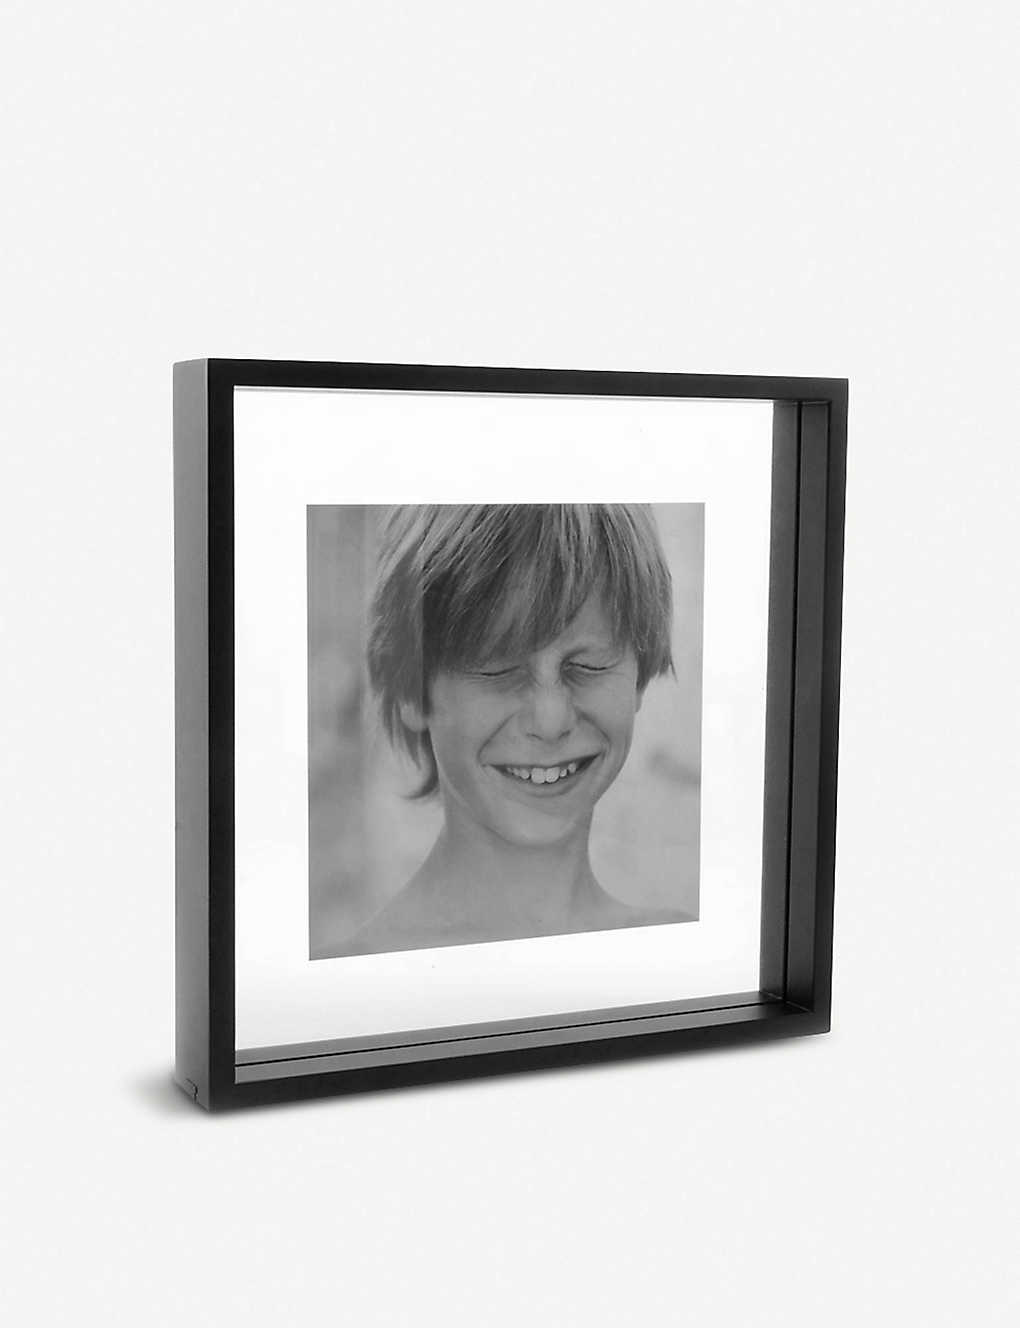
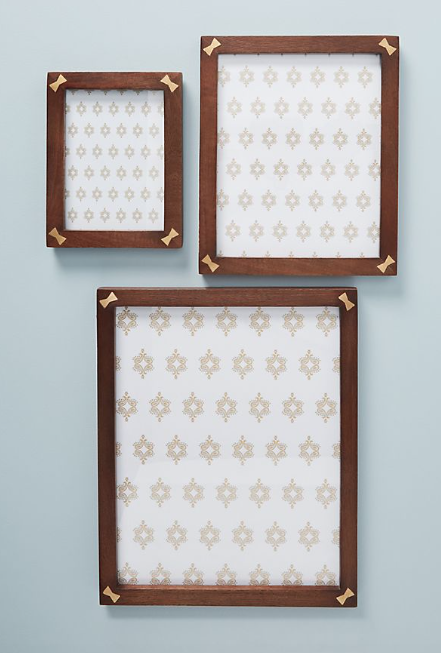
TYPES OF FRAMES


GREAT PLACES TO BUY FRAMES

ACCESSORIES AND EXTRAS

Stay tuned as I will be making detailed posts on each type of Gallery Wall with real-life examples and recommendations on artworks to fit with certain themes…